Getting Started with the A111 Pulsed Radar Sensor
Introduction
Does your project require high-precision, cutting-edge distance, speed, motion, and/or gesture sensing? We're not talking ultrasonic, or even infrared here, but 60GHz radar! Say hello to our tiny, pulsed radar friend the Acconeer A111!
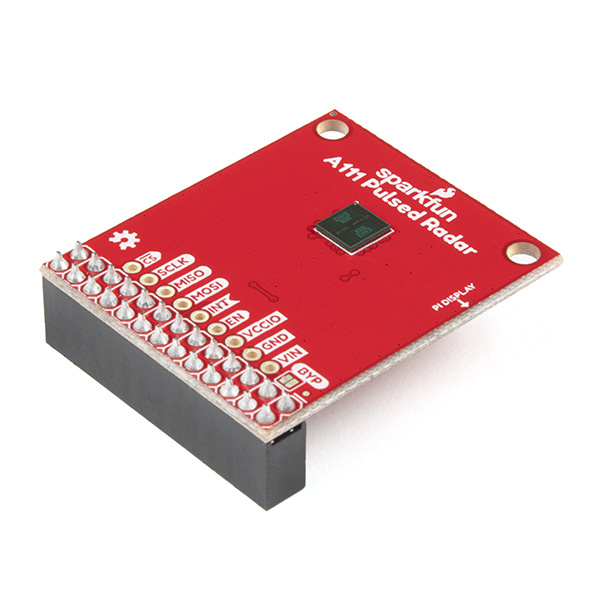
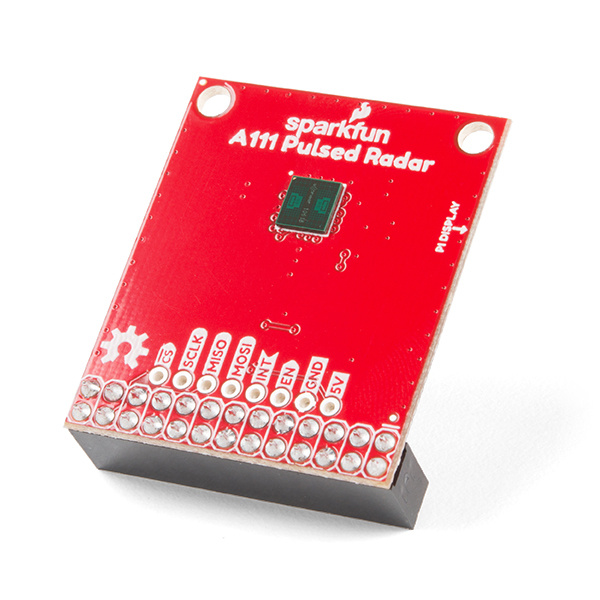
SparkFun Pulsed Radar Breakout - A111
SEN-15577The A111 is a single-chip solution for pulsed coherent radar (PCR) -- it comes complete with antennae and an SPI interface capable of speeds of up to 50MHz. Applications for PCR include distance-sensing, gesture, motion, and speed detection. The sensor can monitor one-or-more objects at distances of up to two meters.
Our breakout board for the A111 includes a 1.8V regulator, voltage-level translation, and it breaks out all pins of the pulsed radar sensor to both 0.1-inch and Raspberry Pi-friendly headers.
Required Materials
To use the A111 you'll need either an ARMv7 or an ARM Cortex-M4 -- the closed-source SDK currently only supports these architectures. This tutorial will explain how to use the radar sensor with a Raspberry Pi -- a platform based on an architecture supported by the A111's SDK.
The A111 Breakout includes a 20-pin, 2x10 female header, which should mate to Raspberry Pi's of any generation. If you'd rather manually wire the A111 to your Raspberry Pi and about 9x male-to-female wires should do the trick.
Raspberry Pi 3 B+ Starter Kit
KIT-15361Optional Materials
You have several options when it comes to working with the Raspberry Pi. Most commonly, the Pi is used as a standalone computer, which requires a monitor, keyboard, and mouse (listed below). To save on costs, the Pi can also be used as a headless computer (without a monitor, keyboard, and mouse). This setup has a slightly more difficult learning curve, as you will need to use the command-line interface (CLI) from another computer. However, you can also connect to a headless Pi using a remote desktop connection with VNC as well from another computer after configuring the settings.
Suggested Reading
If you have not set up a Raspberry Pi before, we recommend looking at the following tutorials to get started. Overall, the setup is the same regardless of the version that you have.
Raspberry Pi 4 Kit Hookup Guide
Raspberry Pi 3 Starter Kit Hookup Guide
If you aren’t familiar with the following concepts, we recommend checking out these tutorials before continuing. Using the Pi as a headless setup or with VNC can be useful when developing applications with the Pi.
