Getting Started with the A111 Pulsed Radar Sensor
 jimblom,
  bboyho,
  Elias The Sparkiest
Build and Run the Test Sketch
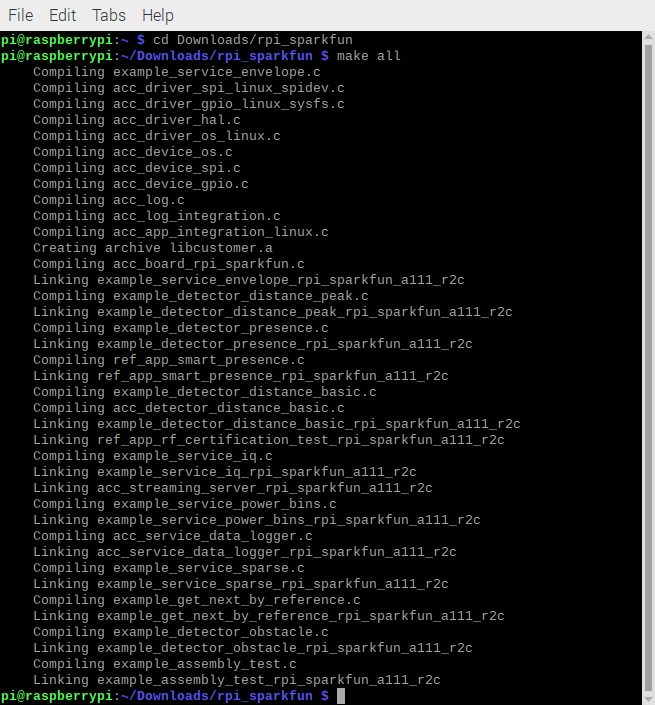
In the terminal, executing the make file — and it's recursive dependencies — should build all of the examples you may use with the A111. To build all board and example files, navigate to the SDK's top-level directory (in this case, it should be similar to ...Downloads/rpi_sparkfun) where your makefile is located and type make or make all command in the terminal. You should see something similar to the output below.
Troubleshooting
If you have any trouble building the board and example files, ensure that you have gcc and make packages installed. (E.g. apt-get install make gcc)
Running the Example Applications
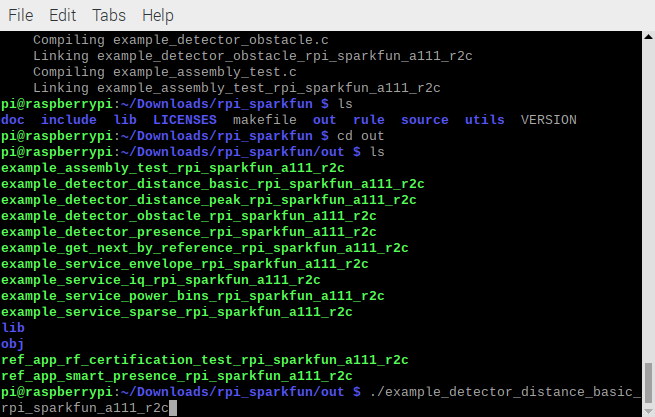
Once compiled you can run the example applications. Navigate to the .../out folder with the cd in the terminal window. You can run the example by clicking on the executable or typing the following command. We recommend typing the command in the terminal to view the data. A few of the applications will automatically close the window after taking sensor data if you choose to click on the executable.
language:bash
./example_detector_distance_basic_rpi_sparkfun_a111_r2c
Once you type (or paste the command in the Terminal), hit Enter on your keyboard to execute the command.
This will run our modified distance-detector example application. For simplicity, it will show the distance of an object that is in front of the antennae.
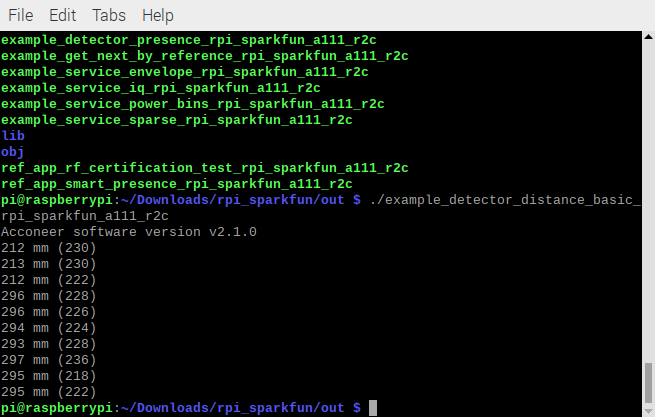
By placing an object in front of the sensor, the distance should vary based on what the A111 can detect. The application will continue running in the terminal window until the loop is finished. In this case, the example took 10 samples. Try adjusting the code to obtain more samples!
 |
 |
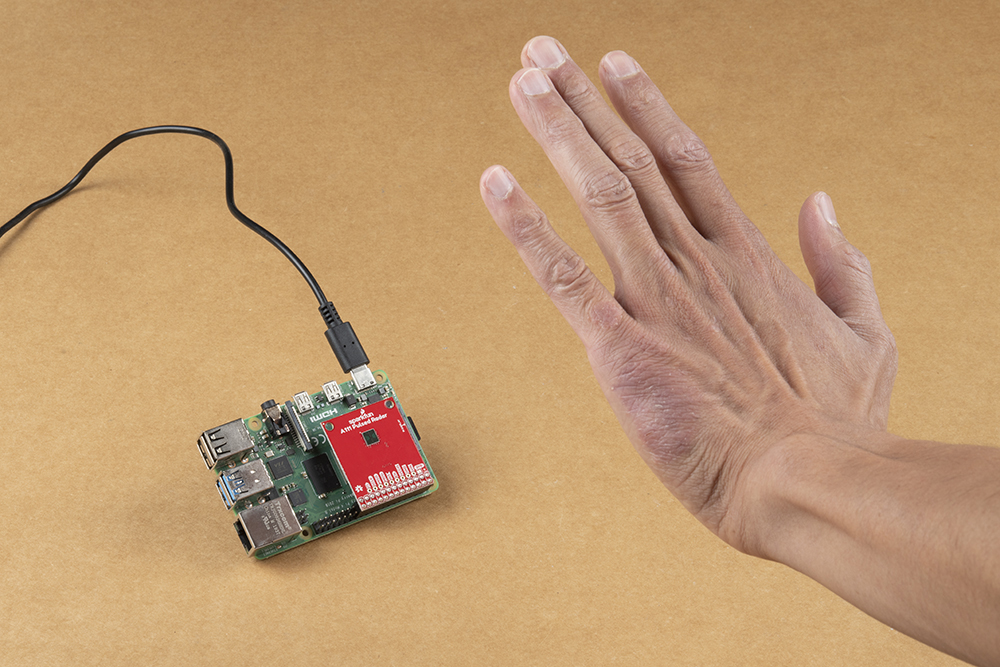
| Hand placed in front the A111 v1.1 and v1.0 with the Pi remotely connected via VNC. | |
Running Other Examples
In addition to the distance detector basic, the SDK includes a few extra examples. To execute these files, run them from the out directory:
- example_detector_presence_rpi_sparkfun_a111_r2c — If there is an object moving in front of the sensor, it will output a true. Otherwise, the output is false.
- example_detector_obstacle_rpi_sparkfun_a111_r2c — Checks to see if there is an object in the way.
- example_service_iq_rpi_sparkfun_a111_r2c — Advanced version of the envelope service, which includes phase information for very small variations in distance. The output will be in polar coordinates.
- example_service_power_bins_rpi_sparkfun_a111_r2c — Demonstrates how to use A111 "power bins," which are still, kind of, a mystery to us...
- example_detector_distance_peak_rpi_sparkfun_a111_r2c — This application will begin by calculating raw peak-distances, with a maximum of ten reflections. The example will briefly estimate minimum and maximum threshold.
Make sure to read through the comments in the code (located in the source folder), datasheet, user guide, and associated documents from Acconeer for more information before writing your own custom code for the A111.