Getting Started with the A111 Pulsed Radar Sensor
 jimblom,
  bboyho,
  Elias The Sparkiest
Configure Your Pi
Raspbian and SPI
This tutorial assumes you've already set up a Raspberry Pi with Raspbian. For help installing the Debian-based OS on your Pi, check out the docs on Raspberrypi.org. Or -- better yet! -- check out our Headless Raspberry Pi Setup tutorial.
You'll also need to enable SPI on your Pi. For help with that, check out our SPI on Pi tutorial.
We are going to assume you already have a Raspberry Pi up and running with Raspbian. We'll also assume that it is connected to the Internet. If not, check out our starter kits and tutorials on setting up a Raspberry Pi. We recommend looking at the following tutorials to get started. Overall, the setup is the same regardless of the version that you have.
Raspberry Pi 4 Kit Hookup Guide
Raspberry Pi 3 Starter Kit Hookup Guide
Make sure to update the image so that we have the latest distribution. Enter the following commands in the command line individually to update your image.
language:bash
sudo apt-get update
sudo apt-get dist-upgrade
sudo.User Configuration Settings
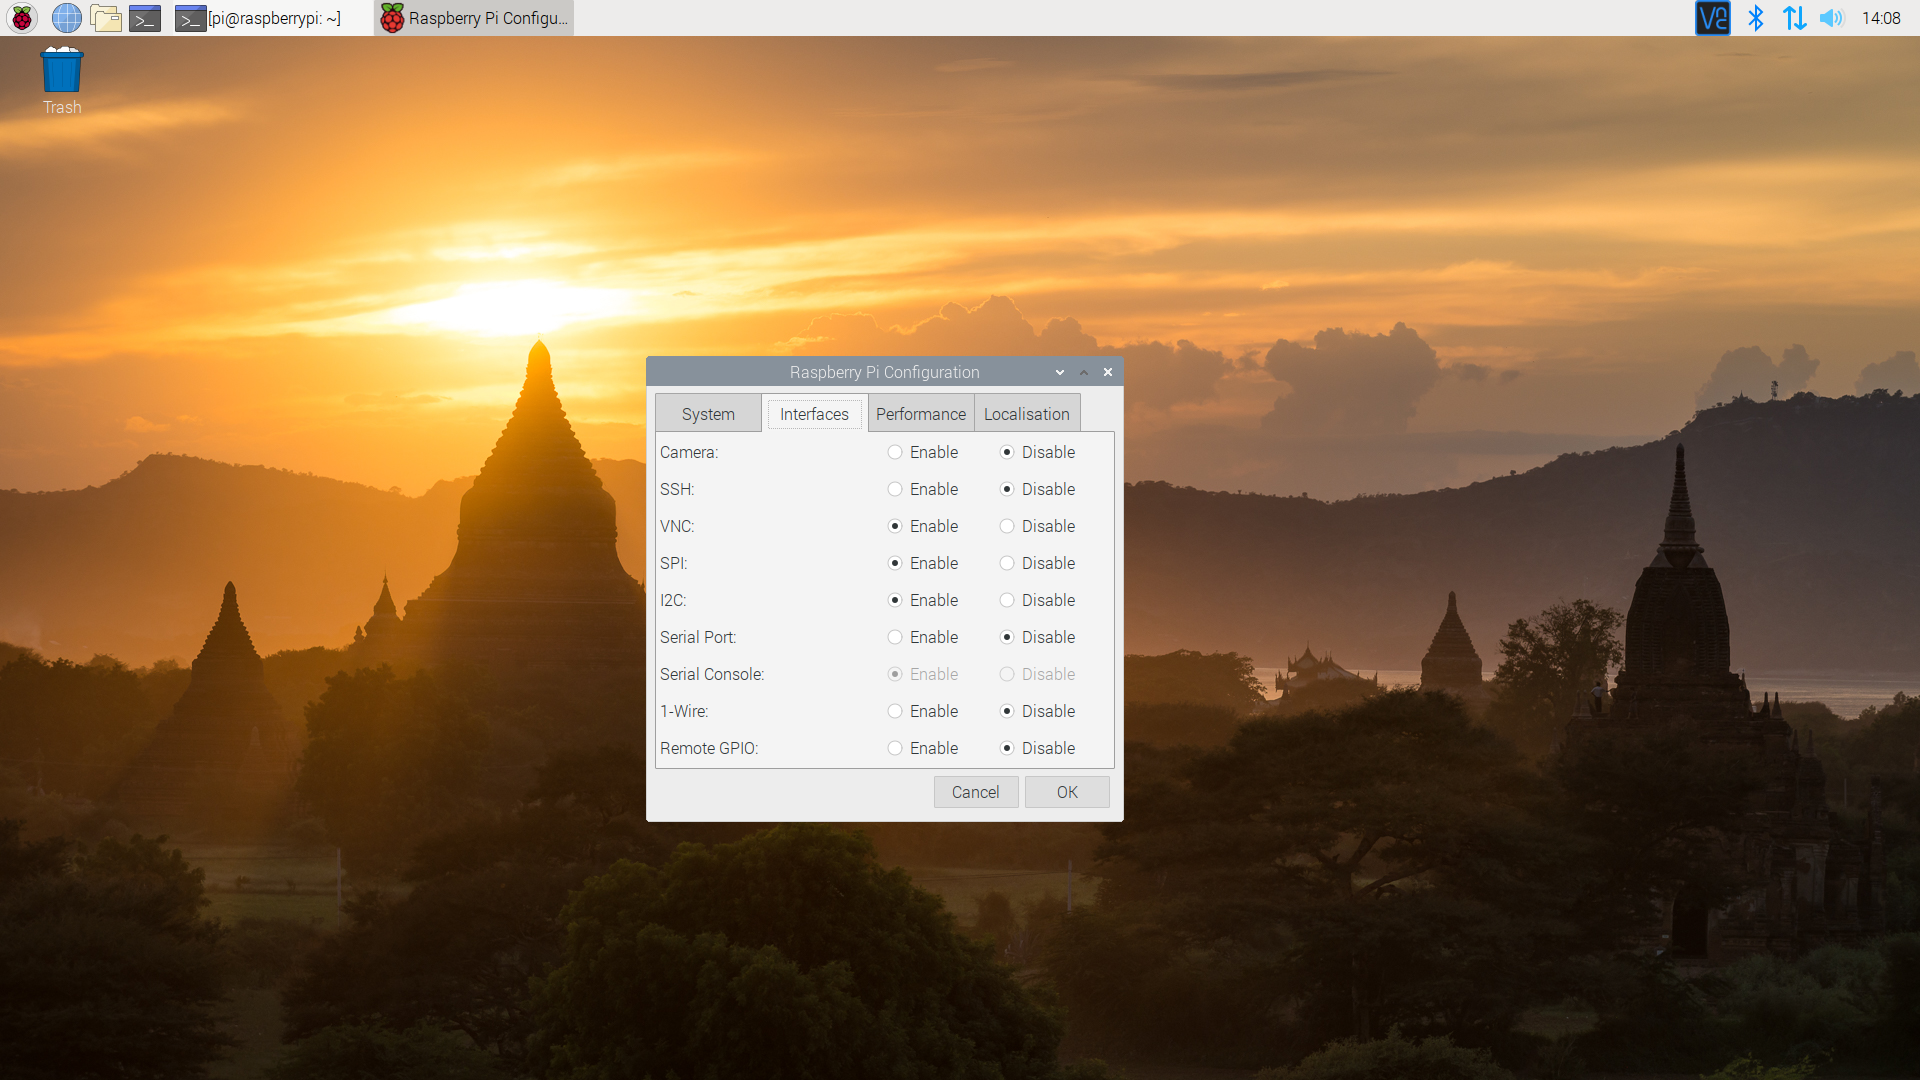
Once you are set up, I highly recommend changing your default login and password: (username: pi, password: raspberry). The Raspberry Pi Configuration tool is a quick way to change your password as well as setup the network, language, keyboard, etc. There are two methods to adjust the settings. You can use the GUI by heading to the Pi Start Menu > Preferences > Raspberry Pi Configuration > Interfaces. For the old school heads, you can also use the raspi-config tool by typing the following command using the command line and then go through the menus to update your information.
language:bash
sudo raspi-config
You'll want to enable the SPI pins using the tool to read sensor with SPI. If you are using hte GUI, simple select Enable and click on the OK button. If you are using the raspi-config, follow the prompts to finish setting up the SPI. For more information, check out our tutorial to set up the SPI pins on a Pi.
 |
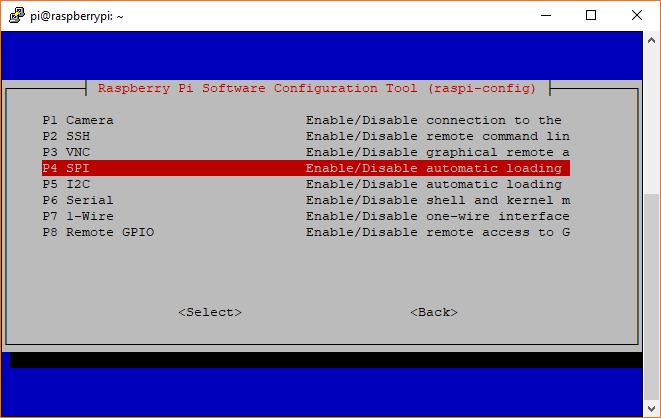 |
| Enabling SPI via Desktop GUI | raspi-config tool for SPI in the Terminal |
You'll need to restart your Pi for the changes to take effect.