AVR-Based Serial Enabled LCDs Hookup Guide
Introduction
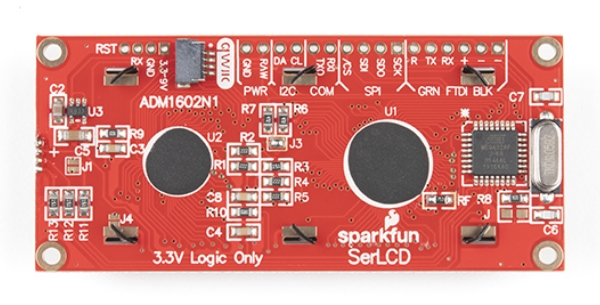 |
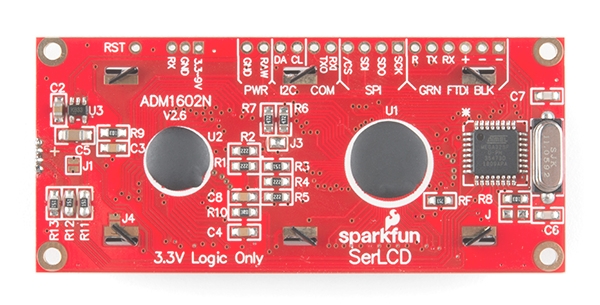 |
| Newer versions have qwiic connector! Silk will look like "ADM1602N1". | Older versions do not have a qwiic connector. Silk will look like "ADM1602N_v2.6" |
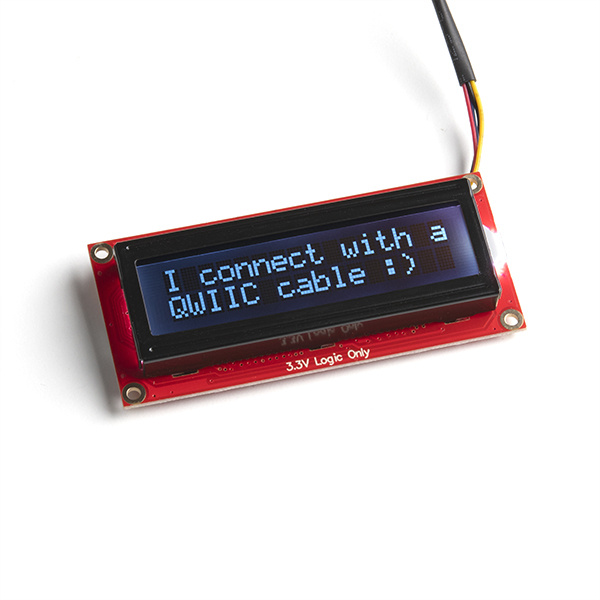
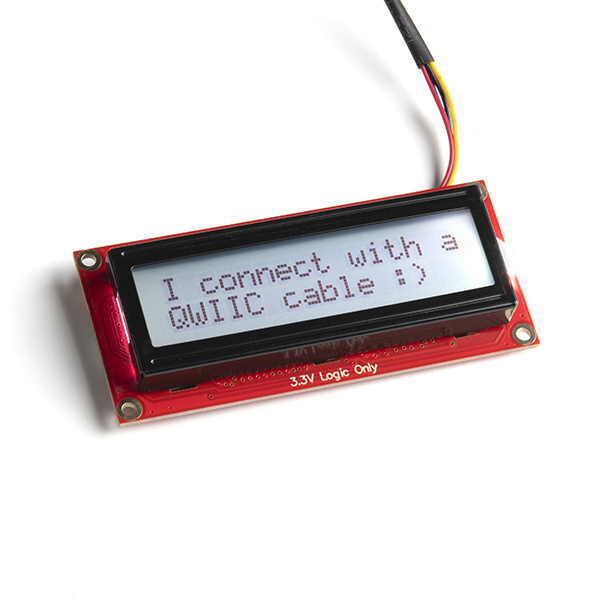
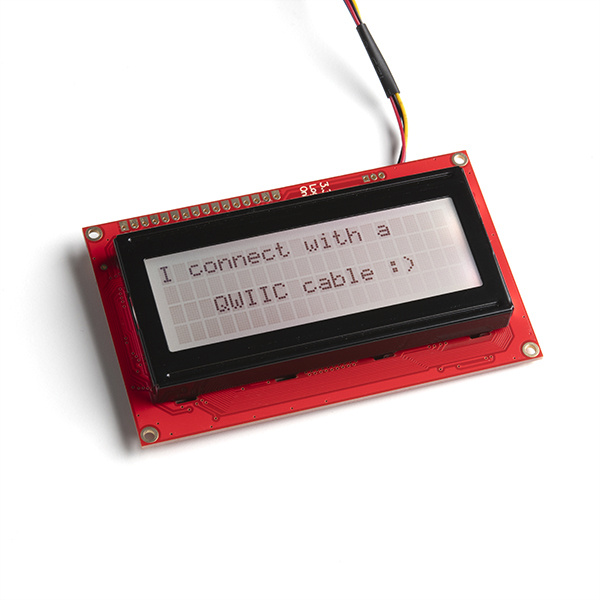
The AVR-based serial enabled LCD (a.k.a. SerLCD) is a simple and cost effective solution for adding Liquid Crystal Displays (LCDs) into your project. The PCB design on the back of the screen includes an ATmega328P that handles all of the screen control. It can accept commands via serial, I2C and SPI. The latest versions also include a Qwiic connector for solder-less single-cable connection setup. This simplifies the number of wires needed and allows your project to display all kinds of text and numbers. We offer three varieties of the AVR-based Serial Enabled LCDs:
The firmware is fully opensource and available for download at the GitHub repo here:
This allows for any customizations you may need. Uploading firmware (custom or updates), is easily done from the Arduino IDE using a Serial Basic. See firmware update instructions in the troubleshooting section of this tutorial for more info.
Also note, the example code used below is all available in the repo (along with many more examples). Before beginning this tutorial, it's a good idea to clone the repository (or download the entire repo as a zip), to grab all of the examples. But if you prefer, you can always use the "COPY CODE" button on each of the examples below.
Note that these all have identical firmware and can accept the same commands. However, you must adjust your display characters and cursor position as necessary for each model. Also note, there is a jumper on the back of each screen, and this "tells" the firmware how to correctly set the lines and columns for each screen.
Required Materials
If you are using Qwiic, then you will only need a Redboard Qwiic, a Qwiic cable, and a Micro-B USB cable for programming.
For non-qwiic setups, you may need the following materials in this wishlist. Depending on what you have, you may not need everything on this list. Add it to your cart, read through the guide, and adjust the cart as necessary.
Tools
You may need a soldering iron, solder, and general soldering accessories, and screw driver depending on your setup.
Weller WLC100 Soldering Station
TOL-14228Suggested Reading
If you aren’t familiar with the following concepts, we recommend checking out these tutorials before continuing.
