Weather Station Wirelessly Connected to Wunderground
This Tutorial is Retired!
This tutorial covers concepts or technologies that are no longer current. It's still here for you to read and enjoy, but may not be as useful as our newest tutorials.
Electronics
Required Materials
To follow along with this tutorial, you will need the following materials. You may not need everything though depending on what you have. Add it to your cart, read through the guide, and adjust the cart as necessary. Here are the parts we used to build our weather station:
- SparkFun RedBoard Programmed with Arduino
- Electric Imp
- Electric Imp Shield
- Weather Shield
- Shield Header Kit x 2
- RJ11 Jacks x 2
- Weather Meters
- Sunny Buddy MPPT Solar Charger
- 6000mAh LiPo Battery
- 3.5W, 6W, or 9W Solar Panel
- Plastic Enclosure (optional)
- Light Pipe (optional)
Below is a wishlist to make things a bit easier:
You Will Also Need
Here are additional parts that SparkFun doesn't carry:
- Solar Shield - We got ours from Ambient Weather. $40, works great!
- Camera Tripod - We found a cheap one on Amazon for $20 and chopped the camera mount off.
- Handful-o-zipties - If you don't have these laying around, you'll need some to secure the various charging and weather meter cables.
- 2" Hose Clamps - Sometimes called worm clamps, these connect the weather meter to the headless camera tripod. The weather meters should come with a few to get you started.
- Cement ballast - Solid concrete blocks can be found for a few dollars at a hardware store
- Eyebolts and concrete anchors - Ballast is useless if you can't attach to it securely. An eyebolt with a lead anchor makes a very secure connection to the cement block.
- Wire rope, cable clips, and turnbuckle - Wire rope with clips should survive extreme conditions. The turnbuckle was key; it allowed mass to be easily tensioned onto the tripod.
- Galvanized metal bits - To hold the solar panel in place.
The system is designed to be low-power enough that a battery+charger+solar combination will suffice, but, if you have a source of power near your weather station, feel free to simplify things and use a wall adapter.
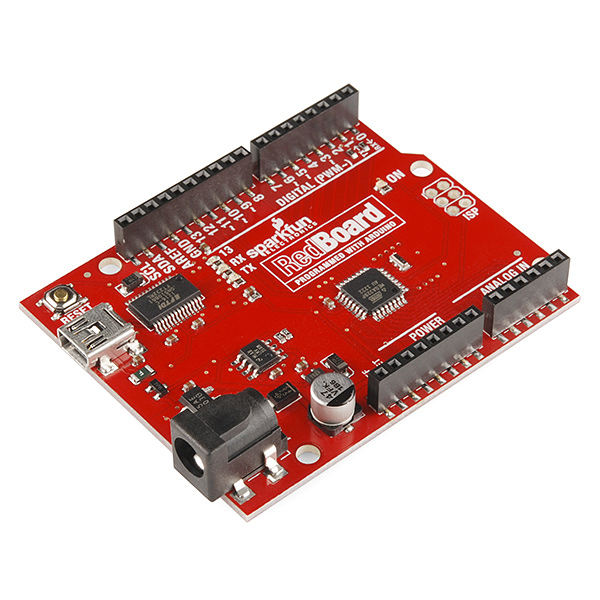
RedBoard
This is our Arduino-compatible workhorse. It will gather all the weather data from the weather shield and then pipe serial strings to the Imp.
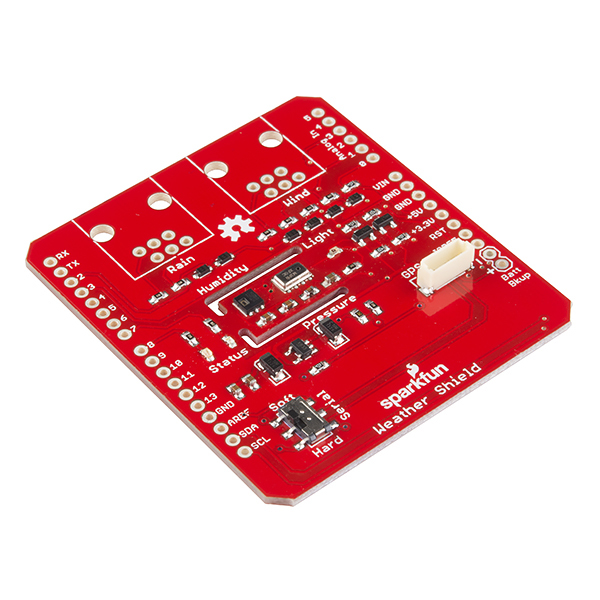
Weather Shield
You can read all about the Weather Shield over on its hookup guide tutorial. All you really need to know is that it's capable of reading a huge number of weather metrics but doesn't have the capabilities to wirelessly report them.
Electric Imp
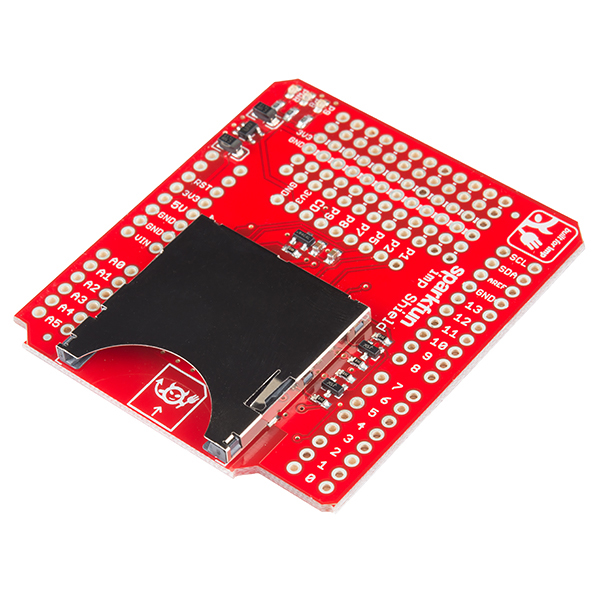
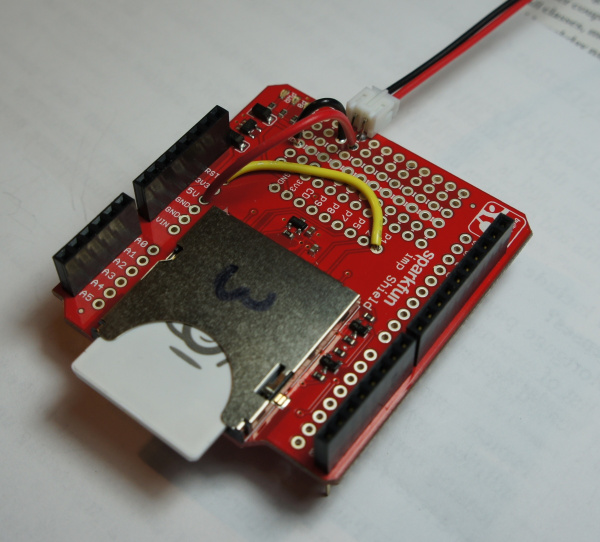
You will need to modify the Electric Imp shield in three ways:
- Clear the card detect Jumper
- Clear and move the TX and RX jumpers
- Add jumper from P1 to RST for wireless bootloading
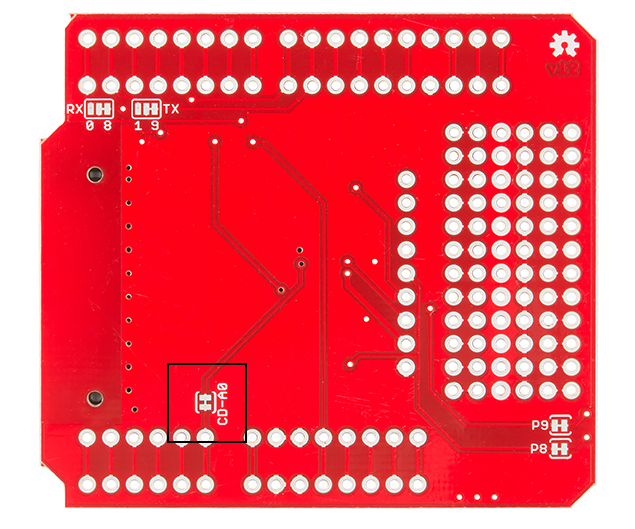
Clear the card detect CD-A0 jumper so that the Arduino can take readings from the wind vane without being affected by the Electric Imp shield. The easiest way to clear this jumper is to carefully cut the connecting trace with an exacto knife.
The Electric Imp is a simple to use internet-of-things device. It's like a Wifi adapter with a bunch of built in bells and whistles. We'll set it up to receive the serial strings from the RedBoard and pipe that data to an agent that will in turn post the weather metrics to Wunderground.
Note: The Electric Imp shield shown above has been modified for wireless bootloading of the Arduino. This saves an immeasurable amount of work! We can reprogram the Arduino from the comfort of our living room rather than climbing up on a ladder and plugging in a USB cable. To find out more checkout our tutorial on Wireless Arduino Programming.
Power System
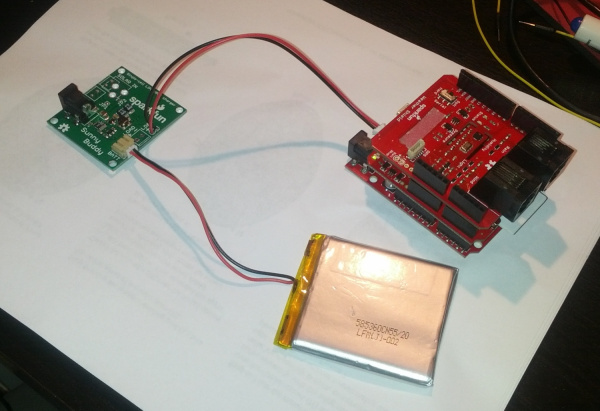
The Wimp runs off a 3.7V 6000mAh LiPo battery.
The following measurements were taken for various bits of the project:
- Electric Imp (average when posting data every 5 seconds): [4.5mA during sleep for 8s, 80-100mA for 2s] = 22mA avg
- Weather Shield: 2mA (with out GPS)
- RedBoard: 15mA
The voltage of the LiPo battery will vary from 4.2V when fully charged to 3.2V when very dead. This is acceptable because the RedBoard can operate from 5V down to about 3V, and both the Electric Imp and the Weather Shield have on board 3.3V regulators. The RedBoard can also detect what the system voltage is at by doing an analog to digital conversion. Basically we connect the 3.3V rail of the Arduino to one of the analog pins so that we can establish what the battery level voltage actually is. You can read more about this trick over on the ML8511 UV tutorial.
The average total current consumption of the system is about 39mA. This means on a 6000mAh battery the system will run for about 150 hours or about 6 days. This should be pretty good for Colorado, with 300 days of sunshine. If the solar cell does get covered in snow, the angle of the panel will help remove it. If all things go pear shaped and the system dies, you've probably got bigger (weather) problems to be worrying about.
If anyone knows of a good article on how to size your battery capacity vs power requirements vs charging system, we would be thrilled to link to it!
Enclosure
Creating a good weather station enclosure is difficult. There has been a fair number of comments on the Weather Shield product page and a great number of discussions and solutions proposed on the Internet.
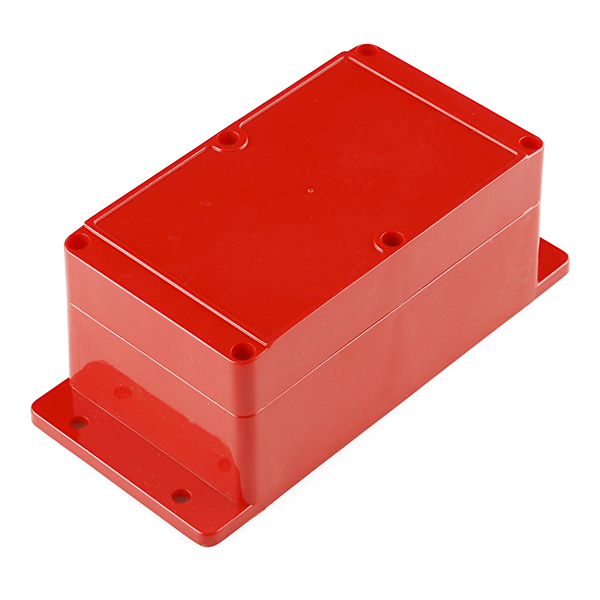
Our plastic red enclosure is very robust against adverse weather and is easily modified with tools found at home (hand drill, dremel, etc). The problem is that depending on where you want to mount your weather station, the red box enclosure can heat up quite a bit. In Colorado direct sunlight can be quite intense, so do plenty of Googling to determine what's best for you.
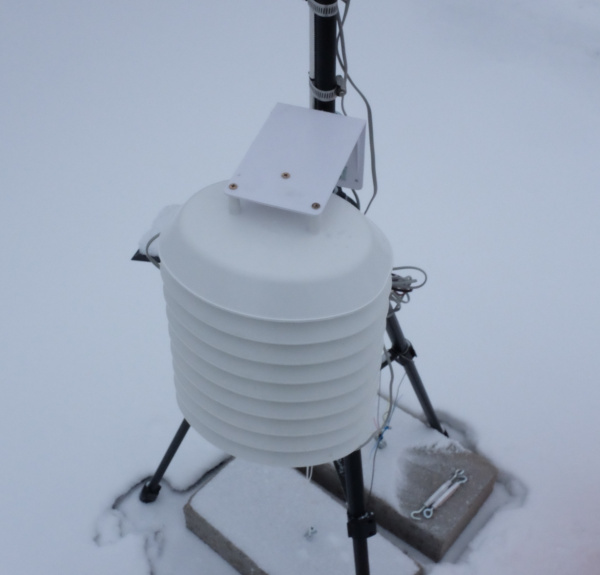
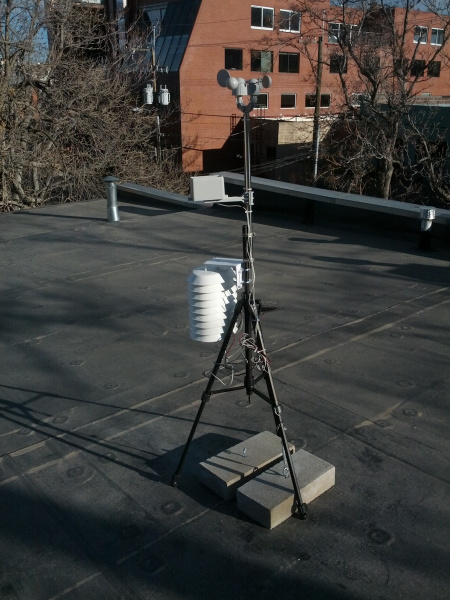
For this project, we went all out and used a radiation shield from Ambient Weather. A solar shield allows for free flow of air across the sensors while reflecting the majority of incident heat. Additionally, this enclosure had plenty of room for our stack-up of Arduino shields, batteries, and solar charger. There are three long threaded rods with three wing nuts that hold the stack of plastic layers together. Opening the enclosure takes a few minutes but is pain free.
It is not obvious from the photo, but the three cables (wind, rain, and charging) enter into the enclosure through the gap between two of the layers about half way down the enclosure.
Initially, because the solar shield is open to the elements, I was nervous that stray wind and rain would eventually cause the electronics to fail. My wife had the excellent idea of wrapping the non-sensor bits in cellophane. Two of the layers are wrapped, and the top shield (the weather shield) is left exposed so that the air can freely move across the sensors. It's not entirely clear if this method is preventing water damage to the stack of boards, but it puts my mind at ease. When repairs are needed, I'll update the tutorial with any future insights.
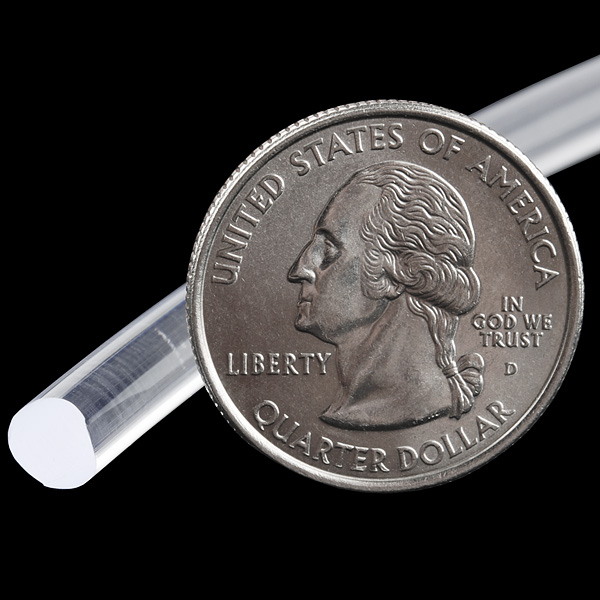
At first, I thought I would need a light pipe to get light into the enclosure. After installing the station on my roof, I found that plenty of light is passed through the gaps of the radiation shielding to get a great ambient light reading. If you're looking for a more scientific reading, you might consider piping light directly.
Someday, it would be fun to gather UV data as well. We've got a great ultraviolet light sensor, but the light pipe material may or may not pass UV light specifically. If you have any information or experience gathering UV readings, we welcome your feedback!
Assembly
First, solder the headers onto the shields, and build up the stack. Not sure how to solder the headers on? Checkout the tutorial on installing Arduino headers. This will also be a good time to solder the two RJ11 jacks to the weather shield as well. These will connect to the cables coming off the weather meters.
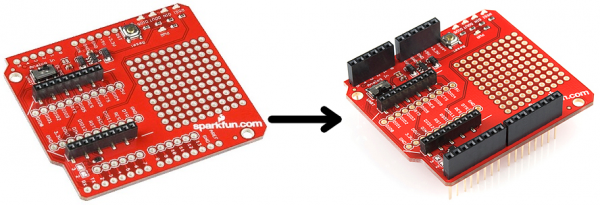 |
| Arduino Shields: Installing Arduino Headers Tutorial |
Once you are finished soldering, you're ready to program your weather station!
