Weather Station Wirelessly Connected to Wunderground
This Tutorial is Retired!
This tutorial covers concepts or technologies that are no longer current. It's still here for you to read and enjoy, but may not be as useful as our newest tutorials.
 Nate
Nate 
Extra Bits
This project required quite a bit of extra mechanical bits to withstand mother nature.
Base
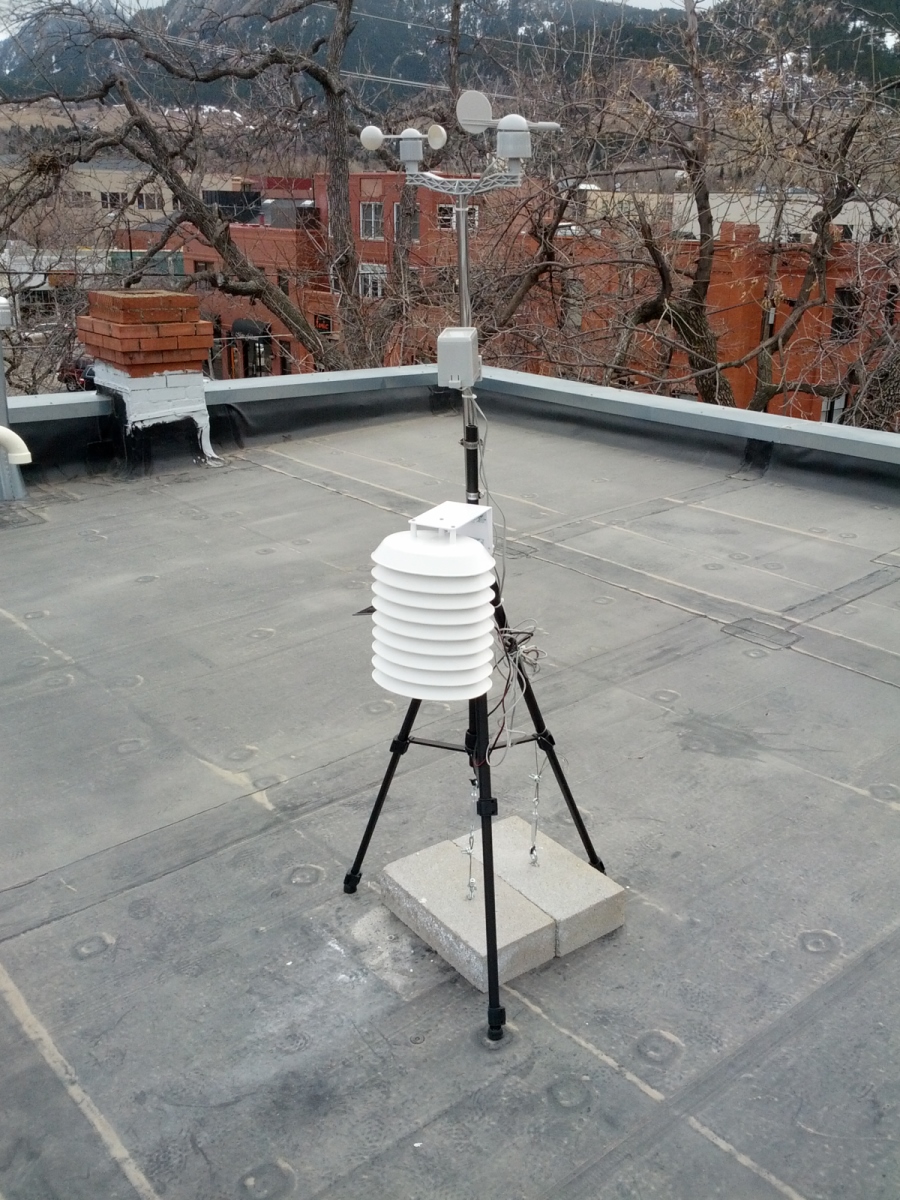
The weather station was installed on an old camera tripod. A hacksaw quickly removed the head of the tripod where the camera attaches.
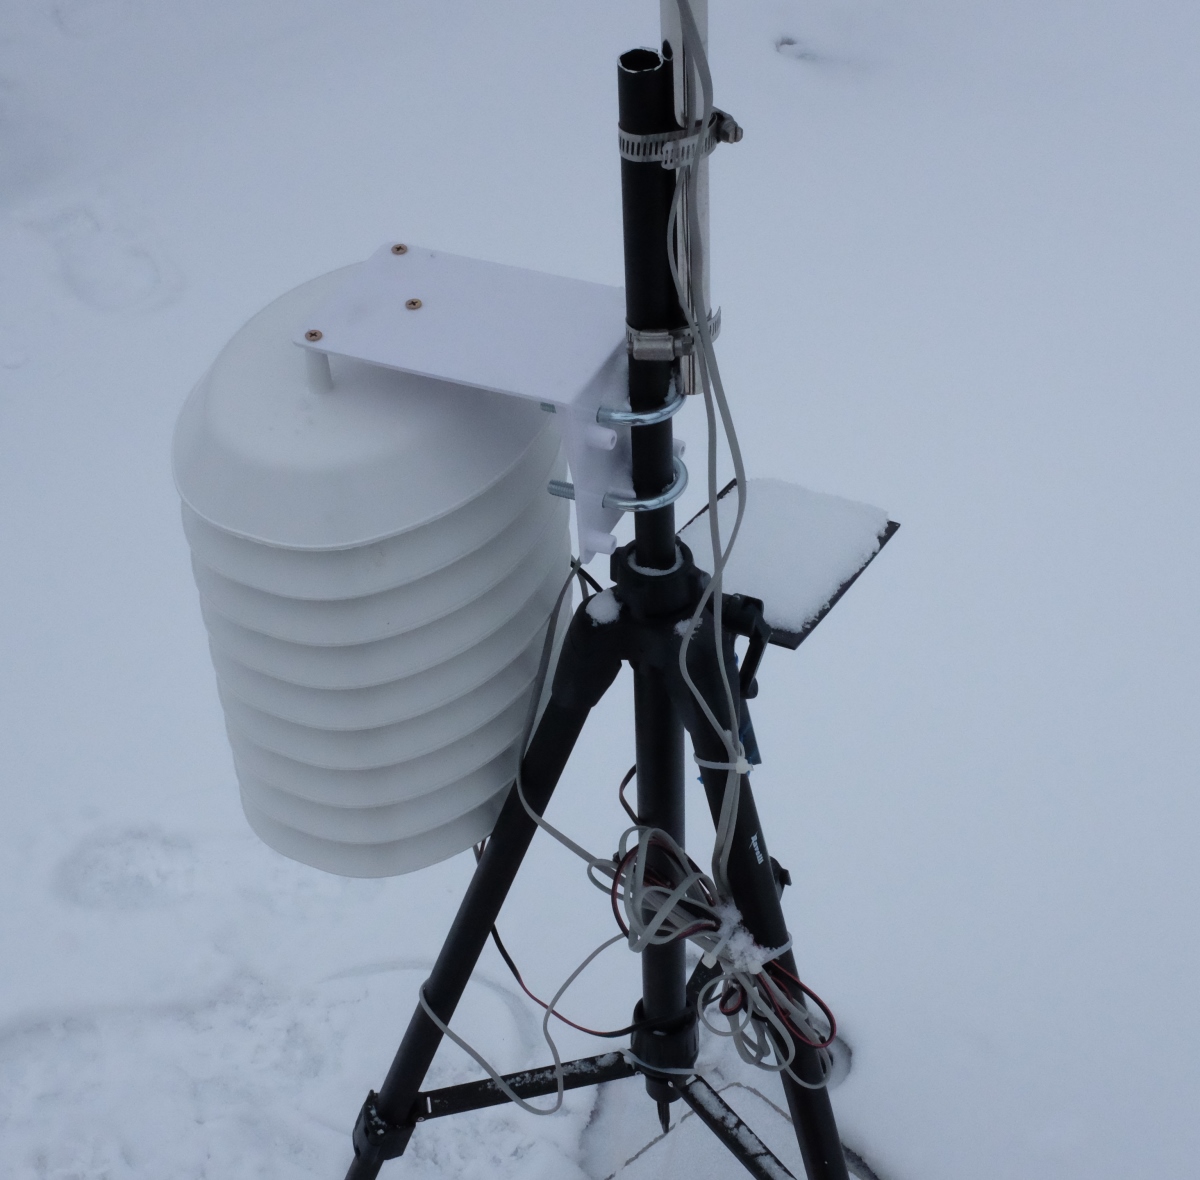
The weather meters are attached using two hose clamps, and the solar shield is attached using the included U-bolts.
Solar

To hold the solar panel at the proper angle, a steel hanger was used. Commonly used with sheetrock, the metal was heavy enough gauge to be bent with hand tools but rigid enough to hold the solar panel in place. Using construction adhesive and a clamp, we attached the solar panel to a piece of metal then zip tied the metal to the camera tripod base. Be sure to mount the solar cell where it can get a clear view of the sky, away from any possible shading.
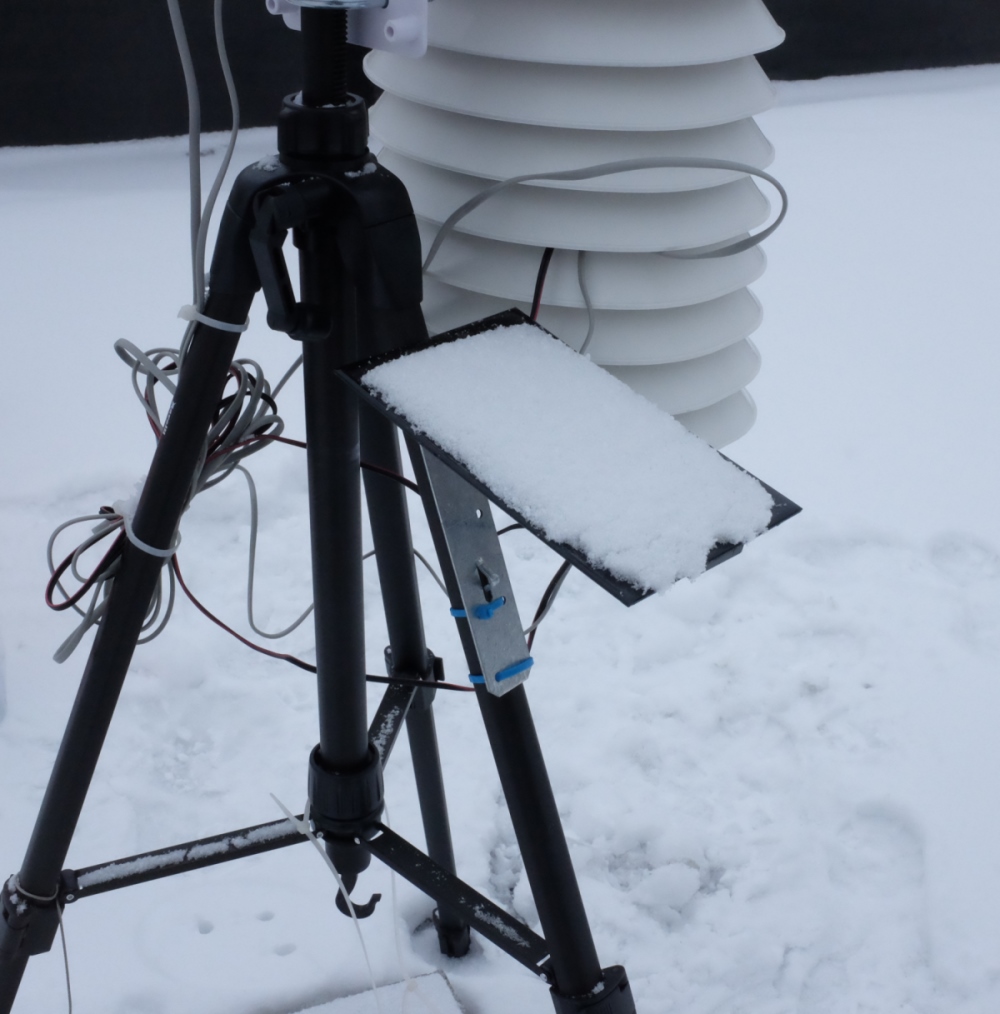
The incline angle of the solar panel was not scientifically determined - I pointed the solar panel to the south with about a 45 degree angle. This is a common orientation in Colorado, but there are plenty of solar angle calculators available to help you determine the best inclination for your part of the world.
Ballast
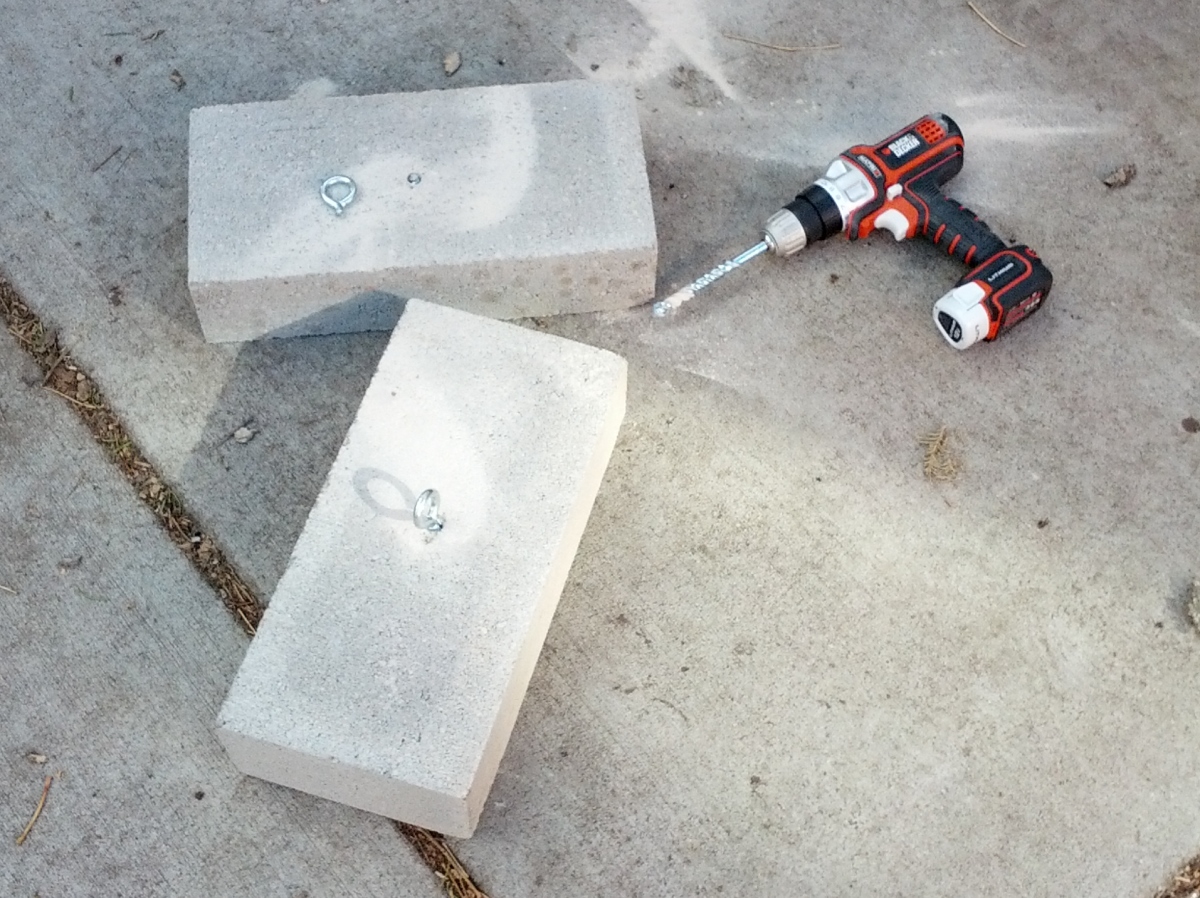
Because the winds are so strong in our area, I wanted to be sure to attach the base to as much ballast as possible. I found solid cinder blocks weighing 35lbs each (16 kilograms) along with eye-bolts and lead inserts at my local hardware store. Using a 1/2" mason bit, I drilled a hole for the lead inserts then used a cheater bar to twist the eye bolts into the cinder block. Notice that I rotated one eye bolt completely off its screw; I should have probably used slightly larger inserts to allow for that size eye bolt. I used a regular bolt with a few wing nuts on the second block. Once installed the eye bolt and screw were very solidly attached to the cinder block.
Wire Rope
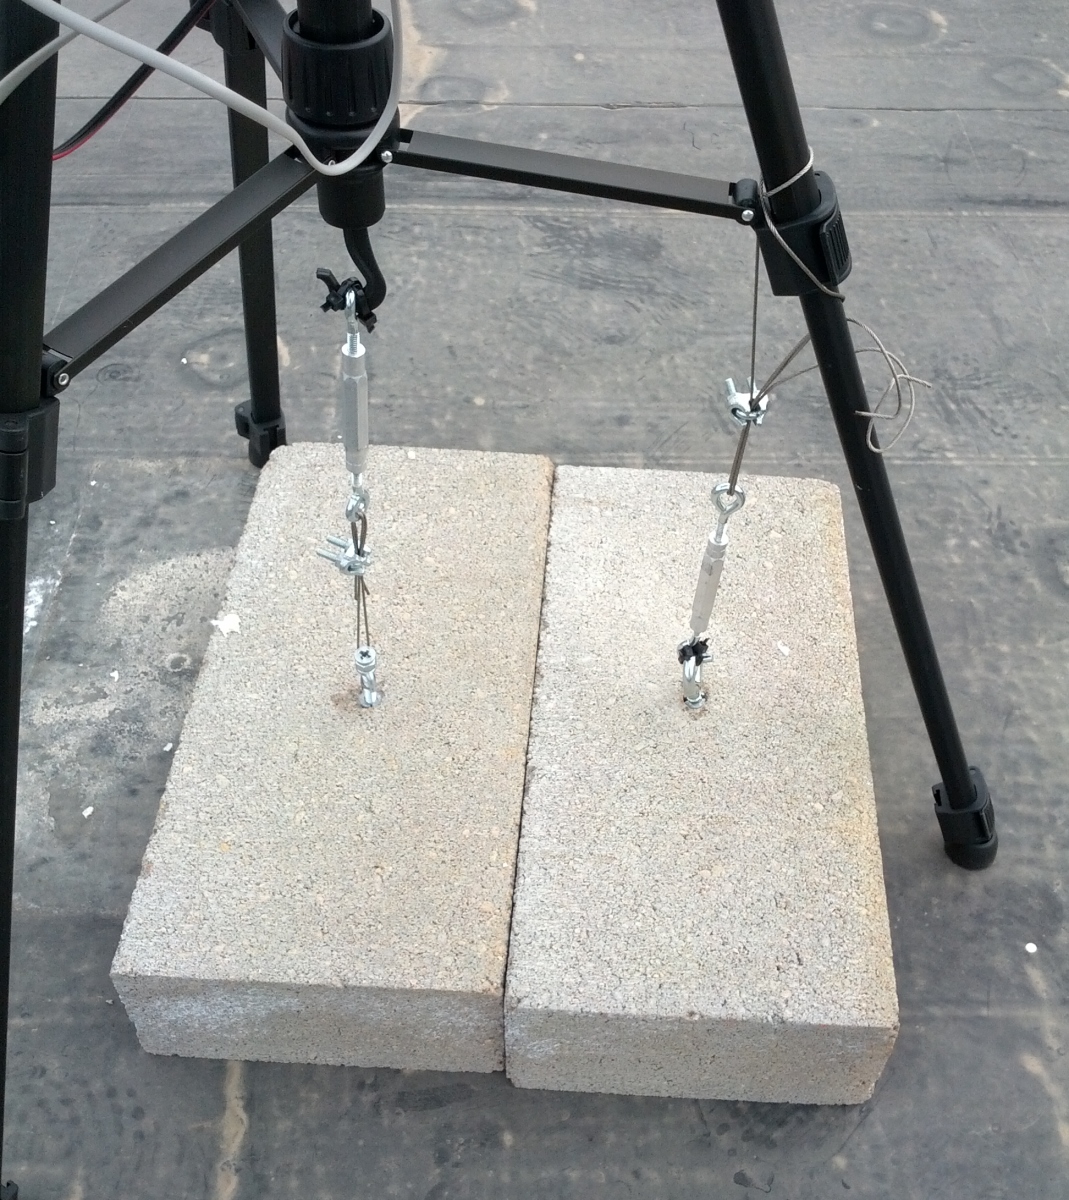
Shown above is the final setup using wire rope with wire rope clips and turnbuckles. Zip ties prevent the turnbuckles from escaping from the eye bolts.
This provided a really solid connection from the ballast to the tripod. The turnbuckles are tensioned so that they were one twist away from raising the concrete block a smidge off the surface of the roof.