SparkFun Arduino UNO R4 WiFi Qwiic Kit Hookup Guide
Example 2: Qwiic Twist
Library Installation
We’ve written an easy to use Arduino library that covers the gamut of features on the Qwiic Twist. The easiest way to install the library is by searching SparkFun Twist within the Arduino library manager. We’ve even got a tutorial on installing an Arduino library if you need it. You can also manually install the Qwiic Twist library by downloading a zip:
Hardware Hookup
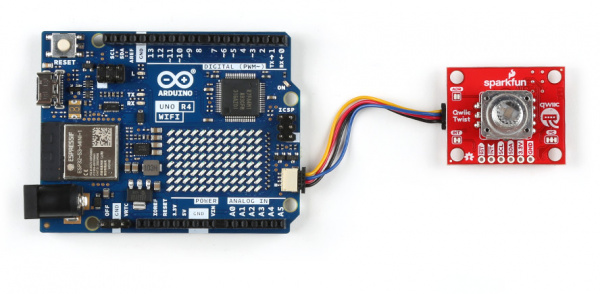
Plug one end of the Qwiic connector into the Qwiic port on the breakout board, and the other end into the Qwiic connector on the Arduino Uno R4 WiFi board like so:
Software Example - Basic Readings
This example is a basic one from the SparkFun Twist Library and just prints the number of times the knob has been turned to the serial output.
language:c
/*
  Read and interact with the SparkFun Qwiic Twist digital RGB encoder
  By: Nathan Seidle
  SparkFun Electronics
  Date: December 3rd, 2018
  License: MIT. See license file for more information but you can
  basically do whatever you want with this code.

  This example prints the number of steps the encoder has been twisted.

  Feel like supporting open source hardware?
  Buy a board from SparkFun! https://www.sparkfun.com/products/15083

  Hardware Connections:
  Plug a Qwiic cable into the Qwiic Twist and a BlackBoard
  If you don't have a platform with a Qwiic connection use the SparkFun Qwiic Breadboard Jumper (https://www.sparkfun.com/products/14425)
  Open the serial monitor at 115200 baud to see the output
*/

#include "SparkFun_Qwiic_Twist_Arduino_Library.h" //Click here to get the library: http://librarymanager/All#SparkFun_Twist
TWIST twist;                                      //Create instance of this object

void setup()
{
  Serial.begin(115200);
  Serial.println("Qwiic Twist Example");

  if (twist.begin(Wire1) == false)
  {
    Serial.println("Twist does not appear to be connected. Please check wiring. Freezing...");
    while (1)
      ;
  }
}

void loop()
{
  Serial.print("Count: ");
  Serial.print(twist.getCount());

  if (twist.isPressed())
    Serial.print(" Pressed!");

  Serial.println();

  delay(10);
}
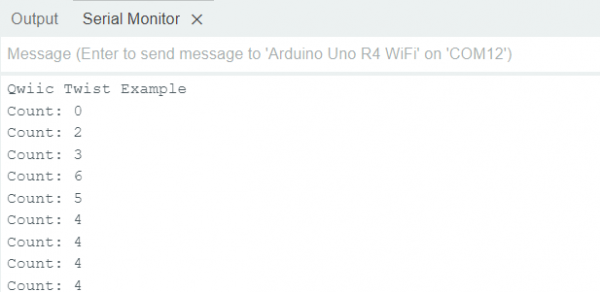
As before, you should have the correct board and port selected in the Tools menu. Go ahead and upload the code, and open a Serial Monitor. You should see something like the below:

