Qwiic Kit for Raspberry Pi V2 Hookup Guide
 M-Short,
  bboyho
Hardware Hookup
Let's start with connecting the pHAT. The pHAT should fit on the Raspberry Pi like most Pi HATs, but it should also fit on compatible boards such as the Nvidia Jetson Nano, the Google Coral board, and others that use the standard 2x20 GPIO header. It will even work on the Raspberry Pi Zero W. Just line up the headers and connect the pHAT to your Raspberry Pi. If you have more questions on the Qwiic pHAT check out the hookup guide for more information.
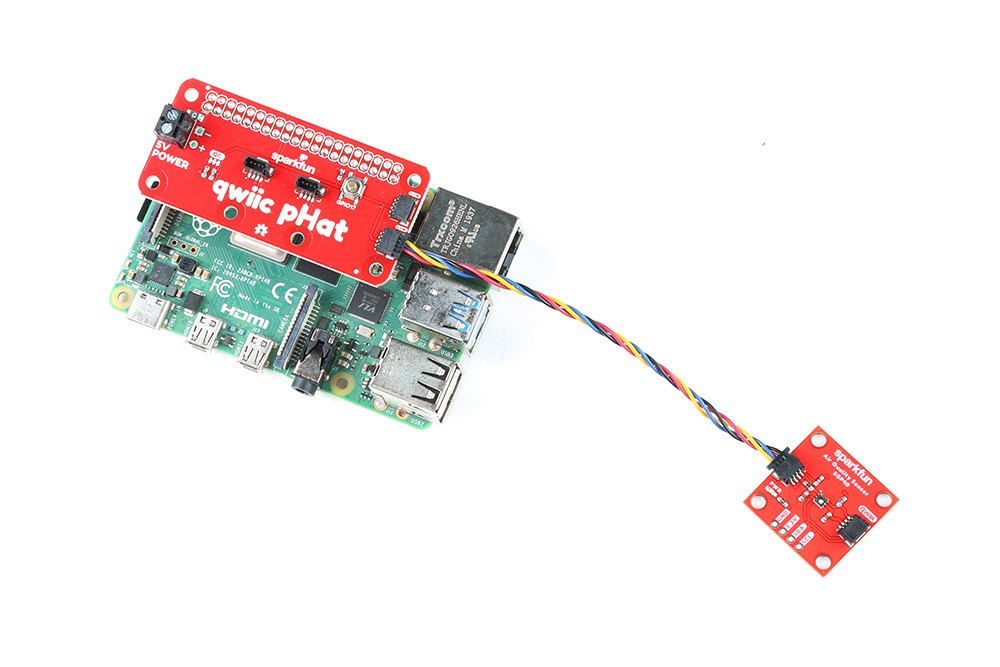
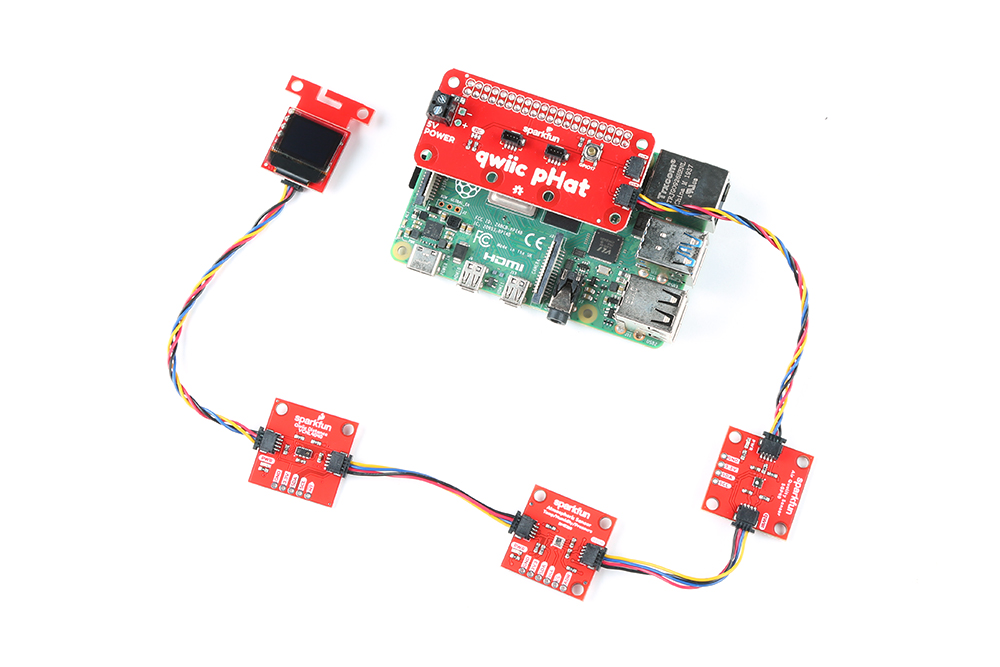
Next, we are going to connect our boards. We've given you a selection of different cable lengths to let you configure your boards however you like. So go ahead and daisy chain all your boards together (while you only need 1x Qwiic connector on the pHAT, you can use as many as you'd like). It doesn't matter which order you connect them in (or which of the connectors on the board you use), as long as they all have a path to the Pi. Keep in mind that these cables are polarized and should only go in one direction (don't force it to go in the wrong direction). Your setup should look similar to the image below with the Qwiic-enabled devices daisy chained and stacked on a Raspberry Pi. Of course, you could also connect each board to each Qwiic connector as well.
When you are ready, connect the power supply and any peripherals (i.e. HDMI monitor, keyboard, mouse, etc.) to the Raspberry Pi.