nRF9160 Thing Plus Hookup Guide
 Circuit Dojo, Ell C
SDK Setup - Linux/Ubuntu
This page is all about getting your Linux machine compiling code for the nRF9160 Thing Plus. Run into trouble during the process? Post your questions on the community forum.
Installing IDE
Install or use the code editor of your choice. I personally use Microsoft Visual Studio Code. You can download directly from the Ubuntu Software Install utility.
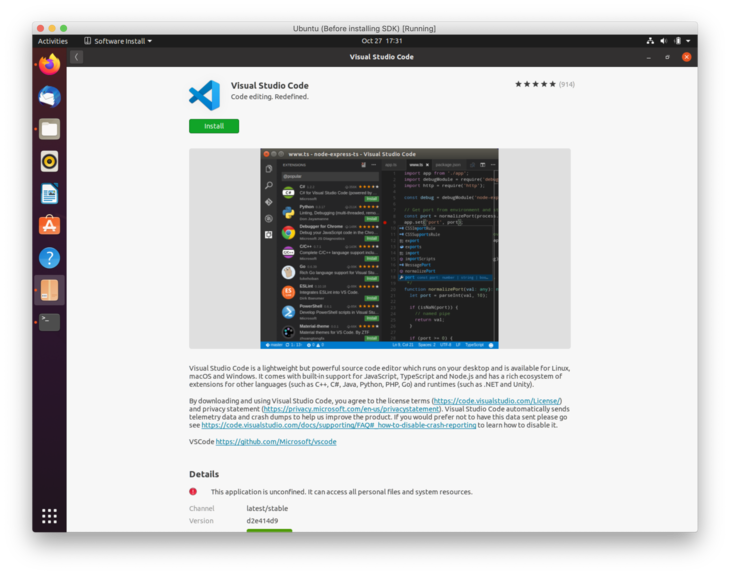
If you decide to use Visual Studio Code, make sure you install the C/C++ and Cortex-Debug extentions using the built in extension marketplace.
Installing SDK
Install dependencies using apt-get
language:bash
sudo apt install --no-install-recommends git cmake ninja-build gperf \
ccache dfu-util device-tree-compiler wget \
python3-dev python3-pip python3-setuptools python3-tk python3-wheel xz-utils file \
make gcc gcc-multilib g++-multilib libsdl2-dev
Check your cmake version:
language:bash
cmake --version
If it's older than 3.13.3, you'll have to install a newer version using the instructions here.
Install west. West is the most important utility for using nRF Connect SDK & Zephyr.
language:bash
pip3 install --user -U west
Then make sure that ~/.local/bin is added to your path:
language:bash
echo 'export PATH=~/.local/bin:"$PATH"' >> ~/.bashrc
source ~/.bashrc
Now create a folder on your machine and call it nfed (short for nRF9160 Feather Examples and Drivers). Open a terminal to this folder and initialize nRF Connect SDK using west:
language:bash
cd ~
mkdir nfed
cd nfed
west init -m https://github.com/circuitdojo/nrf9160-feather-examples-and-drivers --mr main
Once your nRF Connect SDK compontents are downloaded, you'll need to fetch the remaining SDK:
language:bash
west update
You'll see a bunch of output go by as west downloads dependencies using Git.
Here's what your nfed folder should look like:
❯ tree -L 1
.
├── bootloader
├── build
├── latest
├── mbedtls
├── modules
├── nrf
├── nrf9160-feather
├── nrfxlib
├── test
├── tools
└── zephyr
Installing the remaining SDK requirements using pip3:
language:bash
pip3 install --user -r zephyr/scripts/requirements.txt
pip3 install --user -r nrf/scripts/requirements.txt
pip3 install --user -r bootloader/mcuboot/scripts/requirements.txt
Note: there may be an error during the first pip3 install. You can safely ignore them.
The ARM Embedded Toolchain
First download the latest Zephyr SDK installer:
language:bash
cd ~
wget https://github.com/zephyrproject-rtos/sdk-ng/releases/download/v0.11.4/zephyr-sdk-0.11.4-setup.run
Then run it:
language:bash
chmod +x zephyr-sdk-0.11.4-setup.run
./zephyr-sdk-0.11.4-setup.run -- -d ~/zephyr-sdk-0.11.4
Finally install the udev rules which allows you to flash boards using a programmer.
language:bash
sudo cp ~/zephyr-sdk-0.11.4/sysroots/x86_64-pokysdk-linux/usr/share/openocd/contrib/60-openocd.rules /etc/udev/rules.d
sudo udevadm control --reload
Installing newtmgr
For loading code to your nRF9160 Thing Plus, you'll need to download and copy a custom version of newtmgr to a folder in your PATH.
language:bash
cd ~/Downloads
wget "https://docs.jaredwolff.com/files/newtmgr/linux/newtmgr.zip"
unzip newtmgr.zip
mv newtmgr ~/.local/bin
rm newtmgr.zip
If you're not sure, ~/.local/bin is always a good spot for these types of binaries.
Then you'll need to add your serial profile to make it easier to download/update your device:
language:bash
newtmgr conn add serial type=serial connstring='dev=/dev/ttyUSB0,baud=1000000'
newtmgr -c serial reset
If you have multiple Silicon Labs CP2102 connected to your machine your serial port may be named differently. I recommend you unplug all devices that could be named ttyUSB0 to ensure you're targeting the correct device during programming.
Note if you get a Error: open /dev/ttyUSB0: permission denied error. You'll have to fix permissions for the serial device for all users. Here are the steps:
Open this .rules file in vi (or your editor of choice):
language:bash
sudo vi /etc/udev/rules.d/50-myusb.rules
Then within the editor hit i, paste this:
language:bash
KERNEL=="ttyUSB[0-9]*",MODE="0666"
KERNEL=="ttyACM[0-9]*",MODE="0666"
Hit the esc button and then type :wq!.
For more info in using newtmgr checkout the programming section of CircuitDojo's documentation.