nRF9160 Thing Plus Hookup Guide
Example - AT Client Sample
Change directories to ncs/v1.4.1/nrf/samples/nrf9160/at_client.
Make sure that the following lines are added to the prj.conf:
language:bash
# Enable Zephyr application to be booted by MCUboot
CONFIG_BOOTLOADER_MCUBOOT=y
This will enable support for the bootloader. Then, build using the build command:
language:bash
west build -b circuitdojo_feather_nrf9160ns
You can see towards the end of this output that both the application and the bootloader have been built and merged.
Uploading Code
Make sure that you have set your connection configuration (this should only need to be done once) and put your nRF9160 into Boot mode.
- Press the Mode button (MD)
- While holding down the Mode button, press and release the Reset (RST) button.
- When the LED lights up, release the Mode button
Programming can then be completed with newtmgr by pasting the following into your bash/terminal window:
language:bash
newtmgr -c serial image upload build/zephyr/app_update.bin
newtmgr -c serial reset
LTE Link Monitor
The best way to debug anything cellular-related is to use the LTE Link Monitor. To install:
- (for OSX folks) If you haven't already, install the Si2102 USB-to-Serial drivers.
- Make sure you have nRF Connect For Desktop installed as outlined in the SDK sections of this tutorial
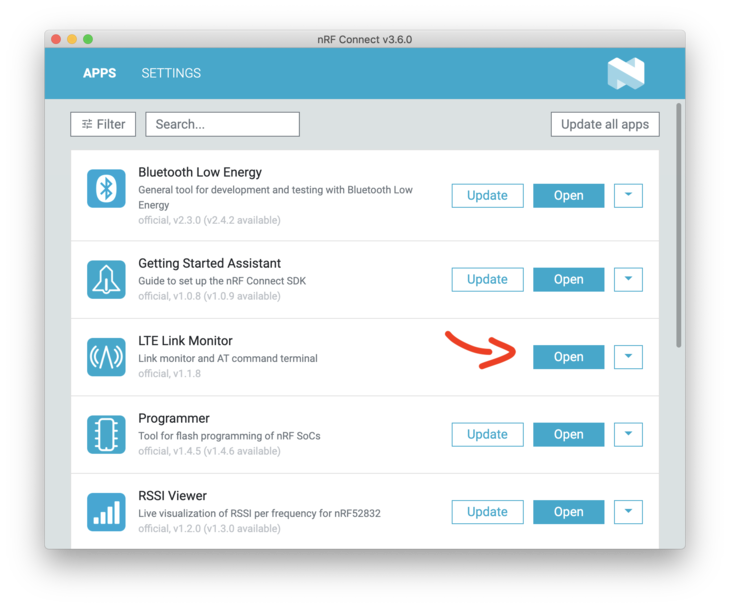
- Open up nRF Connect and in the list of apps, find LTE Link Monitor
- Click install
- Once installed click open and let the fun begin!
For more information check out Nordic's Documentation.
Sim Card
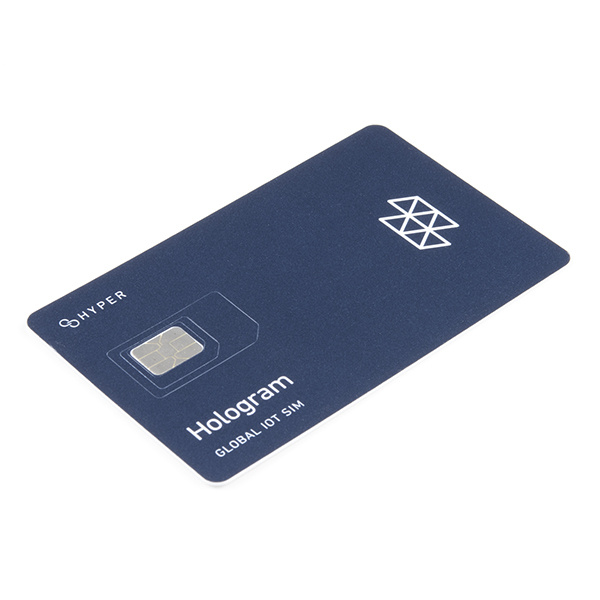
Your purchase of the Sparkfun nRF9160 Thing Plus should have included a SIM card for use with LTE applications. In this instance, we have the Hologram SIM card:
In order to use the SIM card, you'll need to activate it. Go to Hologram's Start Page and follow the instructions. In this tutorial, we are using the most basic license, which is free (up to a point).
Using the LTE Link Monitor
Almost any code example can be used with the AT Host Library. Generally all that is needed is adding these lines to your prj.conf:
language:bash
# AT host library
CONFIG_AT_HOST_LIBRARY=y
CONFIG_UART_INTERRUPT_DRIVEN=y
Alternatively, for a quick start, simply program the at_client example to your nRF9160 Thing Plus. Then follow these quick steps to get up an running:
- Insert your SIM into the nRF9160 Thing Plus.
- Attach your LTE antenna.
- Plug your nRF9160 Thing Plus into your computer's USB port.
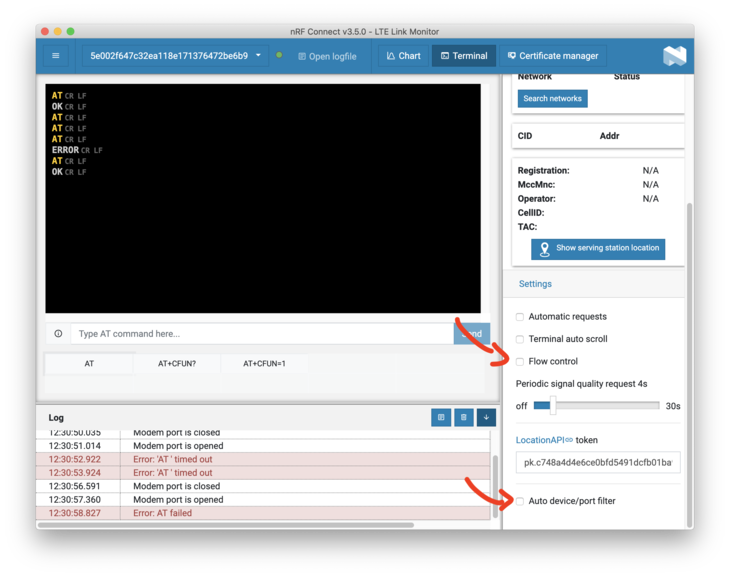
- Ensure that Flow Control is turned off, and Auto device/port filter is also unchecked.
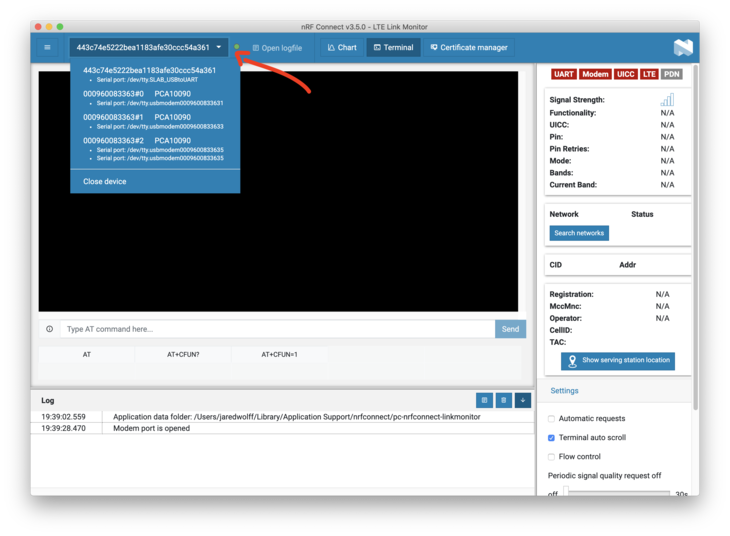
Connect to it using the Device dropdown in the top left hand corner of the LTE Link Monitor. On *nix based systems, the port will show up like /dev/tty.SLAB_USBtoUART. On Windows, you'll have to determine which COM port is associated by using the device manager.
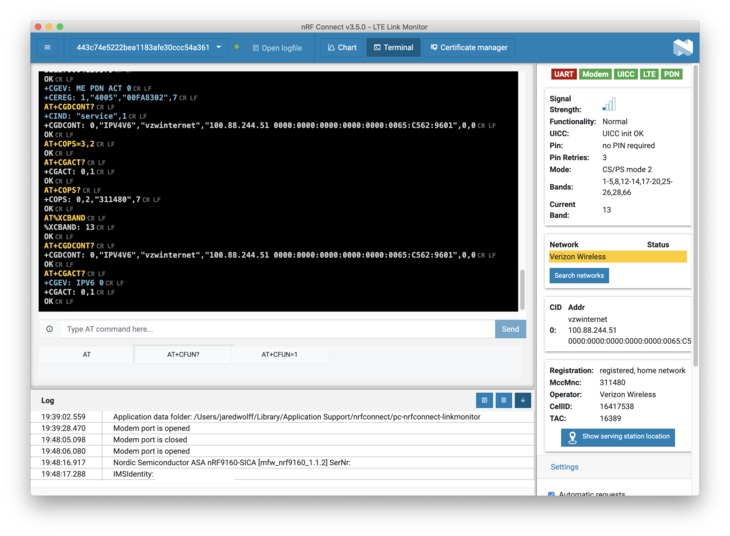
With Automatic requests turned on and the nRF9160 Thing Plus connected, press the AT+CFUN=1 button followed by the AT+CFUN? button. This will cause a few important commands to be automatically sent to your nRF9160 Thing Plus. Additionally, your nRF9160 Thing Plus will attempt to connect to the closest compatible tower possible.
Review the LTE Link Monitor for connection information.
Yes, the LTE Link Monitor provides some great information. Consider it your go-to tool when debugging cellular or board related issues.
