Contributors:
santaimpersonator, MAKIN-STUFF
Introduction
Advanced Product: Novice users, may find the amount information contained in this tutorial somewhat daunting. This board is relatively complex and involves compatibility with three separate ecosystems and can be utilize two different development environments.
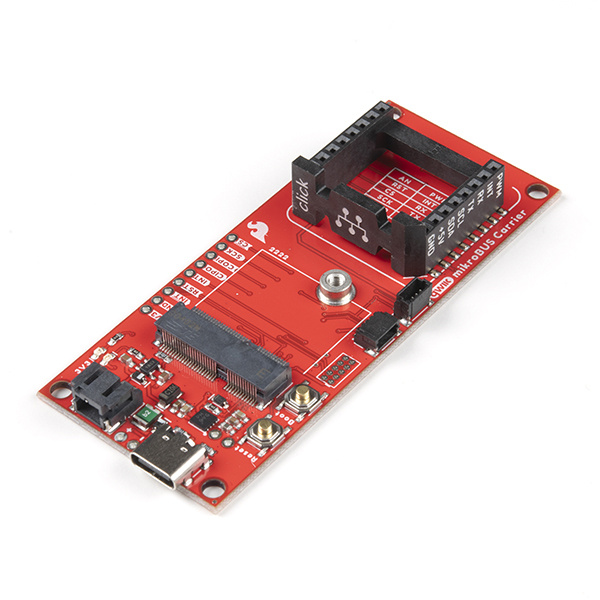
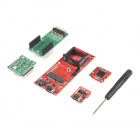
Introducing the our most versatile development board, the MicroMod mikroBUS™ Carrier Board! This new board takes advantage of the MicroMod, Qwiic, and the mikroBUS™ ecosystems and allows users to take advantage of the growing number of 7 MicroMod processor boards, 83 Qwiic (add-on) boards, and 1079 available Click boards™ (as of September 2021), which equates to +51M different board combinations.
DEV-18710
The MicroMod mikroBUS Carrier Board takes advantage of the MicroMod, Qwiic, and mikroBUS ecosystems making it easy to rapidly…
Retired
The mikroBUS™ standard was developed by MikroElektronika. Similar to our Qwiic and MicroMod interfaces, mikroBUS™ provides a standardized connection for add-on Click boards™ to be hooked up to a microcontroller based development board.
Image source: https://www.mikroe.com/1000-click-boards
For more details, check out their blog post on the 1000th Click board™ and the origins of the mikroBUS™ standard and mikroBUS™ standard specifications.
Required Materials
To get started, users will need a few of items listed below. (You may already have a some of these items; read through the guide and modify your cart accordingly.)
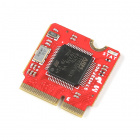
MicroMod Processor Board
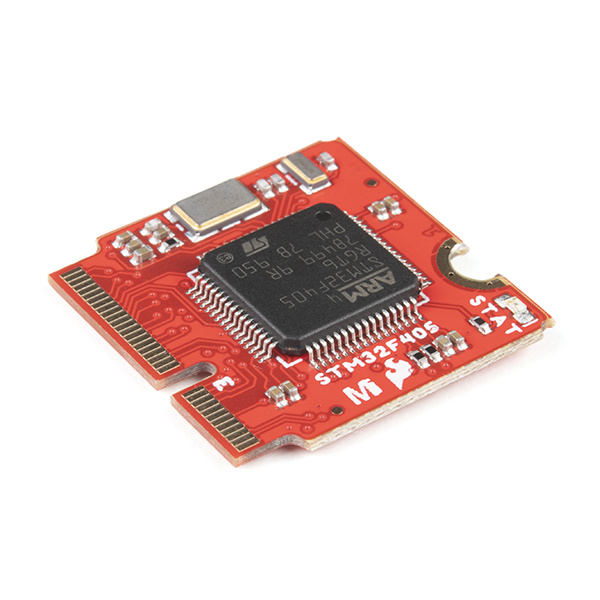
Like other MicroMod Carrier Boards, a Processor Board is required for the product to operate. Users will need a Processor Board (of their choice) to attach to the MicroMod M.2 connector; since, one is not included with this product. Below, are few options; however, we recommend the STM32 processor board. Currently, it is the only processor board supported by Necto Studio and the Arduino IDE.
DEV-17713
The SparkFun MicroMod STM32 Processor Board is ready to rock your MicroMod world with its ARM® Cortex®-M4 32-bit RISC core!
Retired
WRL-16984
The SparkFun MicroMod nRF52840 Processor offers a powerful combination of ARM Cortex-M4 CPU and 2.4 GHz Bluetooth transceiver…
DEV-18771
This copy-protected board leverages the awesome computing power of the NXP iMXRT1062 chip (ARM Cortex-M7) and pairs it with t…
KIT-19935
The SparkFun MicroMod mikroBUS™ Starter Kit is designed to give you just what you need to start using the MicroMod and Clic…
DEV-21326
The SparkFun MicroMod STM32 Processor Board is ready to rock your MicroMod world with its ARM® Cortex®-M4 32-bit RISC core!
Required Hardware
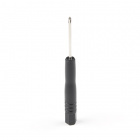
A Phillips screw driver is necessary to attach the Processor board to the Carrier Board.
TOL-19012
This is a pocket size magnetic tip Philips head screwdriver designed to be used specifically with the MicroMod ecosystem.
DEV-18710
The MicroMod mikroBUS Carrier Board takes advantage of the MicroMod, Qwiic, and mikroBUS ecosystems making it easy to rapidly…
Retired
JTAG Programming
To program the STM32 processor board (recommended) through Necto Studio (preferred), users will need a JTAG programmer. Below are programmers that are compatible with the Necto Studio software.
Apple Mac/Linux: Users with a Mac or Linux OS, should purchase the CODEGRIP programmer. The mikroProg is only compatible with Windows PCs.
PGM-19104
MIKROE mikroProg for STM32 is a fast USB 2.0 programmer and hardware debugger based on ST-LINK v2.
Retired
PGM-19105
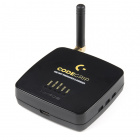
MIKROE CODEGRIP for STM32 is a fast USB-C and WiFi programmer and hardware debugger that supports STM32 Cortex M0, M3, M4, an…
Retired
Users will also need some soldering equipment and a JTAG header to connect the programmer to the board. Additionally, with the (recommended) programmers, an adapter is needed to convert the .1" (100 mil) header spacing of the programmer's cable to the .05" (50 mil) header spacing of the JTAG pins on the MicroMod mikroBUS™ carrier board.
Note: Users should verify that the pinout for the programmer and adapter match up to the corresponding pins of the MicroMod mikroBUS™ carrier board to avoid damaging the MCU.
TOL-09325
This is your basic spool of lead free solder with a water soluble resin core. 0.031" gauge and 100 grams. This is a good spoo…
TOL-14579
This 10mL no-clean flux pen from Chip Quik is great for all of your solder, de-solder, rework, and reflow purposes!
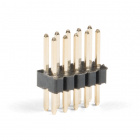
PRT-15362
This is a super small, 2x5 pin male PTH header. This header is in the common configuration for JTAG applications.
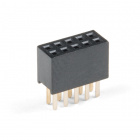
PRT-15363
This is a super small, 2x5 pin female PTH header. This header is in the common configuration for JTAG applications.
TOL-14228
The WLC100 from Weller is a versatile 5 watt to 40 watt soldering station that is perfect for hobbyists, DIYers and students.…
Retired
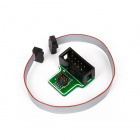
PGM-19220
This MIKROE 50-100mil Adapter allows you to connect a mikroProg for STM32 programmer and hardware debugger to a Cortex debug …
Retired
USB Programming
To program a MicroMod processor through the Arduino IDE (not the preferred method), a USB-C cable is needed to connect the Carrier Board to a computer.
CAB-14743
USB C is fantastic. But until we have converted all our hubs, chargers, and ports over to USB C this is the cable you're goin…
Click Board™
We recommend purchasing a Click board™ to utilize the mikroBUS™ socket. Feel free to choose from any of the available Click boards™ in our catalog. Below are a few options.
Note: If users intend to use the Arduino IDE, we recommend that novice users select a
Click board™ that is supported with an Arduino library. Otherwise, users will have difficulties programming their board to utilize the associated Click board™.
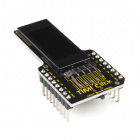
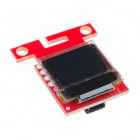
LCD-19253
TIMI-MB (mikroBUS™) is a 0.96” TFT LCD display module that is driven directly by a PIXXI-28 graphics processor from 4D La…
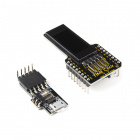
DEV-19254
TIMI-MB (mikroBUS™) is a 0.96” TFT LCD display module that is driven directly by a PIXXI-28 graphics processor from 4D La…
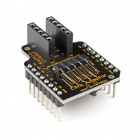
DEV-19257
This adapter supports the mikroBUS™ Click socket with a MatesBUS interface to connect products of any TIMI model directly t…
KIT-19935
The SparkFun MicroMod mikroBUS™ Starter Kit is designed to give you just what you need to start using the MicroMod and Clic…
Note: If users intend to use Click board™, with code that requires a serial data output, there are no serial pins broken out on the board besides the mikroBUS™ socket. Therefore, it is recommended that users also purchase the MIKROE Terminal Click, a 3.3V serial-to-UART adapter, jumper wires, and corresponding USB cable to access the serial data pins from the mikroBUS™ socket. Below, are a few options from our catalog:
DEV-15096
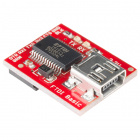
This SparkFun Serial Basic Breakout is an easy-to-use USB-to-Serial adapter based on the CH340G and takes advantage of the ha…
DEV-09873
The SparkFun FTDI Basic Breakout is the go-to tool for programming your Arduino that's not equipped with on-board USB, such a…
DEV-14050
The SparkFun Serial Basic Breakout is an easy-to-use USB-to-Serial adapter based on the CH340G IC from WCH.
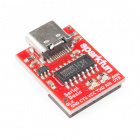
DEV-18961
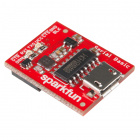
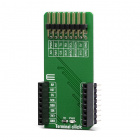
MIKROE Terminal Click is a mikroBUS™ socket expansion board.
Retired
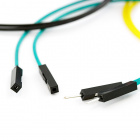
PRT-09140
This is a SparkFun exclusive! These are 155mm long, 26 AWG jumper wires terminated as male to female. Use these to jumper fro…
CAB-14743
USB C is fantastic. But until we have converted all our hubs, chargers, and ports over to USB C this is the cable you're goin…
CAB-13243
This is a USB 2.0 type B to Mini-B 5-pin black cable. You know, the mini-B connector that usually comes with USB Hubs, Camera…
CAB-13244
This is a USB 2.0 type A to Micro-B 5-pin black cable. You know, the mini-B connector that usually comes with cell phones, Ca…
Optional Hardware
To connect Qwiic breakout boards for your MicroMod project, Qwiic cables are required.
Note: If users intend to use Necto Studio, we recommend that novice users select
Qwiic products that are supported with a MIKROE library. Otherwise, users will have difficulties programming their board to utilize the associated Qwiic board.
GPS-15712
The SparkFun NEO-M9N GPS Breakout is a high quality GPS board with equally impressive configuration options.
SEN-19013
The SparkFun Qwiic Mini ToF Imager is built around VL53L5CX from ST Electronics; a state of the art, Time-of-Flight (ToF), mu…
SEN-16466
This SparkFun Environmental Sensor is a breakout for the 4-in-1 BME680 gas sensor from Bosch.
LCD-14532
The SparkFun Qwiic Micro OLED Breakout is a Qwiic enabled version of our popular MicroView and micro OLED display!
Retired
PRT-15109
The Qwiic to Grove Adapter Cable allows interoperability between the SparkFun Qwiic Connect System and the I2C based Grove bo…
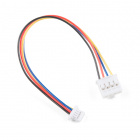
PRT-17258
This polarized I2C cable insulation is made from silicon making it more flexible than our original Qwiic cable particularly i…
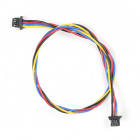
PRT-17260
This polarized I2C cable insulation is made from silicon making it more flexible than our original Qwiic cable particularly i…
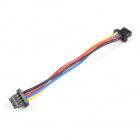
CAB-17261
This polarized I2C cable insulation is made from silicon making it more flexible than our original Qwiic cable particularly i…
A single-cell Lithium-ion battery can be connected to the Qwiic Carrier Board for portability.
PRT-13851
This is a very small, extremely lightweight battery based on Lithium Ion chemistry, with the highest energy density currently…
PRT-13853
This is a very small, extremely light weight battery based on Lithium Ion chemistry. This is the highest energy density curre…
PRT-13855
These are very slim, extremely light weight batteries based on Lithium Ion chemistry. Each cell outputs a nominal 3.7V at 200…
PRT-13813
Slim, extremely light weight batteries based on Lithium Ion chemistry. Each cell outputs a nominal 3.7V at 1000 mAh!
Retired
To modify the jumpers, users will need soldering equipment and/or a knife.
TOL-09200
It's like an Xacto knife, only better. We use these extensively when working with PCBs. These small knives work well for cutt…
Suggested Reading
The MicroMod ecosystem is a unique way to allow users to customize their project to their needs. The Qwiic connect system is a simple method for interfacing with I2C devices. The mikroBUS™ socket is a standardized interface for the MIKROE Click boards™. Click on the banners below for more information on each ecosystem.
For users who aren't familiar with the following concepts, we also recommend reading the following tutorials before continuing.
Serial Communication
Asynchronous serial communication concepts: packets, signal levels, baud rates, UARTs and more!
Logic Levels
Learn the difference between 3.3V and 5V devices and logic levels.
I2C
An introduction to I2C, one of the main embedded communications protocols in use today.
Analog vs. Digital
This tutorial covers the concept of analog and digital signals, as they relate to electronics.
Processor Interrupts with Arduino
What is an interrupt? In a nutshell, there is a method by which a processor can execute its normal program while continuously monitoring for some kind of event, or interrupt. There are two types of interrupts: hardware and software interrupts. For the purposes of this tutorial, we will focus on hardware interrupts.
Getting Started with MicroMod
Dive into the world of MicroMod - a compact interface to connect a microcontroller to various peripherals via the M.2 Connector!
Designing with MicroMod
This tutorial will walk you through the specs of the MicroMod processor and carrier board as well as the basics of incorporating the MicroMod form factor into your own PCB designs!
Installing an Arduino Library
How do I install a custom Arduino library? It's easy! This tutorial will go over how to install an Arduino library using the Arduino Library Manager. For libraries not linked with the Arduino IDE, we will also go over manually installing an Arduino library.
Installing Arduino IDE
A step-by-step guide to installing and testing the Arduino software on Windows, Mac, and Linux.
ARM Programming
How to program SAMD21 or SAMD51 boards (or other ARM processors).
Installing Board Definitions in the Arduino IDE
How do I install a custom Arduino board/core? It's easy! This tutorial will go over how to install an Arduino board definition using the Arduino Board Manager. We will also go over manually installing third-party cores, such as the board definitions required for many of the SparkFun development boards.


