mbed Starter Kit Experiment Guide
This Tutorial is Retired!
This tutorial covers concepts or technologies that are no longer current. It's still here for you to read and enjoy, but may not be as useful as our newest tutorials.
 Shawn Hymel
Experiment 1: Blink an LED
Welcome to the world of mbed! In the following series of tutorials, we will show you how to configure your mbed.org account, connect some hardware, and program your mbed controller to do some cool things. Each tutorial will list the required components, but if you are just starting out with mbed, we recommend you get the mbed Starter Kit, which will provide all the necessary hardware to complete the tutorials.
In this tutorial, we will unbox the mbed LPC1768, connect it to our computer, configure our mbed.org profile, and write our first blinking LED program.
Account Setup
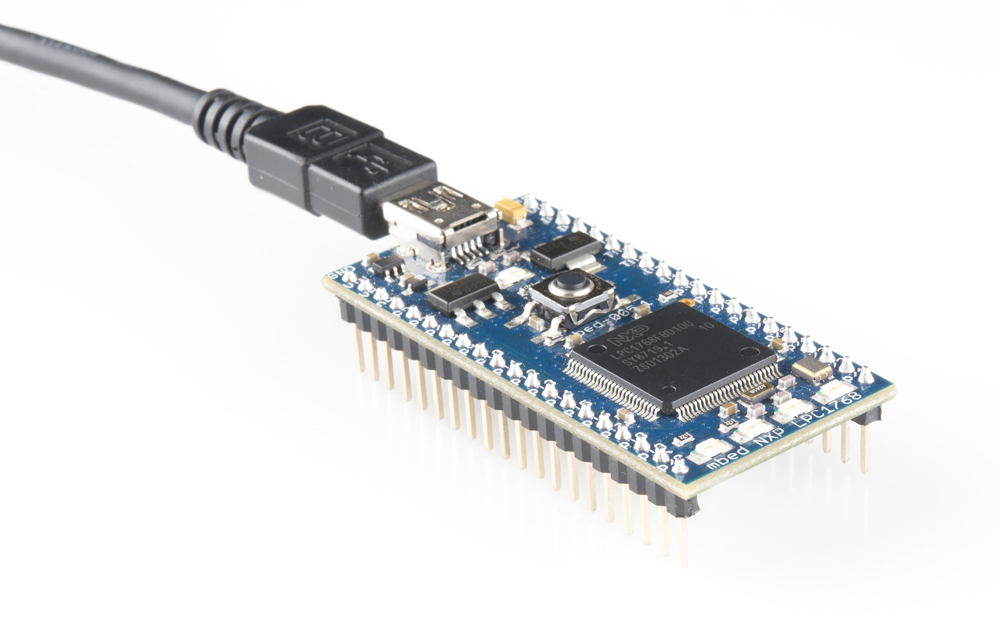
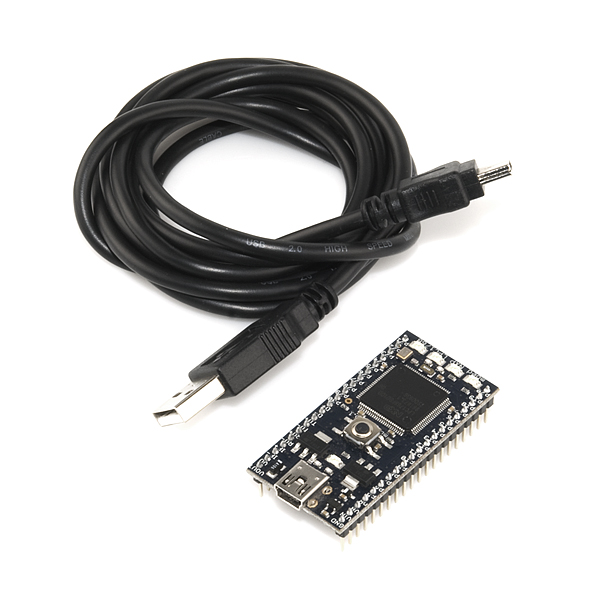
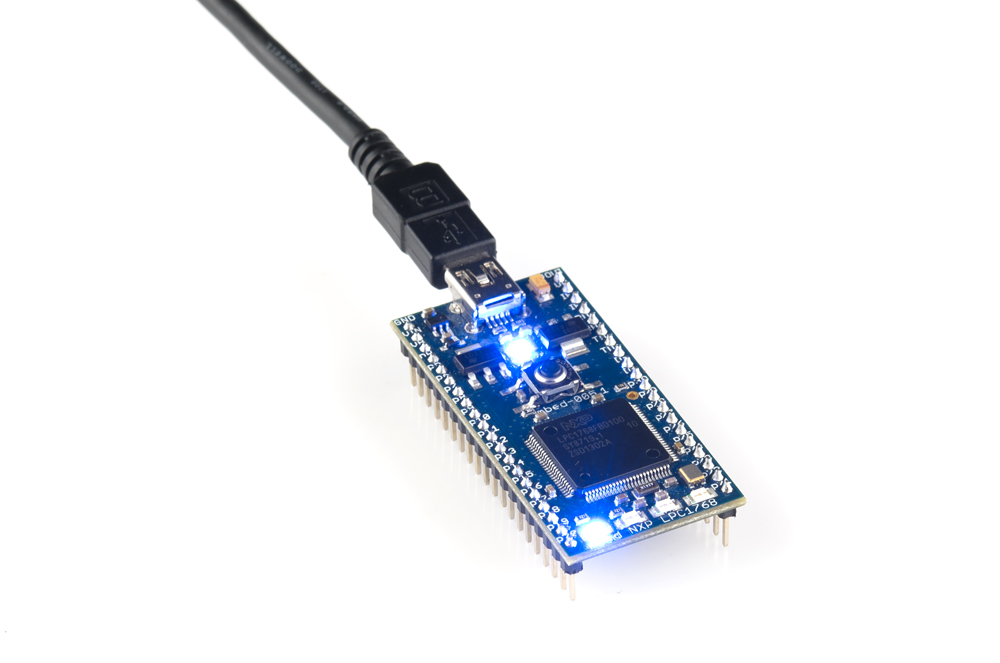
For this first tutorial, we will be using the LPC1768 and the USB mini-B cable. So, open your mbed NXP LPC1768 box and remove the LPC1768 controller and USB cable.
Plug one end of the USB cable into the LPC1768 and the other end into your computer. The blue power LED should light up.

After a few seconds, your computer should recognize the mbed controller as a standard USB drive. Open up a Windows Explorer (Windows) or Finder (OS X) and navigate to the mbed drive.
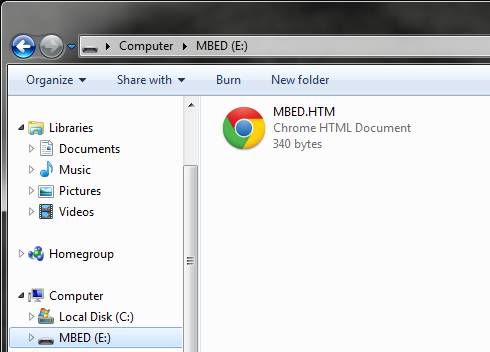
Double-click on the MBED.HTM link, which should open up a webpage that asks you to create a new mbed account.
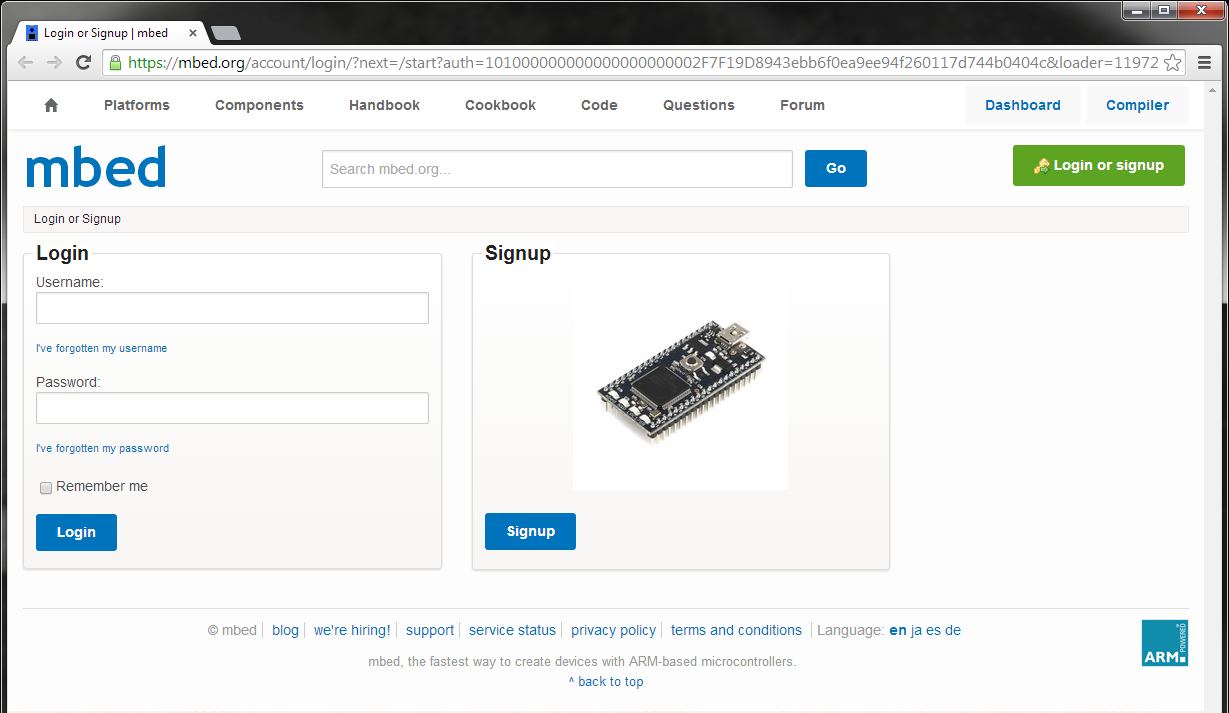
Click "Signup" and follow the prompts to create a new mbed.org account. Once you have created an account, navigate to developer.mbed.org.

Click on "Login or signup" if you are not already signed in. Once signed in, click on "Compiler" in the top right. You will be presented with mbed's online compiler.
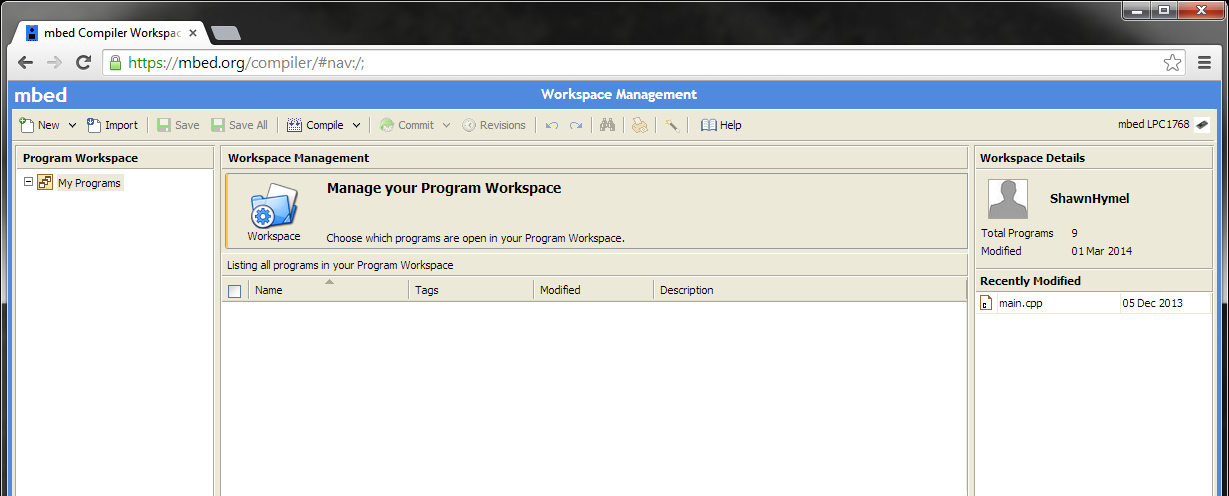
The Code
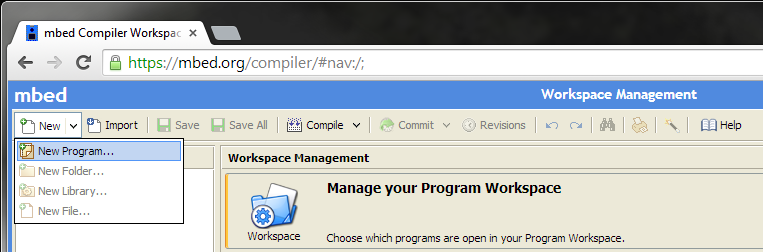
In the upper-left corner of the mbed Compiler, select "New" and then "New Program."
You will see a prompt appear asking you to name your new program. Make sure that "Blinky LED Hello World" is selected for your Template and that "mbed_blinky" is set as your Program Name.
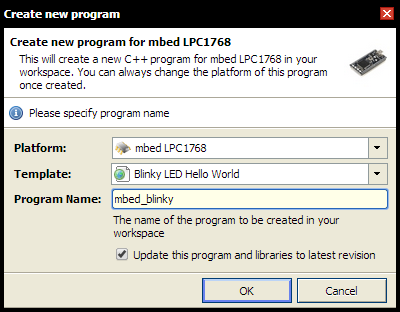
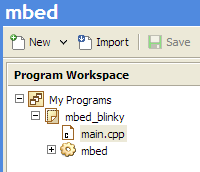
Click "OK" and you will see your new program appear in your workspace.

Click on "main.cpp" in the pane on the left side to open up our C++ program.
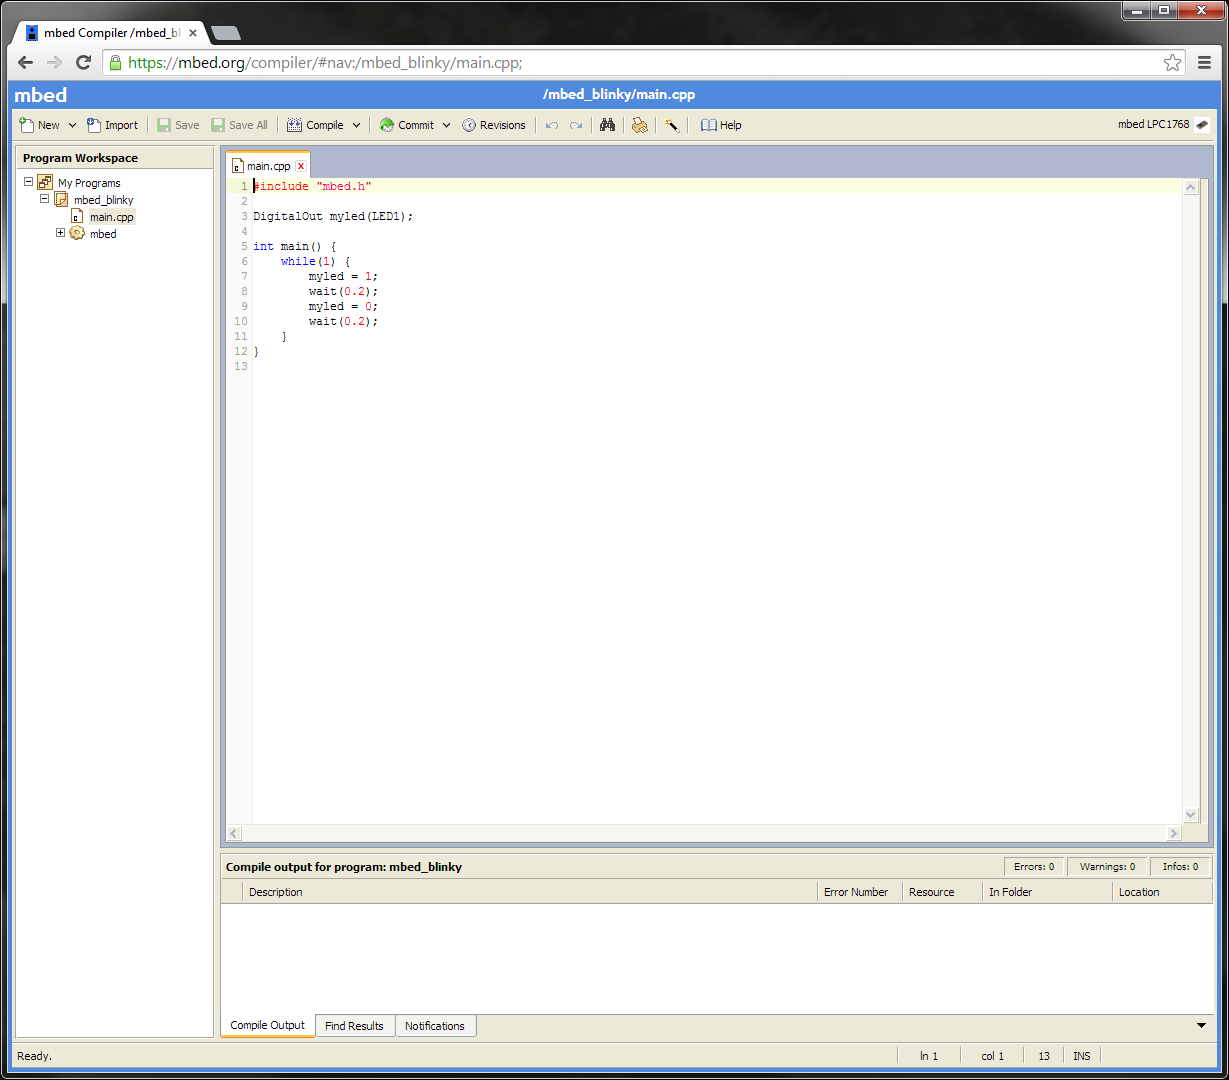
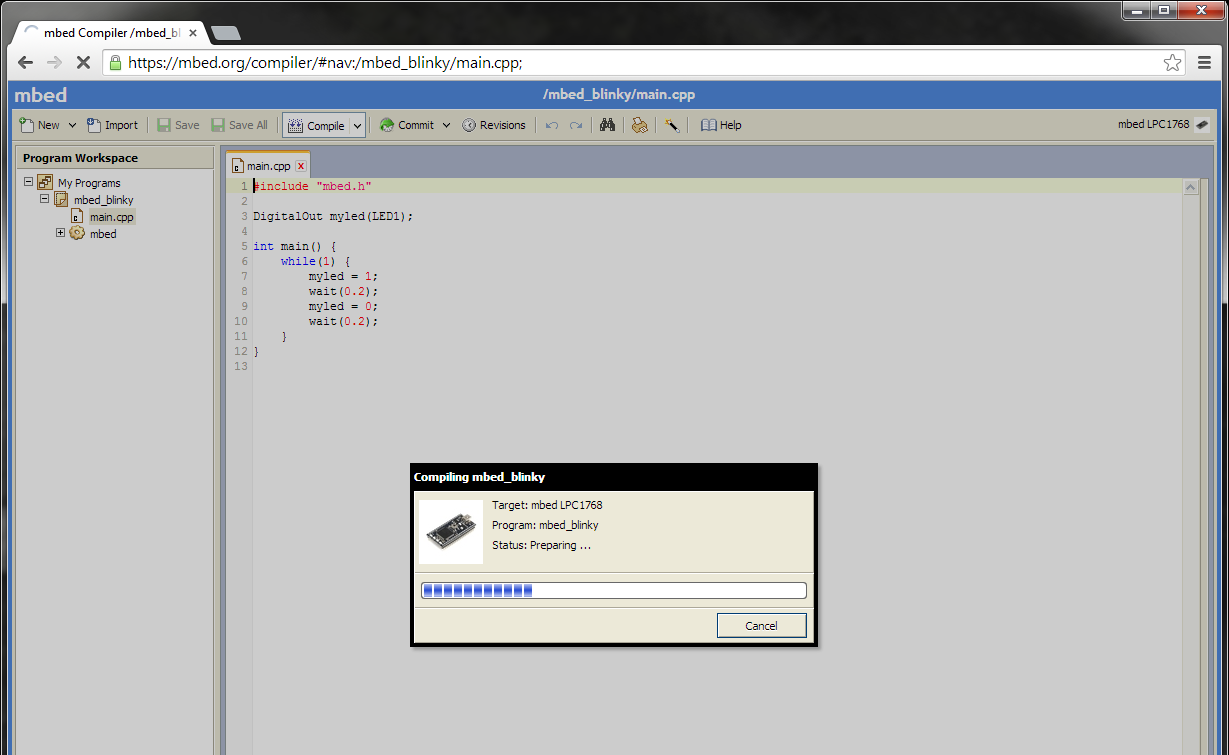
The code imports the mbed.h library, configures the pin for the LPC1768's onboard LED to output, and blinks the LED forever. It has been copied here for reference.
language:c
#include "mbed.h"

DigitalOut myled(LED1);

int main() {
    while(1) {
        myled = 1;
        wait(0.2);
        myled = 0;
        wait(0.2);
    }
}
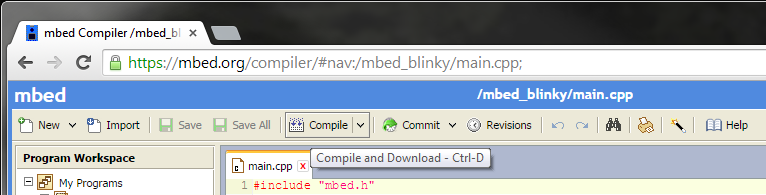
On the top bar, click "Compile."
This will start the compile process and download the program as a binary file. Depending on your browser settings, this might be automatically downloaded. If you are asked where to download the file, choose your default Downloads folder.
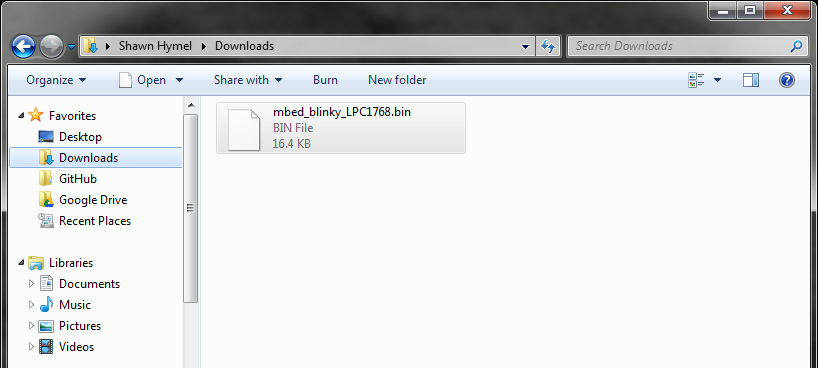
Open up an Explorer (or Finder on OS X) window and navigate to your Downloads folder. You will see your blinky program as a .bin file.
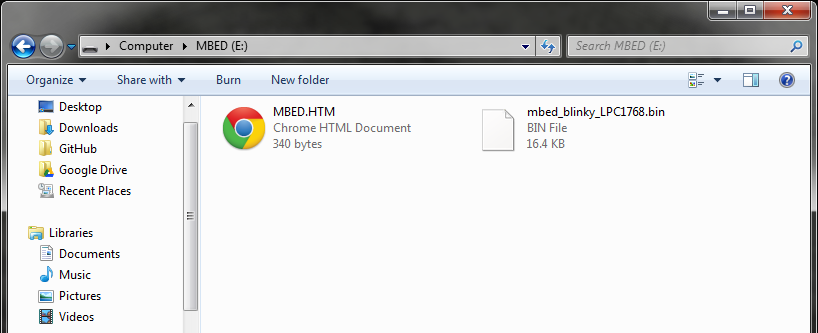
Copy the .bin file to your MBED drive.

If you look in the MBED drive, you should see two files: the original MBED.HTM link and your new blinky program.
Without disconnecting the USB cable, press the button in the middle of the LPC1768. You should see the bottom left LED begin to flash off and on. The blinking LED shows that your code is running!
Concepts
This is our first program with the mbed, so we should talk about what is going on.
Setup and Loop
If you have used Arduino in the past, it might come as a surprise that you were writing code in a language very close to C and C++. One thing you should be aware of is that Arduino wraps up the setup and loop stages into nice functions for you. For example, you might see this in Arduino:
language:c
void setup() {

    // Your setup code goes here

}

void loop() {

    // Your loop code goes here

}
In Arduino, the setup code runs once, and the loop code runs forever.
In mbed (and most other embedded systems), we must create our own setup and loop sections within main(). Every C and C++ program must have a main() function, as this is the entry point for the program (i.e. this is where the program begins execution when you run it).
Using our concepts of setup and loop, this is what the basic template looks like in mbed:
language:c
int main() {

    // Your setup code goes here

    while(1) {

        // Your loop code goes here

    }
}
Much like in the Arduino example, the program executes the setup code once (as soon as it enters the main() function) and executes the loop code forever. Notice that we explicitly put the loop code inside of a while loop. It is possible to make the while loop exit, and the program would stop running. You would need to reset the microcontroller to restart the program.
Header Files
The very first line in our blinky program is
language:c
#include "mbed.h"
This tells the compiler to include (i.e. copy into our program) a separate file (mbed.h in this case) when we compile. mbed.h is a header file that declares a set of functions, constants, classes, etc. for our use. Many times, the implementation of these functions, constants, classes, etc. are defined in a separate library, and the header file provides an interface. As long as we include the header file and the header file and library are in our search path (for our mbed programs, just make sure that the library is copied into our project directory - shown by the little gear icon in this example), we can use the functions, constants, classes, etc. listed in the header file.
Going Further
This is just the beginning! You got a taste of the mbed Compiler and built your first program. Now that you understand how to use the mbed Compiler, we will move on to more advanced topics and show you how to connect other pieces of hardware to make the LPC1768 do fun and interesting things.
Beyond the Tutorial
- Can you make the LED blink slower?
- Can you make another LED blink?
- Can you make an LED blink exactly 10 times and then stop? (Hint: the while(1) loop continues forever. How would you modify that to stop after 10 times?)
Digging Deeper
- Read about mbed's SDK
- Read about mbed's HDK
- Read about mbed's Compiler
- Read about mbed's website
- Take a look at mbed's Handbook, which has official mbed libraries
- Take a look at mbed's Cookbook, which has user-submitted libraries and projects