LSM9DS1 Breakout Hookup Guide
Introduction
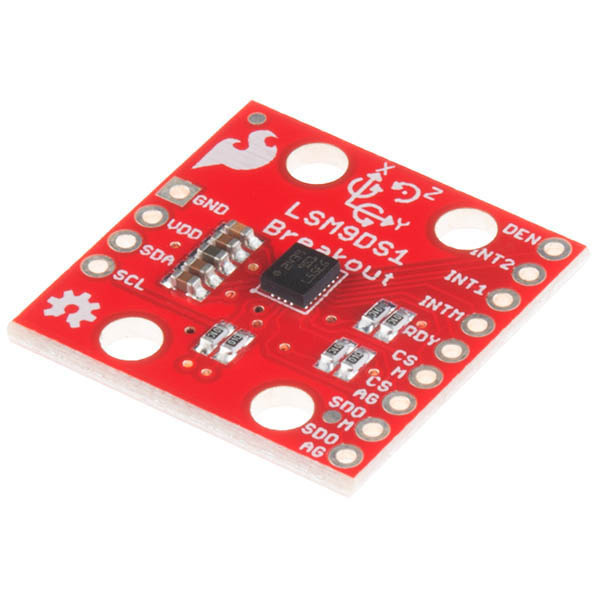
The LSM9DS1 is a versatile, motion-sensing system-in-a-chip. It houses a 3-axis accelerometer, 3-axis gyroscope, and 3-axis magnetometer -- nine degrees of freedom (9DOF) in a single IC! Each sensor in the LSM9DS1 supports a wide range of...ranges: the accelerometer's scale can be set to ± 2, 4, 8, or 16 g, the gyroscope supports ± 245, 500, and 2000 °/s, and the magnetometer has full-scale ranges of ± 2, 4, 12, or 16 gauss. The IMU-in-a-chip is so cool we put it on a quarter-sized breakout board.
SparkFun 9DoF IMU Breakout - LSM9DS1
SEN-13284The LSM9DS1 is equipped with a digital interface, but even that is flexible: it supports both I2C and SPI, so you'll be hard-pressed to find a microcontroller it doesn't work with.
Covered In This Tutorial
This tutorial is devoted to all things LSM9DS1. We'll introduce you to the chip itself, then the breakout board. Then we'll switch over to example code, and show you how to interface with the board using an Arduino and our LSM9DS1 Arduino library.
The tutorial is split into the following pages:
- LSM9DS1 Overview -- An overview of the LSM9DS1, examining its features and capabilities.
- Breakout Board Overview -- This page examines the LSM9DS1 Breakout Board -- topics like the pinout, jumpers, and schematic are covered.
- Hardware Assembly -- Assembly tips and tricks, plus some information about the breakout's dimensions.
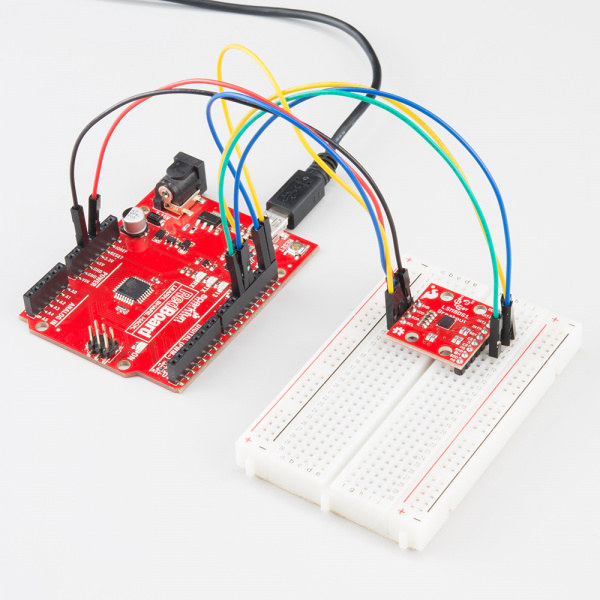
- Hardware Hookup -- Example I2C and SPI wiring diagrams.
- Instlaling the Arduino Library -- How to install the Arduino library, and use a simple example sketch to verify that your hookup works.
- Using the Arduino Library -- An overview of the SFE_LSM9DS1 Arduino library's functions and variables.
Required Materials
This tutorial explains how to use the LSM9DS1 Breakout Board with an Arduino. To follow along, you'll need the following materials:
- LSM9DS1 Breakout Board
- Arduino UNO, RedBoard, or another Arduino-compatible board
- Straight Male Headers -- Or wire. Something to connect between the breakout and a breadboard.
- Breadboard -- Any size (even mini) should do.
- M/M Jumper Wires -- To connect between Arduino and breadboard.
A logic level shifter is required for any 5V-operating Arduino (UNO, RedBoard, Leonardo, etc). If you use a 3.3V-based 'duino -- like the Arduino Pro 3.3V or 3.3V Pro Mini -- there is no need for level shifting.
Suggested Reading
If you're not familiar with some of the concepts below, we recommend checking out that tutorial before continuing on.
- Accelerometer Basics
- Gyroscopes
- Serial Peripheral Interface (SPI)
- Inter-IC Communication (I2C)
- Logic Levels
- Bi-Directional Level Shifter Hookup Guide

