Getting Started with the Raspberry Pi Zero 2 W
 M-Short,
  El Duderino
Hardware Assembly
With an OS written to the microSD card, we can start connecting everything up. We used the Logitech K400 Plus Wireless Touch Keyboard to keep all the input devices tied to a single USB connection. Note, this keyboard is not included with the SparkFun Raspberry Pi Zero 2 W Basic Kit.
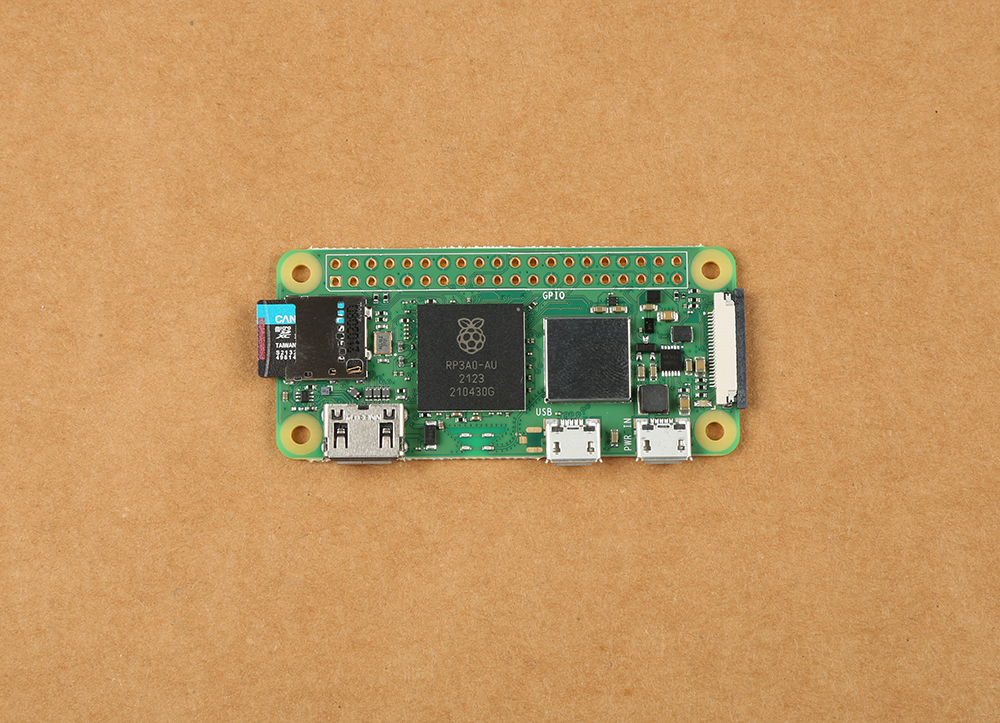
Insert the microSD card
Plug the microSD card into the microSD socket on the Pi Zero 2 W.
Connecting Peripheral Devices
Next up, connect any peripheral equipment to the Pi. Most users will need at least a monitor and keyboard/mouse to get started with the Pi.
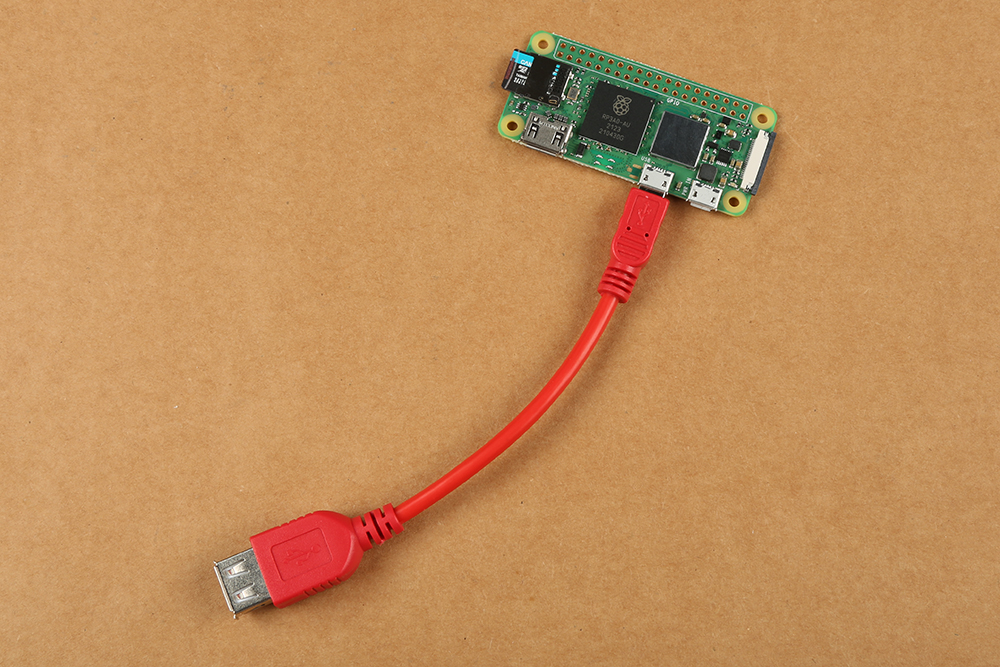
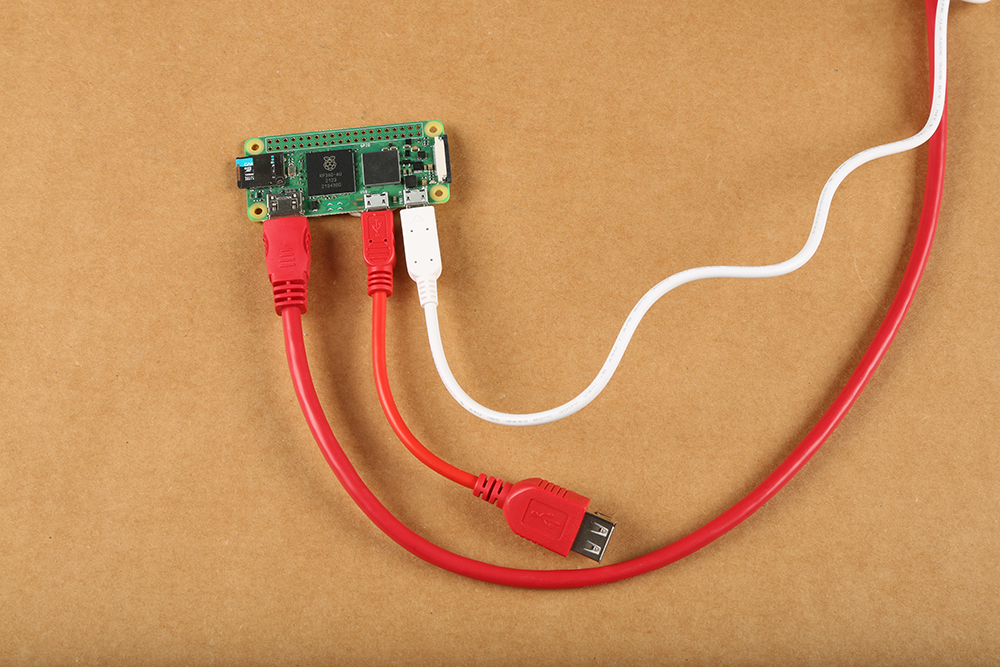
USB OTG Cable
Plug the USB OTG cable into the microUSB connector labeled USB on the Pi. This provides a standard USB connection for devices like a keyboard or mouse. A USB hub or extender is required if you need to connect multiple USB devices to your Pi Zero 2 W.
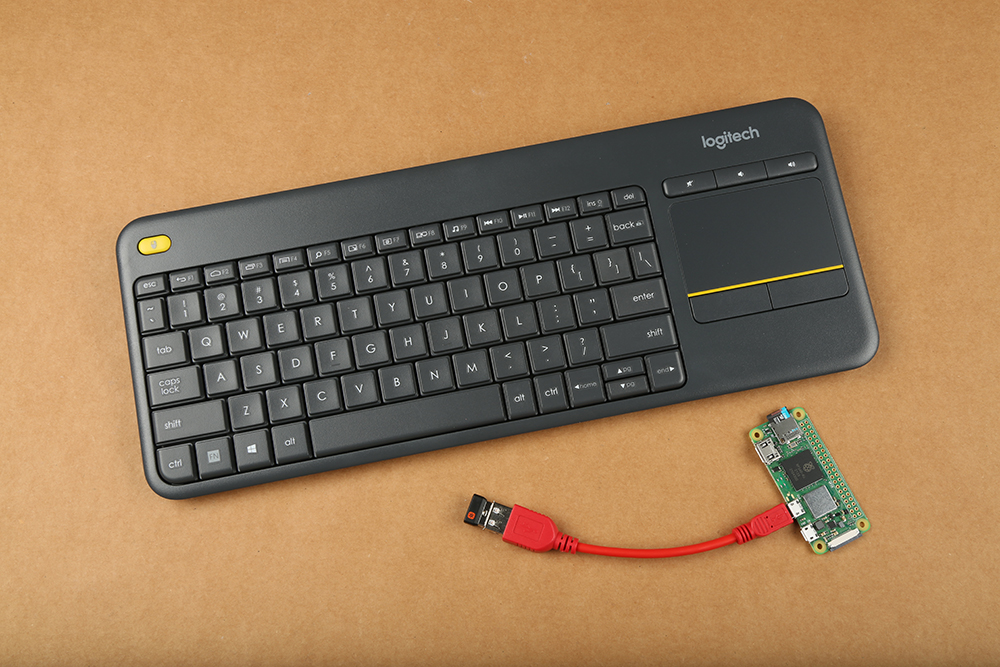
Keyboard and Mouse
You can use the USB OTG cable to plug in a Keyboard/Mouse. For this tutorial we used the Logitech K400 Plus Wireless Touch Keyboard as it has one USB dongle for both devices. For use with other standard USB devices, it is recommended that you use a powered USB hub.
Monitor
Plug in the miniHDMI cable included with the Basic Kit to the miniHDMI connector on the Pi Zero 2 W. Connect the other end of the cable to the HDMI port on your monitor or TV.
Power Supply
With everything connected and the microSD card inserted, connect the power supply to the microUSB connector labeled PWR IN and the Pi should start booting up.
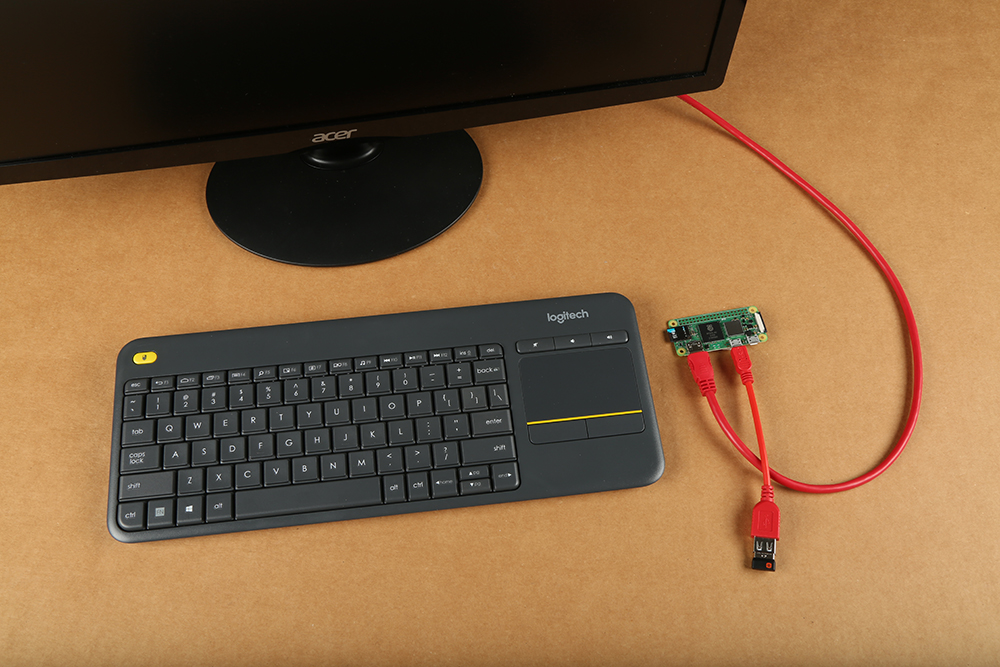
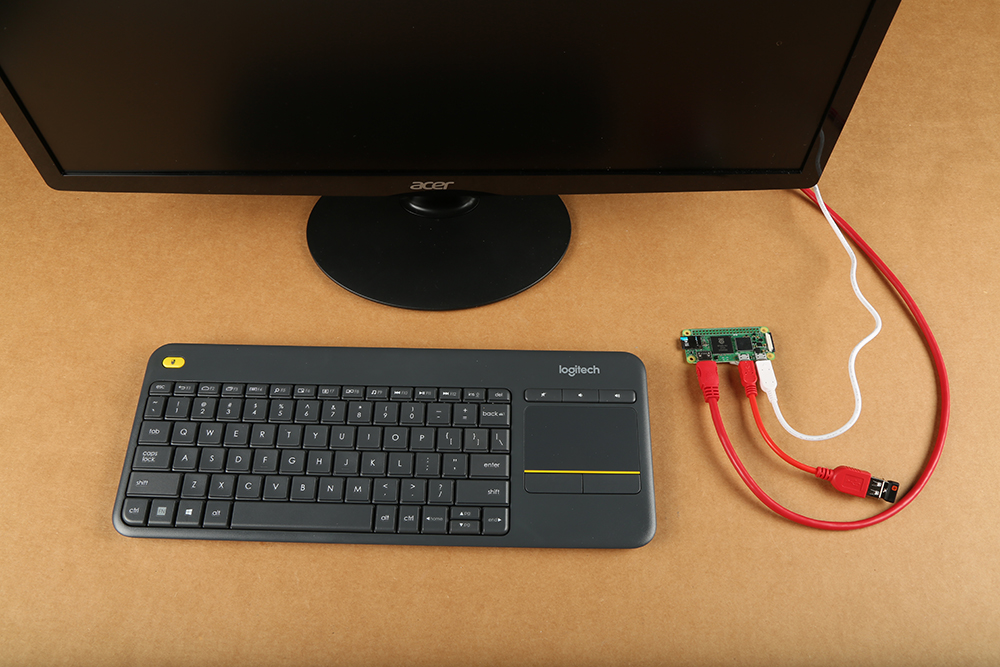
Completed Setup
With everything connected, your setup should look similar to the photo below:
Connecting Hardware
The steps above provide the basics to get the Pi Zero 2 W up and running but we've barely scratched the surface of the potential of this little computer. The 2x20 GPIO header on the Pi provides access to a host of additional functionality so users who wish to take advantage of that will want to solder a set of headers like these to it.
Users looking to do some breadboard prototyping with the Pi Zero 2 W may want to use the Pi Wedge and these tutorials to use the GPIO pins:
Preassembled 40-pin Pi Wedge Hookup Guide
Raspberry gPIo
Headless Raspberry Pi Setup
If you want to use any SparkFun Qwiic devices with your Pi Zero 2 W, take a look at the SparkFun Qwiic SHIM or Qwiic SHIM Kit or Qwiic Starter Kit for Raspberry Pi:
Qwiic SHIM for Raspberry Pi Hookup Guide
Qwiic SHIM Kit for Raspberry Pi Hookup Guide
Finally, the camera connector allows you to connect a Raspberry Pi camera. Be aware, the connector is a 22pin 0.5mm and different than the standard Pi and needs a different cable to connect the camera to the Pi Zero 2 W.
Headless
If you prefer a "headless" setup with no monitor, keyboard or mouse; the tutorials below can help (note, headless setups are much more advanced than a standard setup):