Getting Started with the Raspberry Pi Zero 2 W
 M-Short,
  El Duderino
Hardware Overview
In this section we'll explore the hardware present on the Pi Zero 2 W and, where relevant, compare it to the previous version and other Rapsberry Pi SBCs.
Raspberry Pi RP3A0 SiP
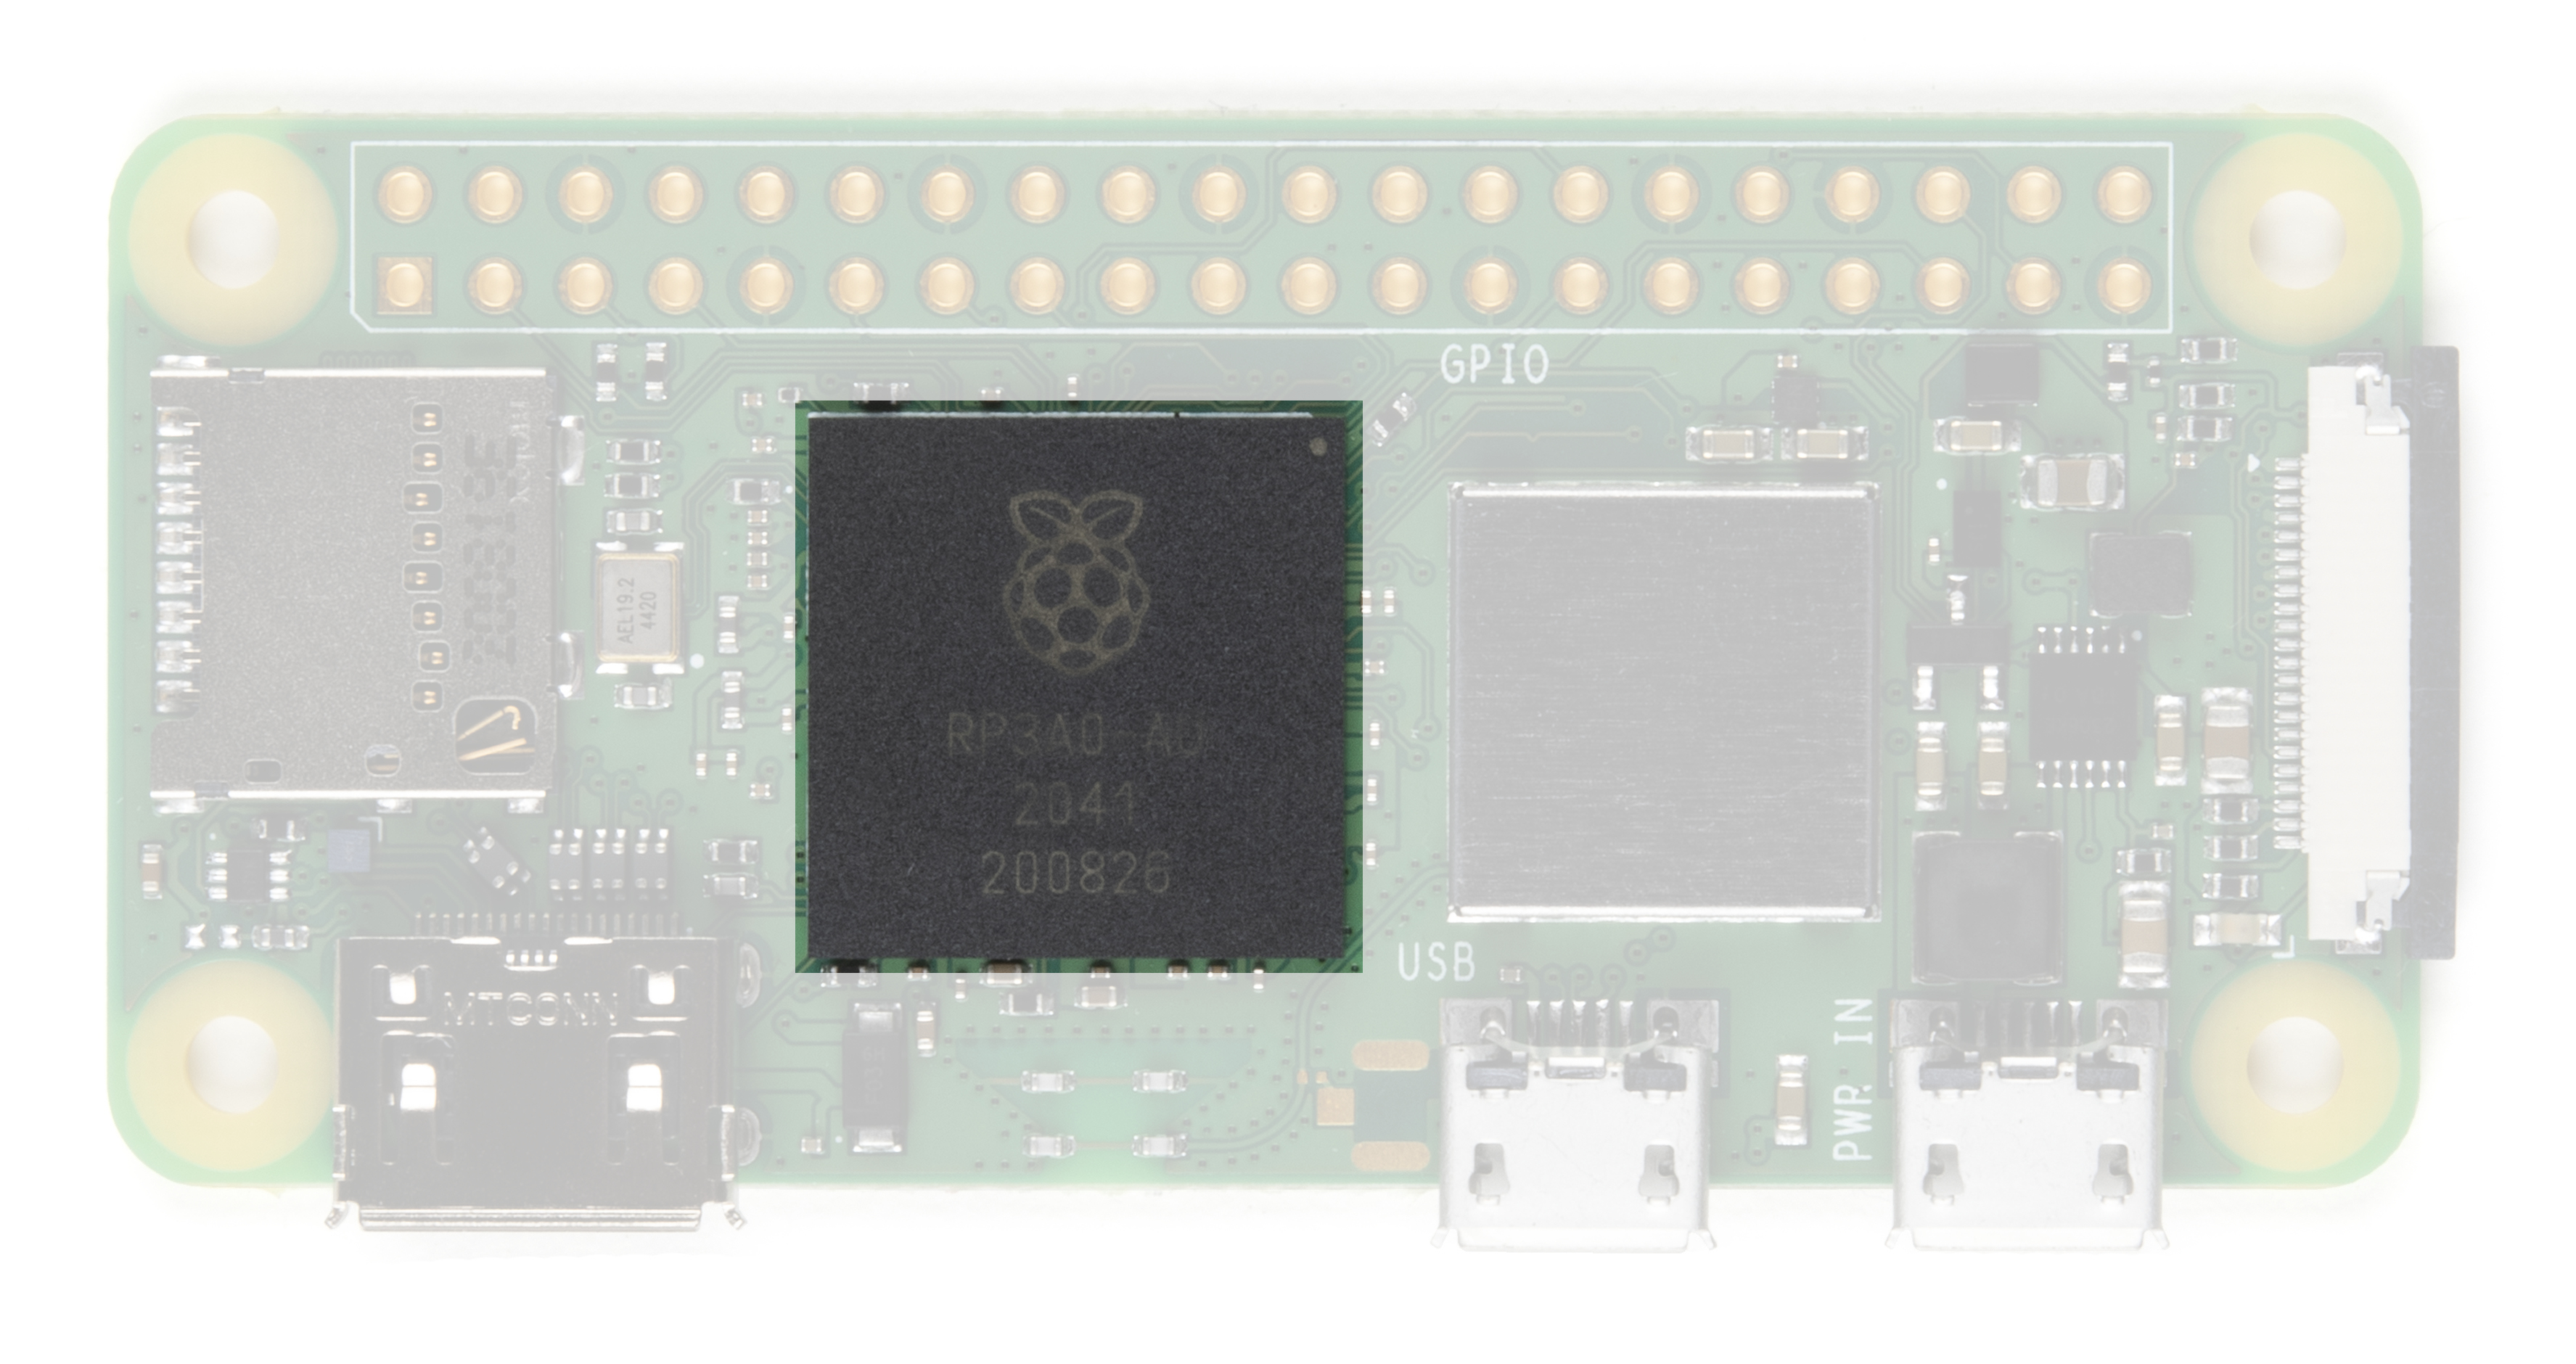
The Pi Zero 2 W features an upgraded RP3A0 system-in-package (SiP) incorporates a quad-core 64-bit Arm Cortex-A53 CPU, clocked at 1GHz The SiP integrates a Broadcom BCM2710A1 die with 512MB of LPDDR2 SDRAM. The processor provides the Raspberry Pi Zero 2 W with 40% more single-threaded performance, and five times more multi-threaded performance, than the original single-core Raspberry Pi Zero.
Mini HDMI
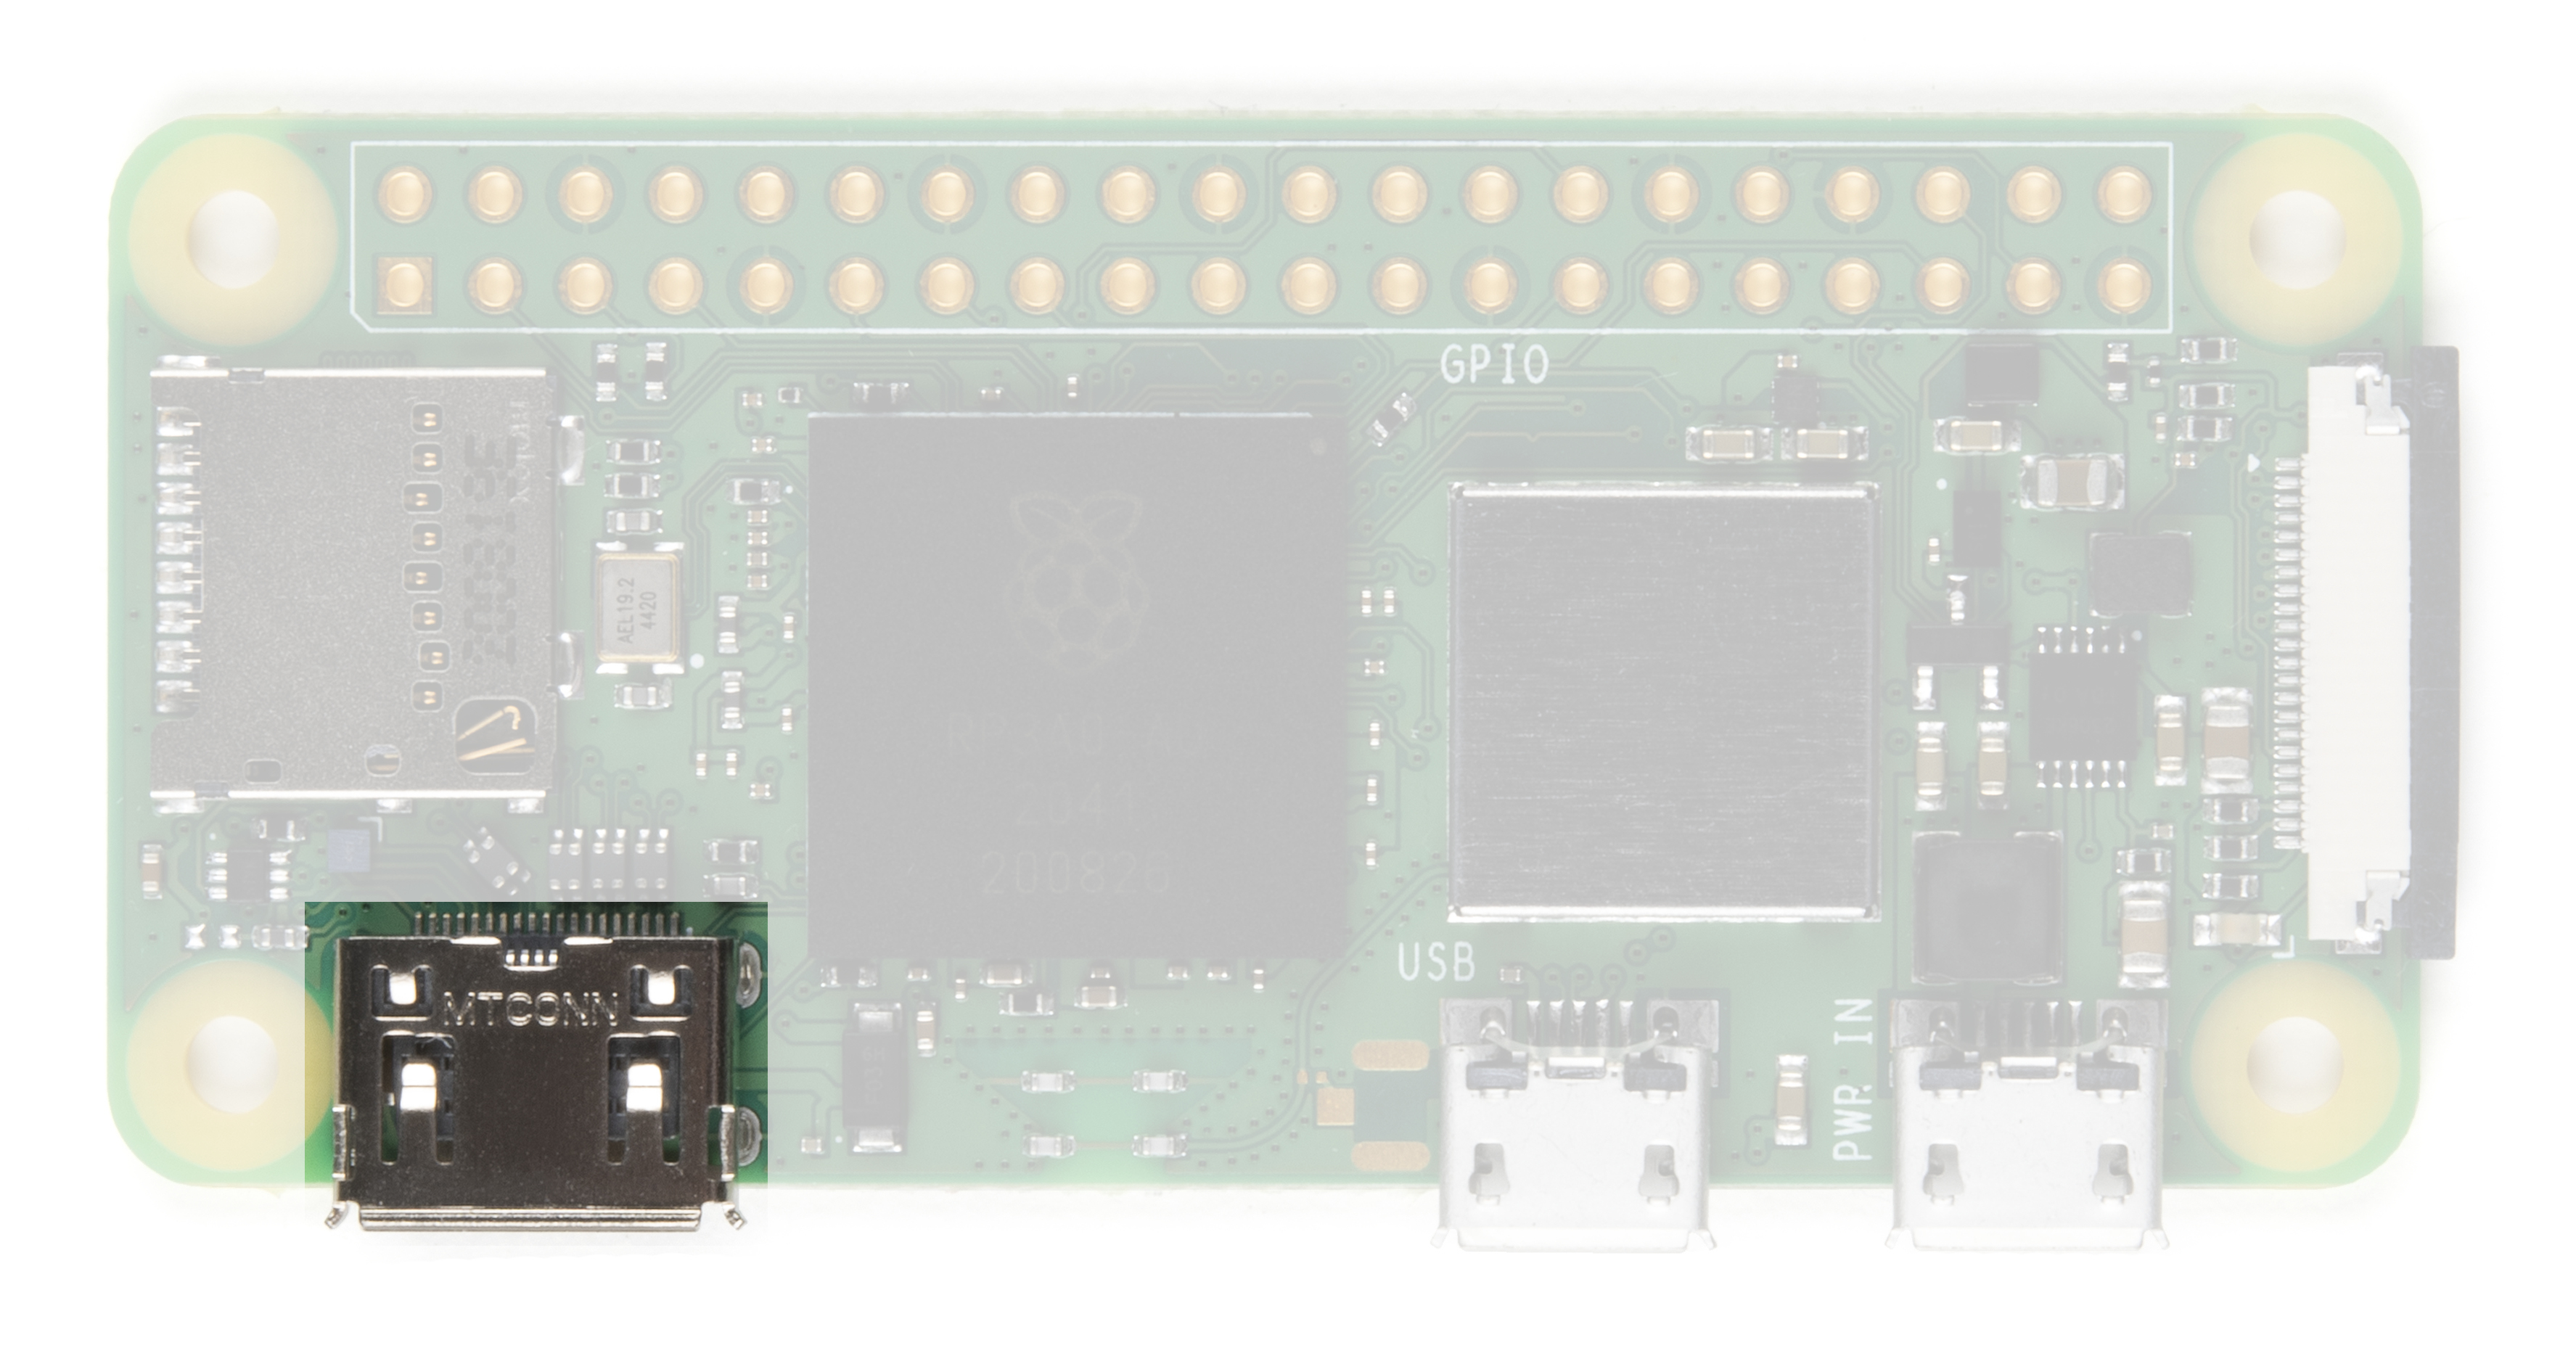
Unlike the previous models of the Raspberry Pi which use a standard HDMI connector, the Zero uses a mini HDMI connector to save space. To connect the Zero to a monitor or television, you will need a mini HDMI to HDMI adapter or cable.
USB On-the-Go
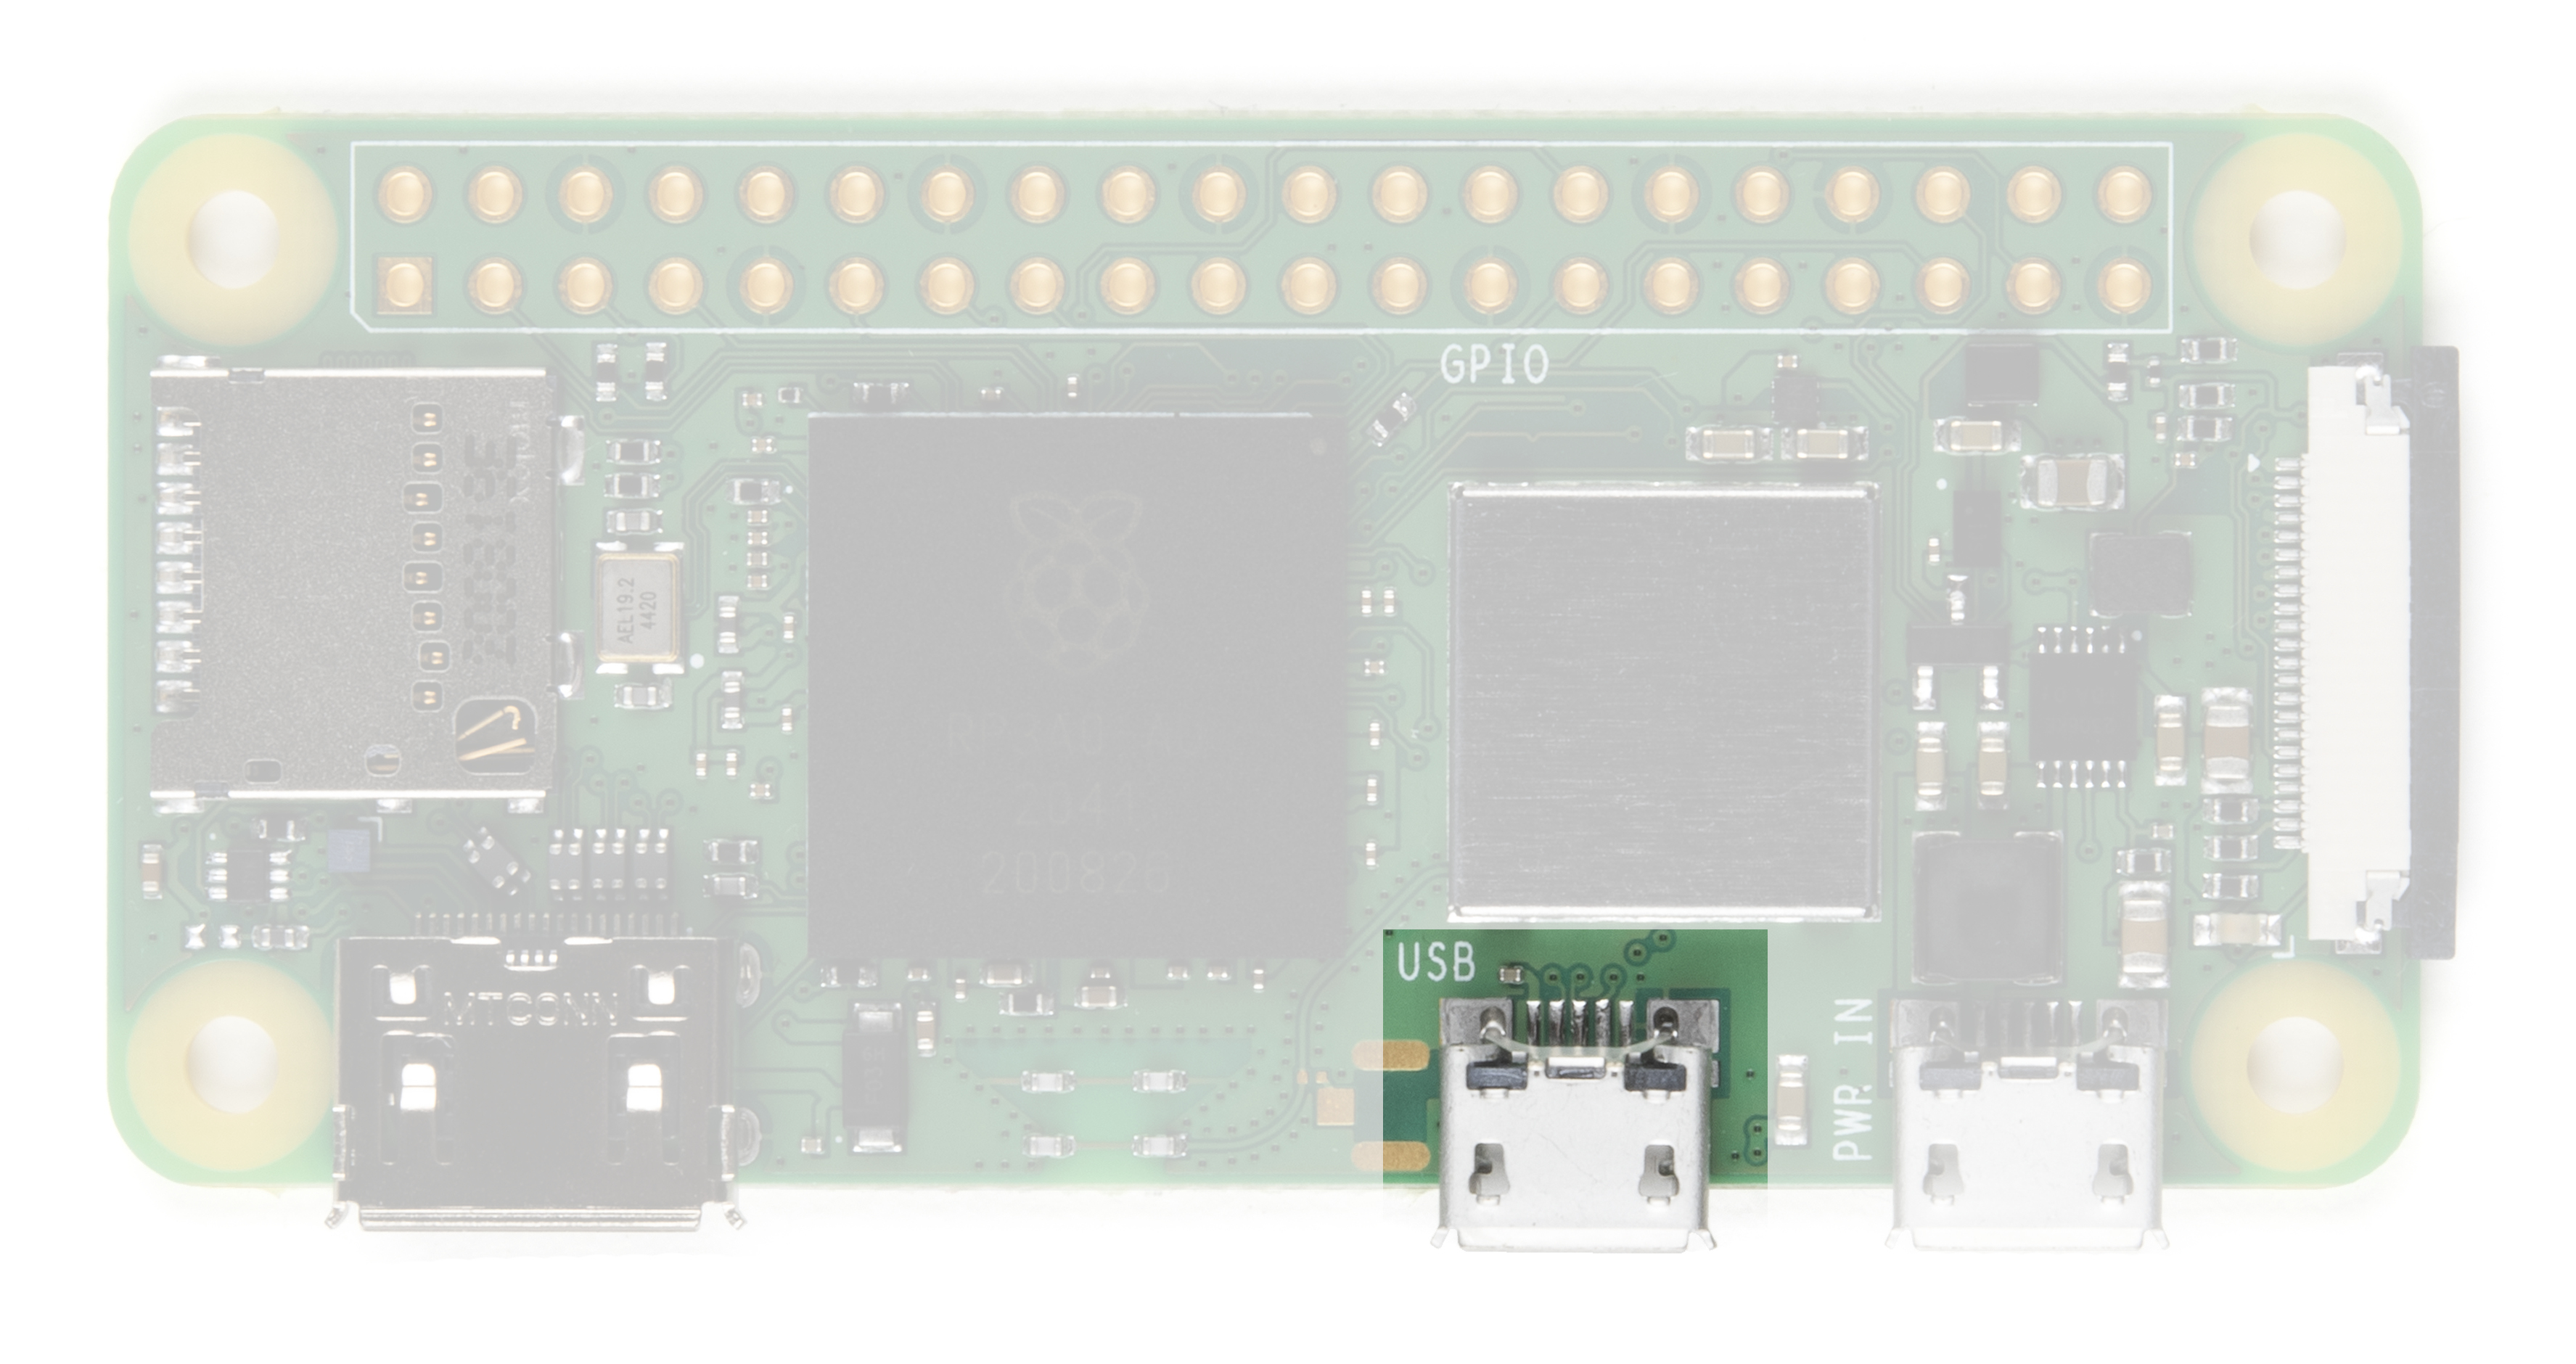
The Raspberry Pi 3 and other models have traditionally had 2-4 standard size female USB connectors, which allowed for all variety of devices to connect including mice, keyboards, and WiFi dongles. Again to save space, the Zero has opted for a USB On-the-Go (OTG) connection. The Pi Zero uses the same Broadcom IC that powered the original Raspberry Pi A and A+ models. This IC connects directly to the USB port allowing for OTG functionality, unlike the Pi B, B+, 2 and 3 models, which use an onboard USB hub to allow for multiple USB connections.
To connect a device with a standard male USB connection, the Basic Kit includes a USB OTG cable. Plug the microUSB end into the Pi Zero, and plug your USB device into the standard female USB input.
For use with other standard USB devices, we recommended that you use a powered USB hub. Wireless keyboard and mouse combos work best as they have one USB dongle for both devices.
Power
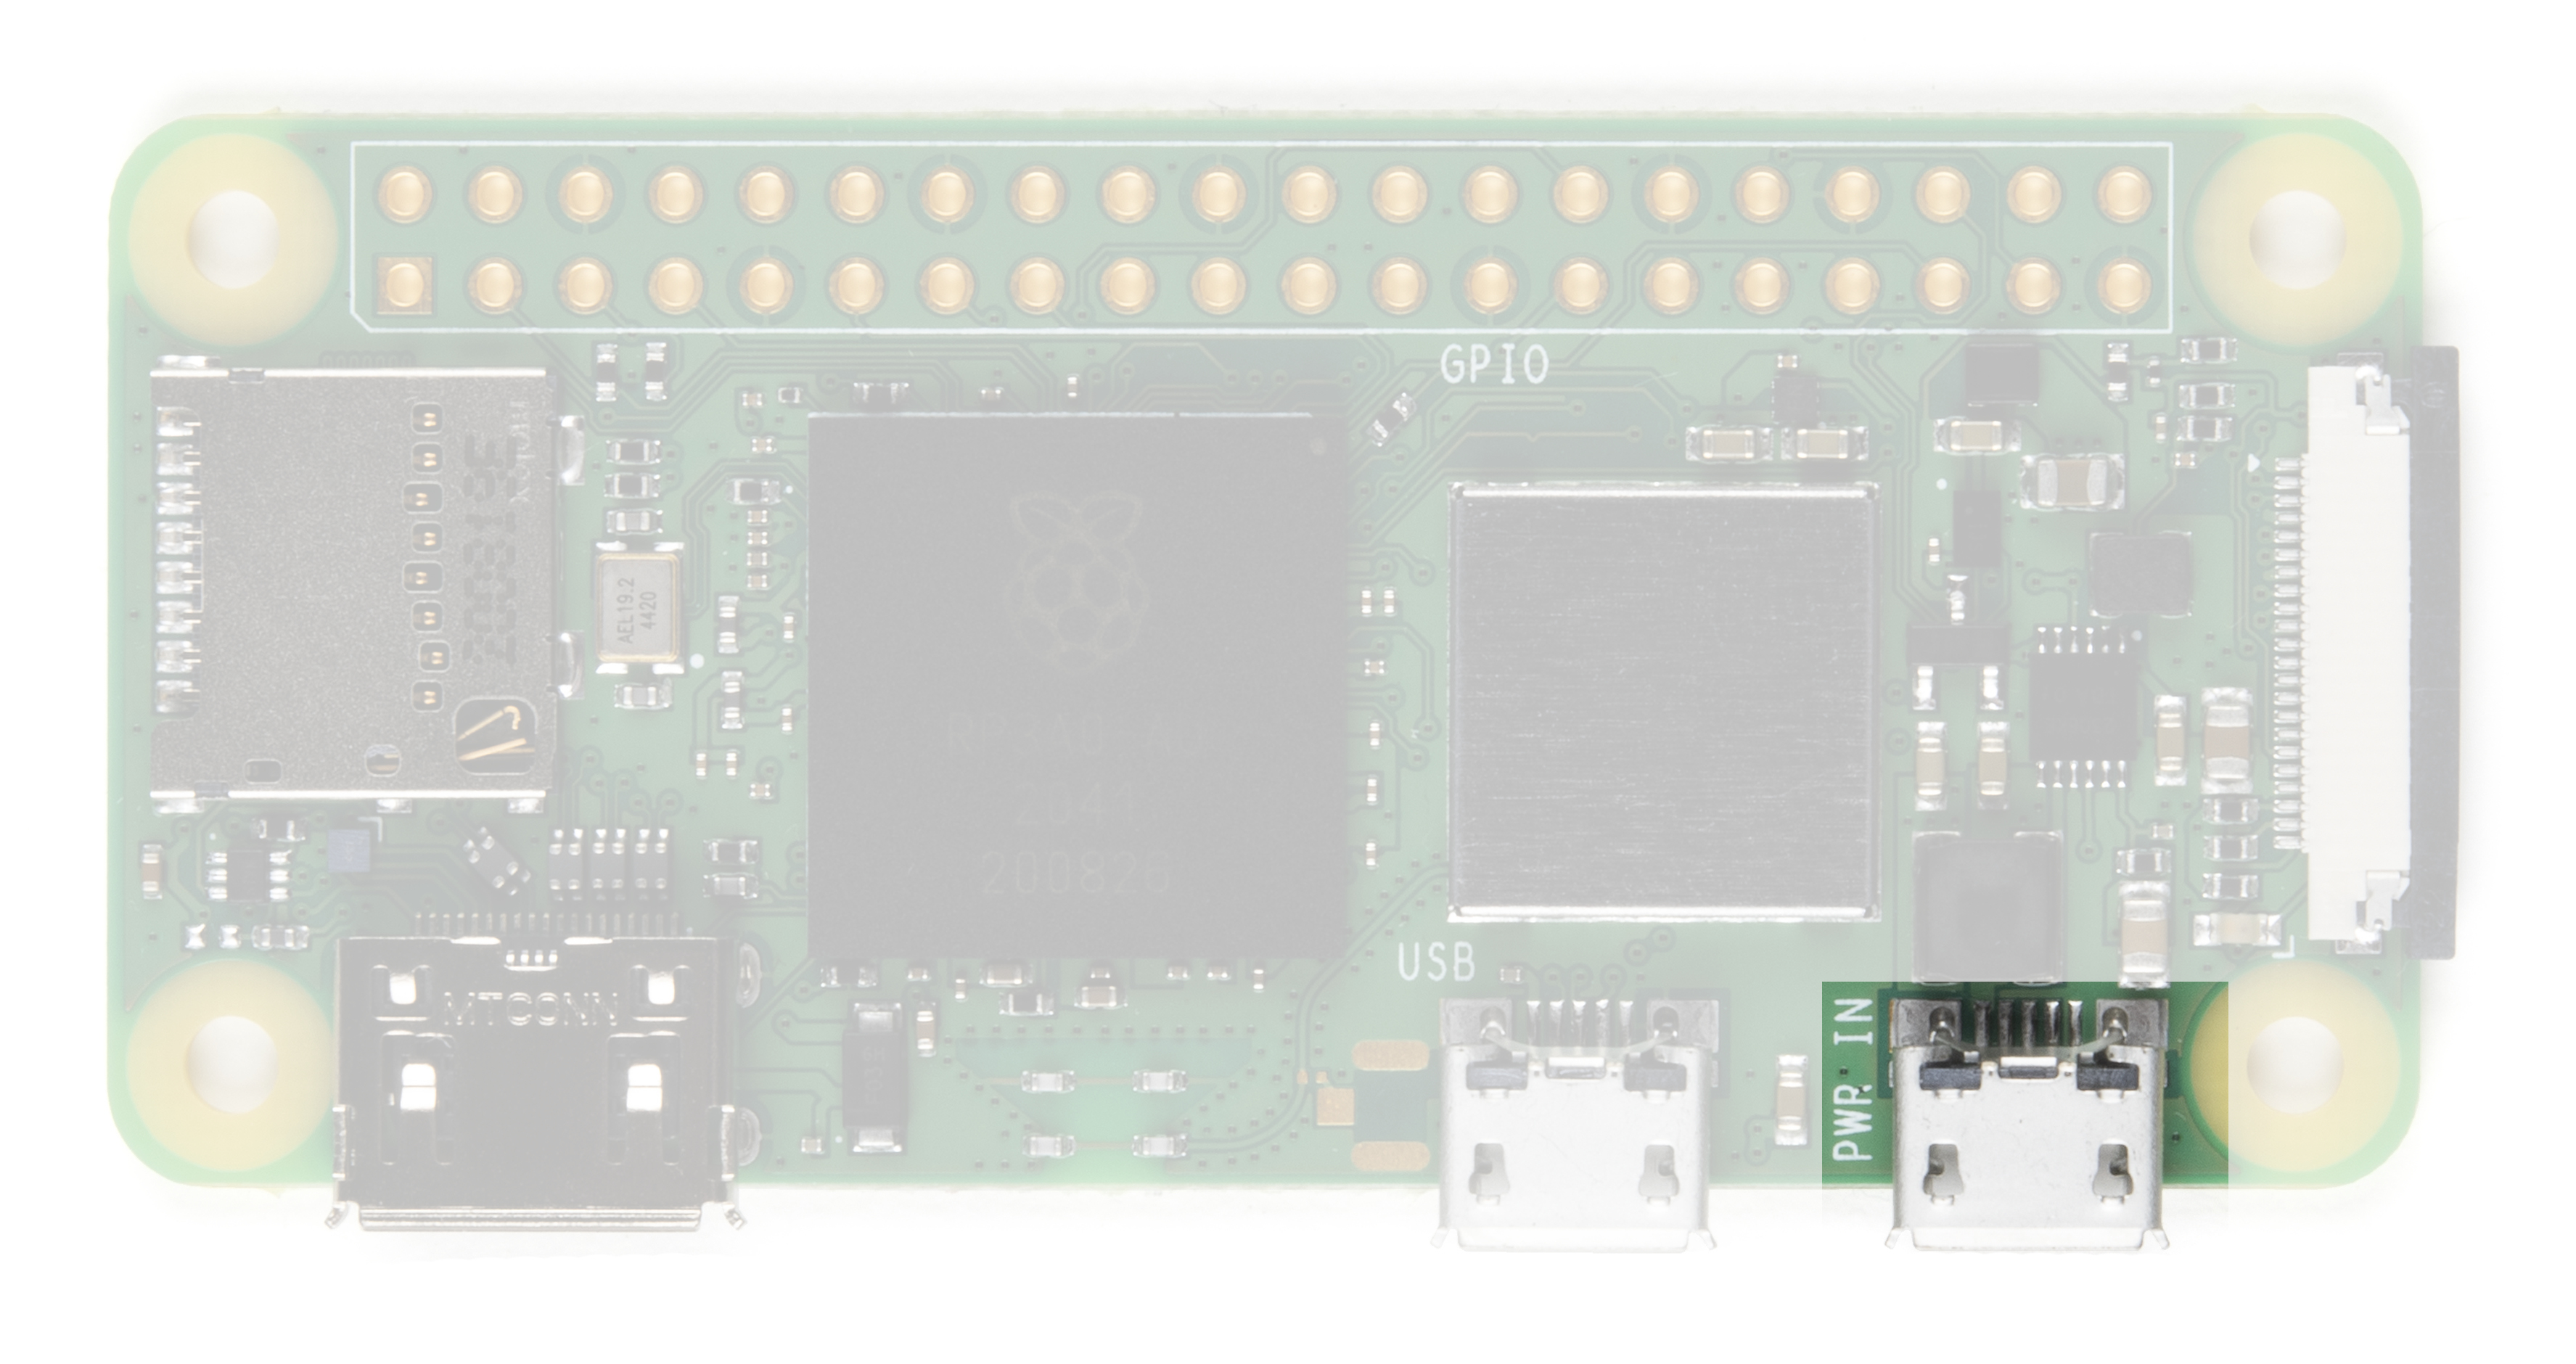
Like other Pis, power is provided through a microUSB connector. Voltage supplied to the power USB should be in the range of 5-5.25V.
microSD Card Slot
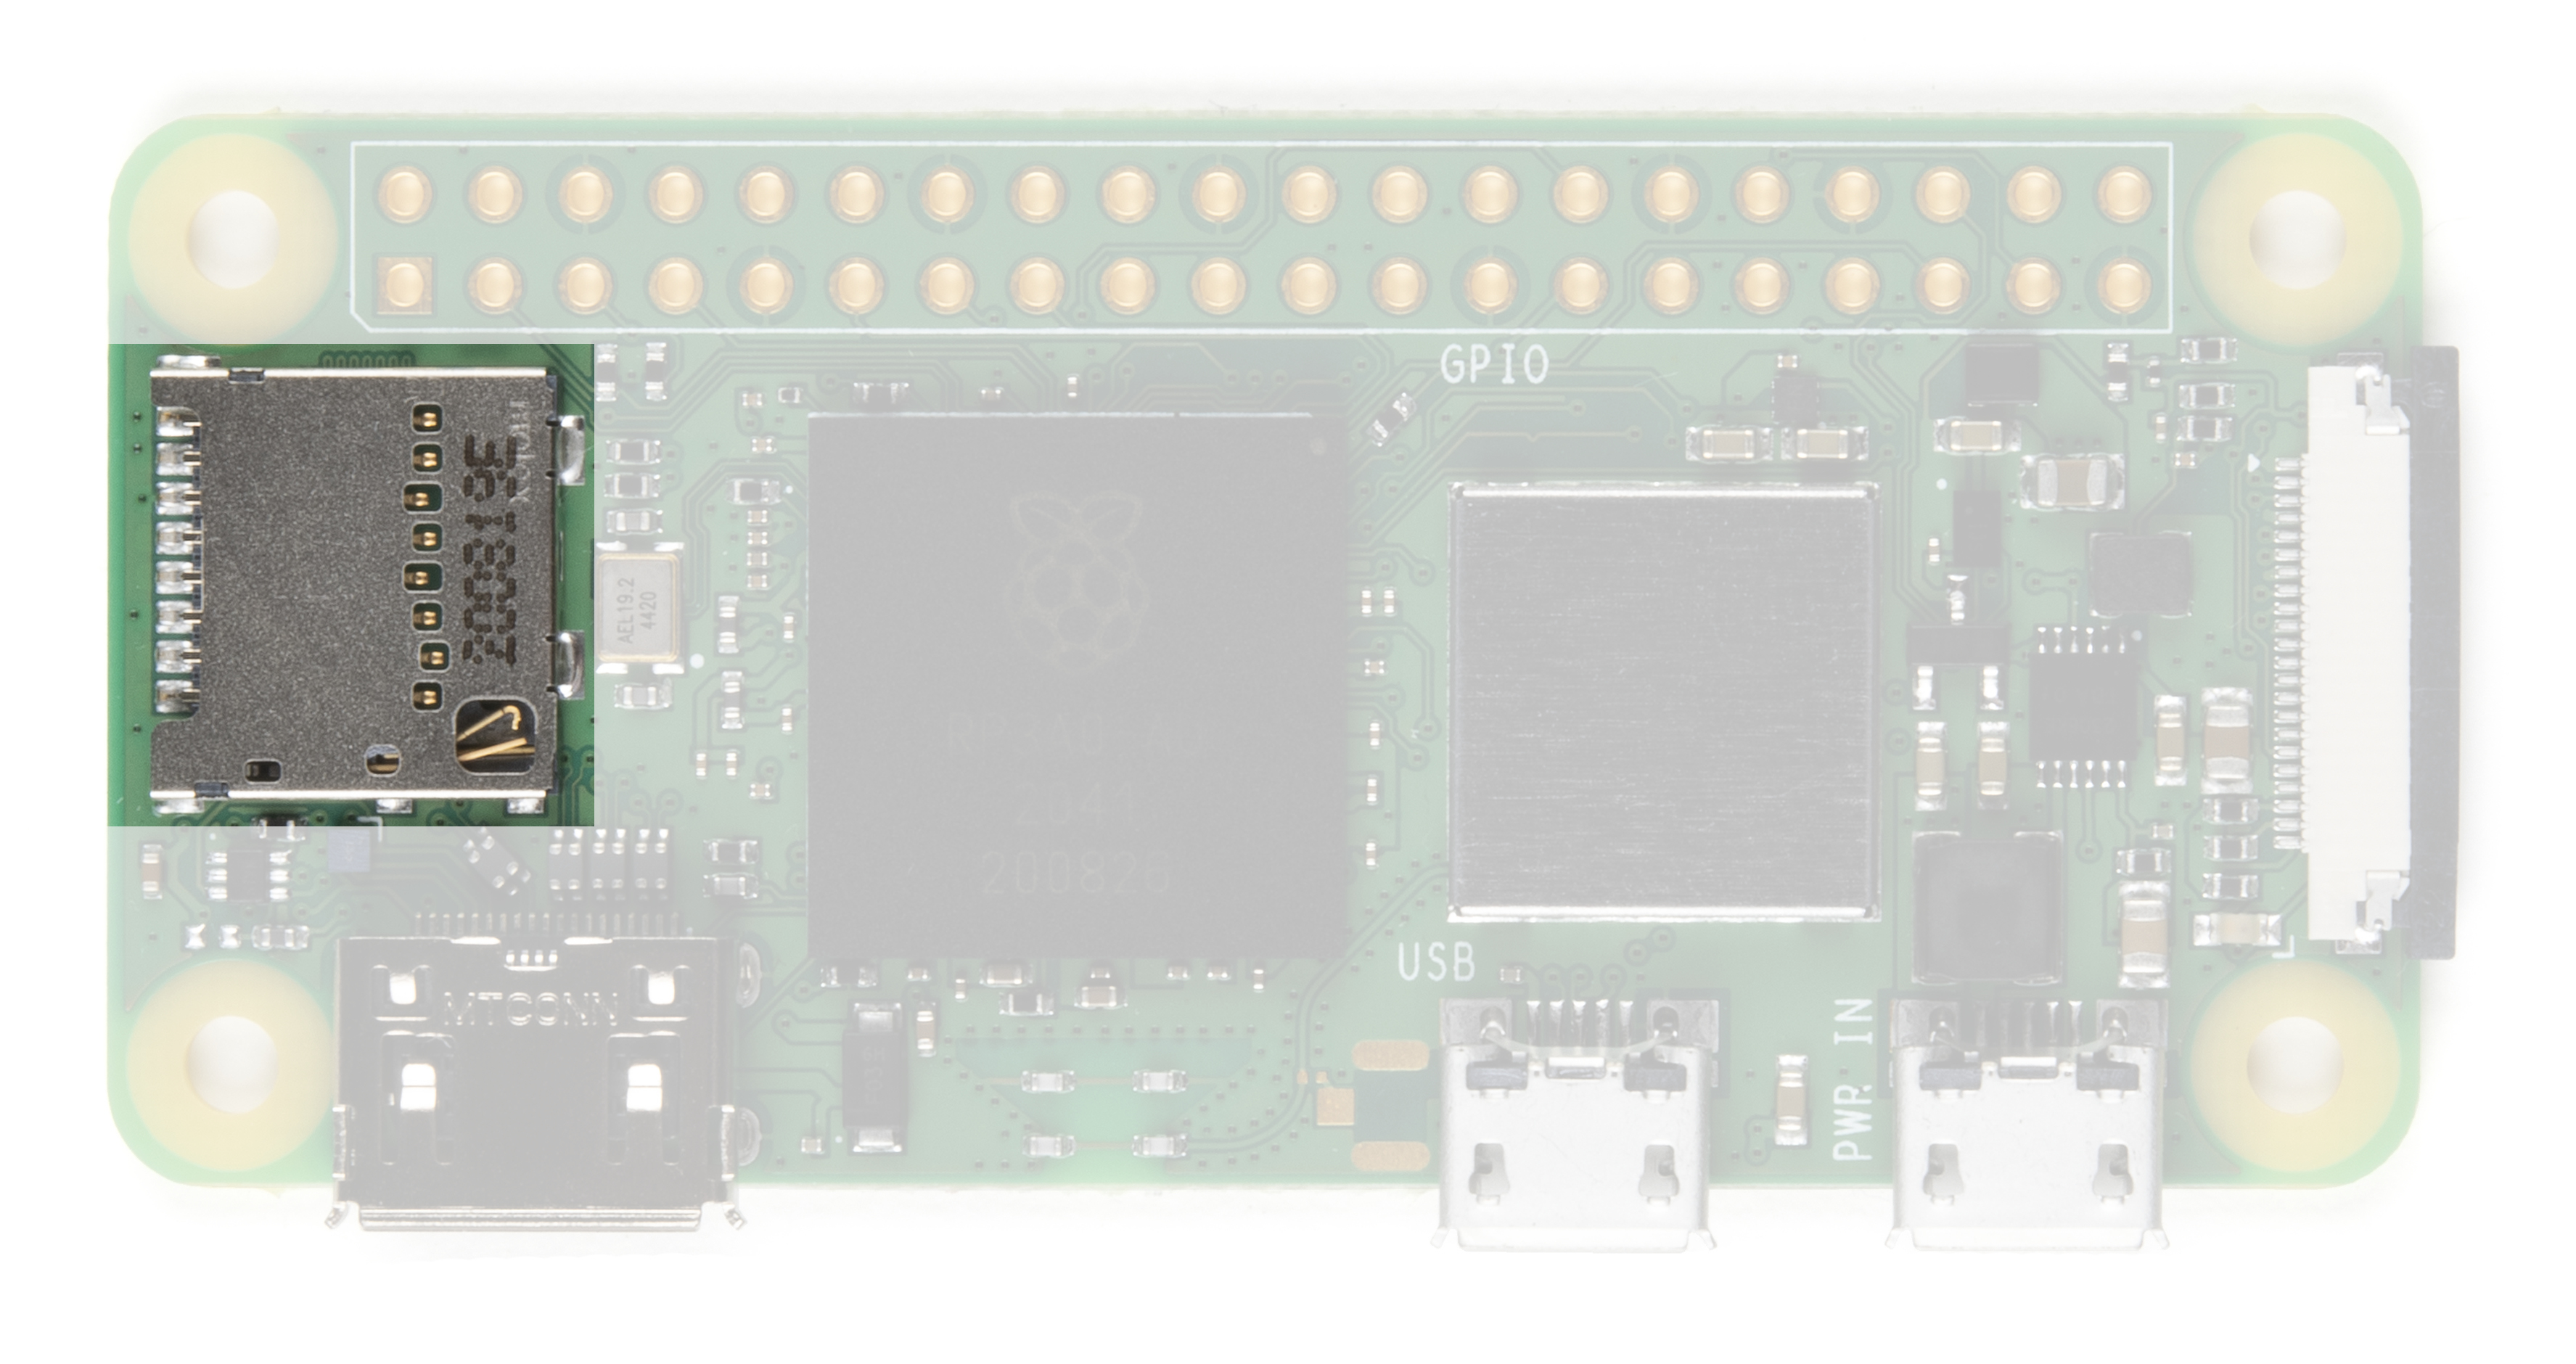
Another familiar interface is the microSD card slot. Insert your microSD cards that contains your Raspberry Pi image file here.
WiFi and Bluetooth
The Raspberry Pi Zero 2 W offers 2.4GHz 802.11 b/g/n wireless LAN and Bluetooth 4.2, along with support for Bluetooth Low Energy (BLE), and modular compliance certification. This frees up many of the connections that would have been made over USB, such as a WiFi dongle and a USB keyboard and mouse if substituting a Bluetooth keyboard/mouse.
Camera Connector
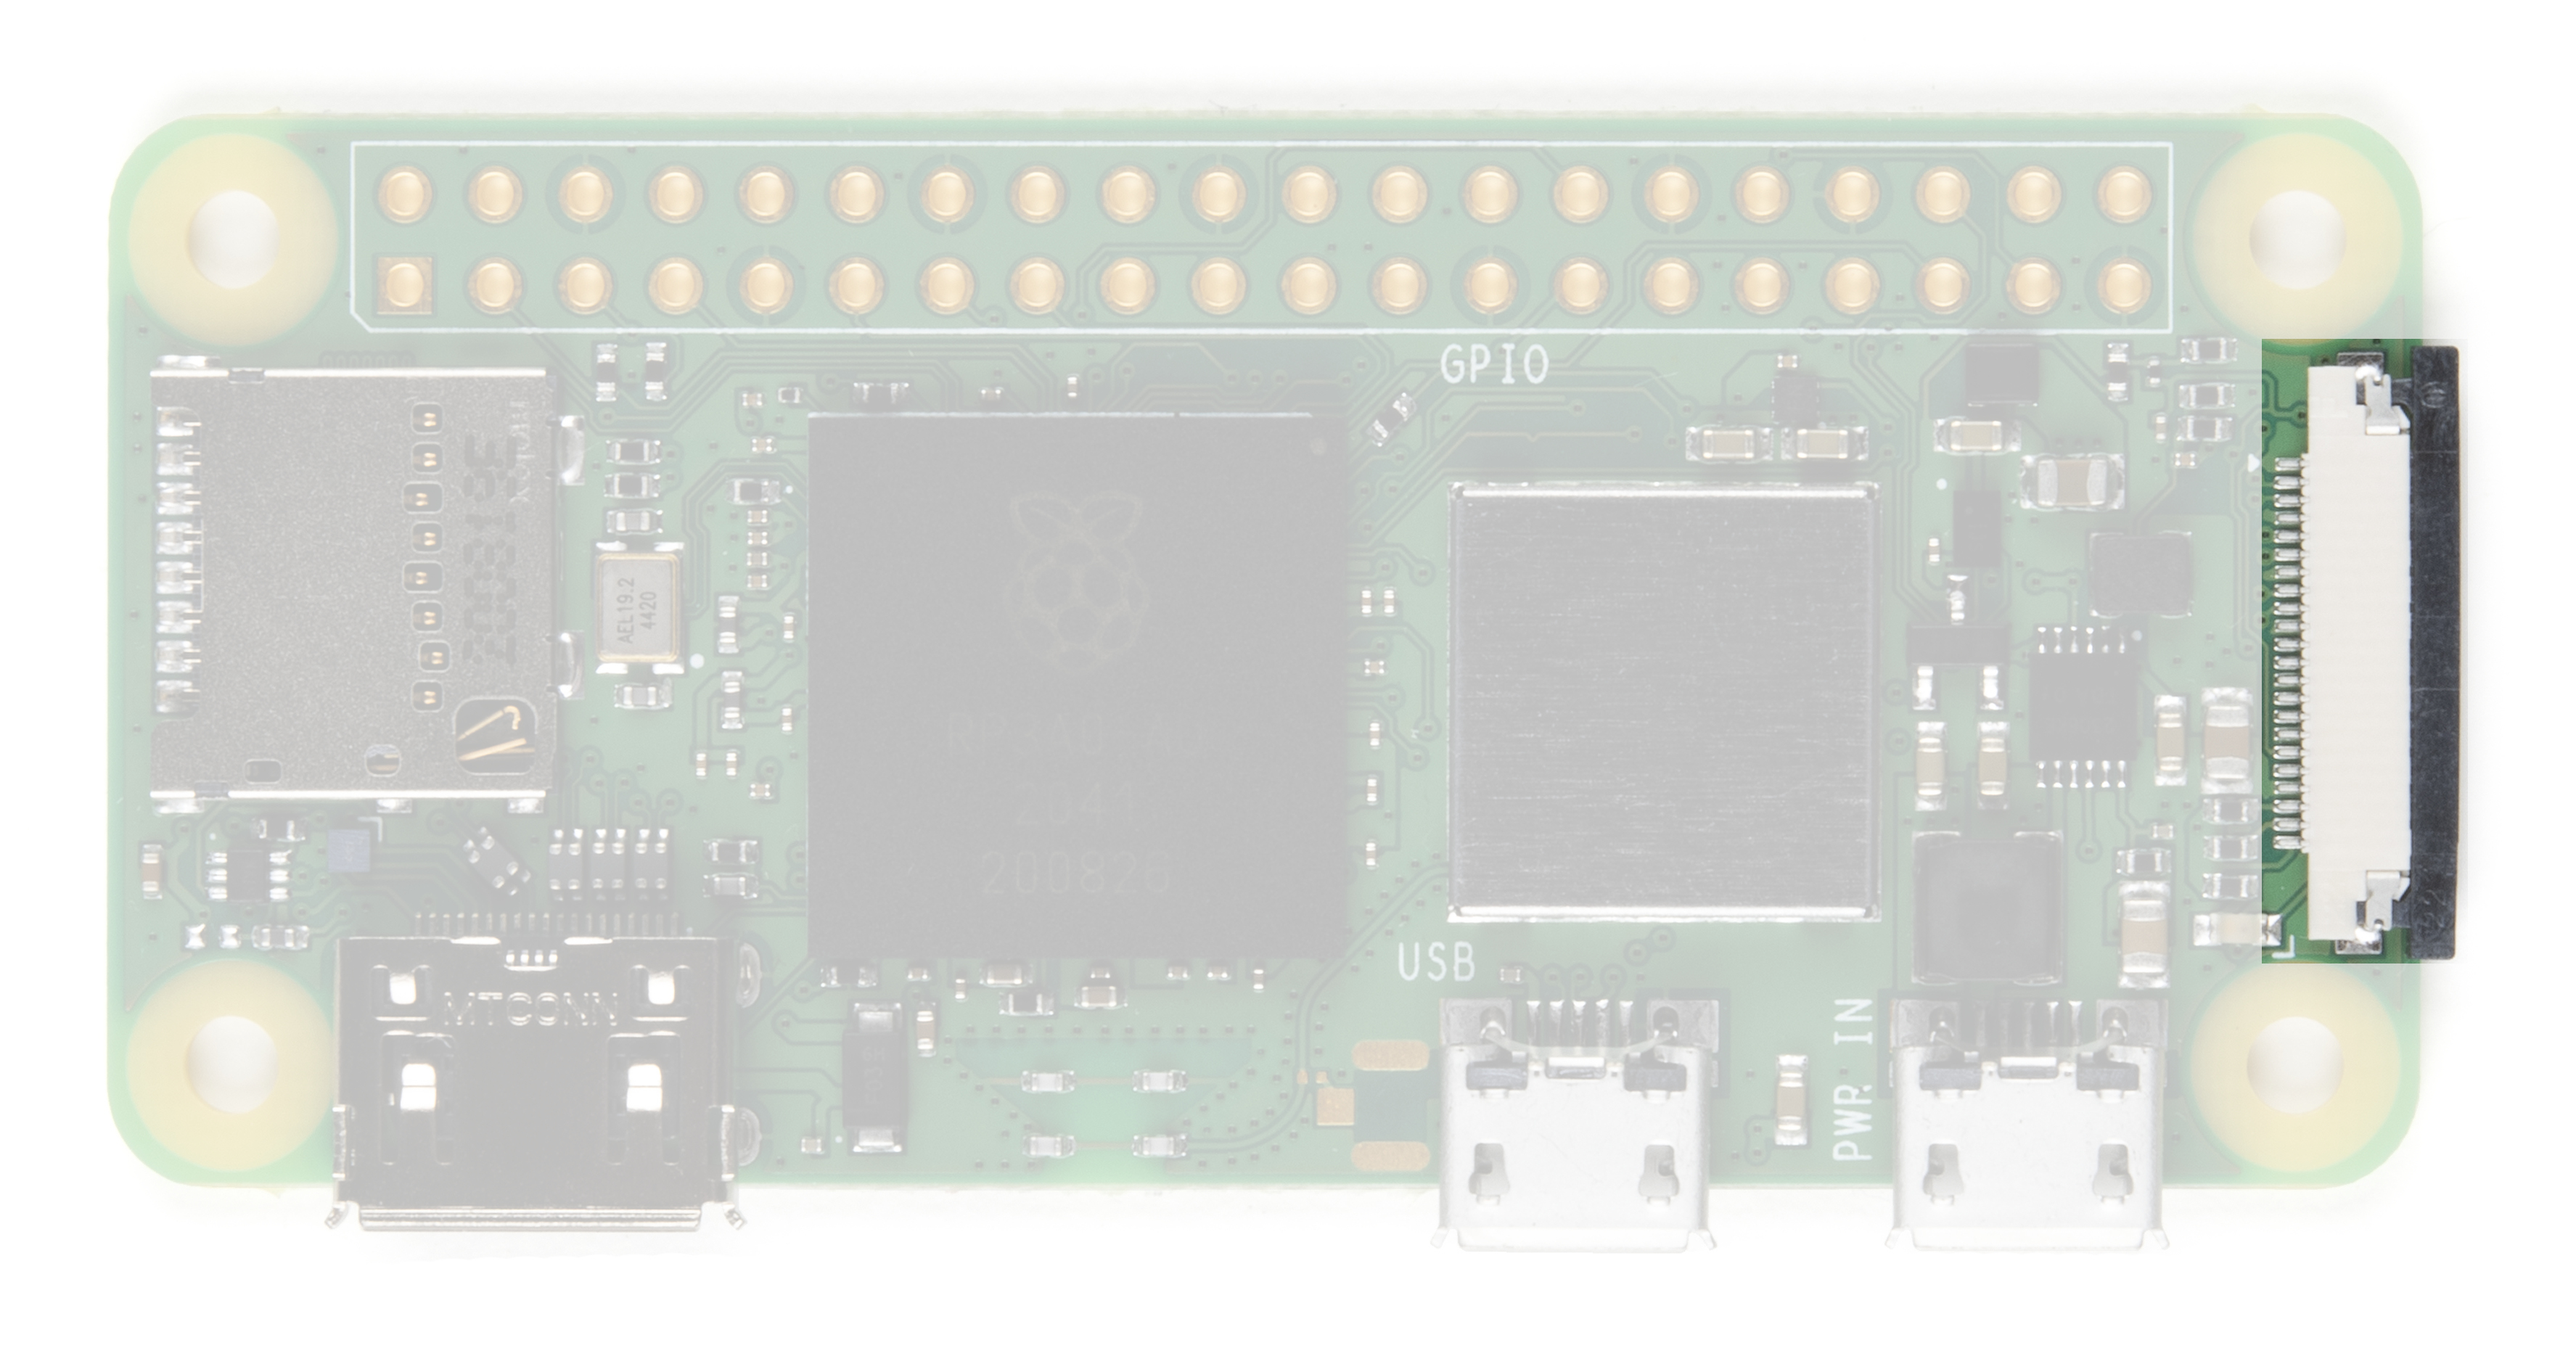
The Raspberry Pi Zero V1.3+ and all Zero Ws have an onboard camera connector. This can be used to attach the Raspberry Pi Camera module. However, the connector is a 22pin 0.5mm and different than the standard Pi. You will need a different cable to connect the camera to the Pi Zero W.
GPIO
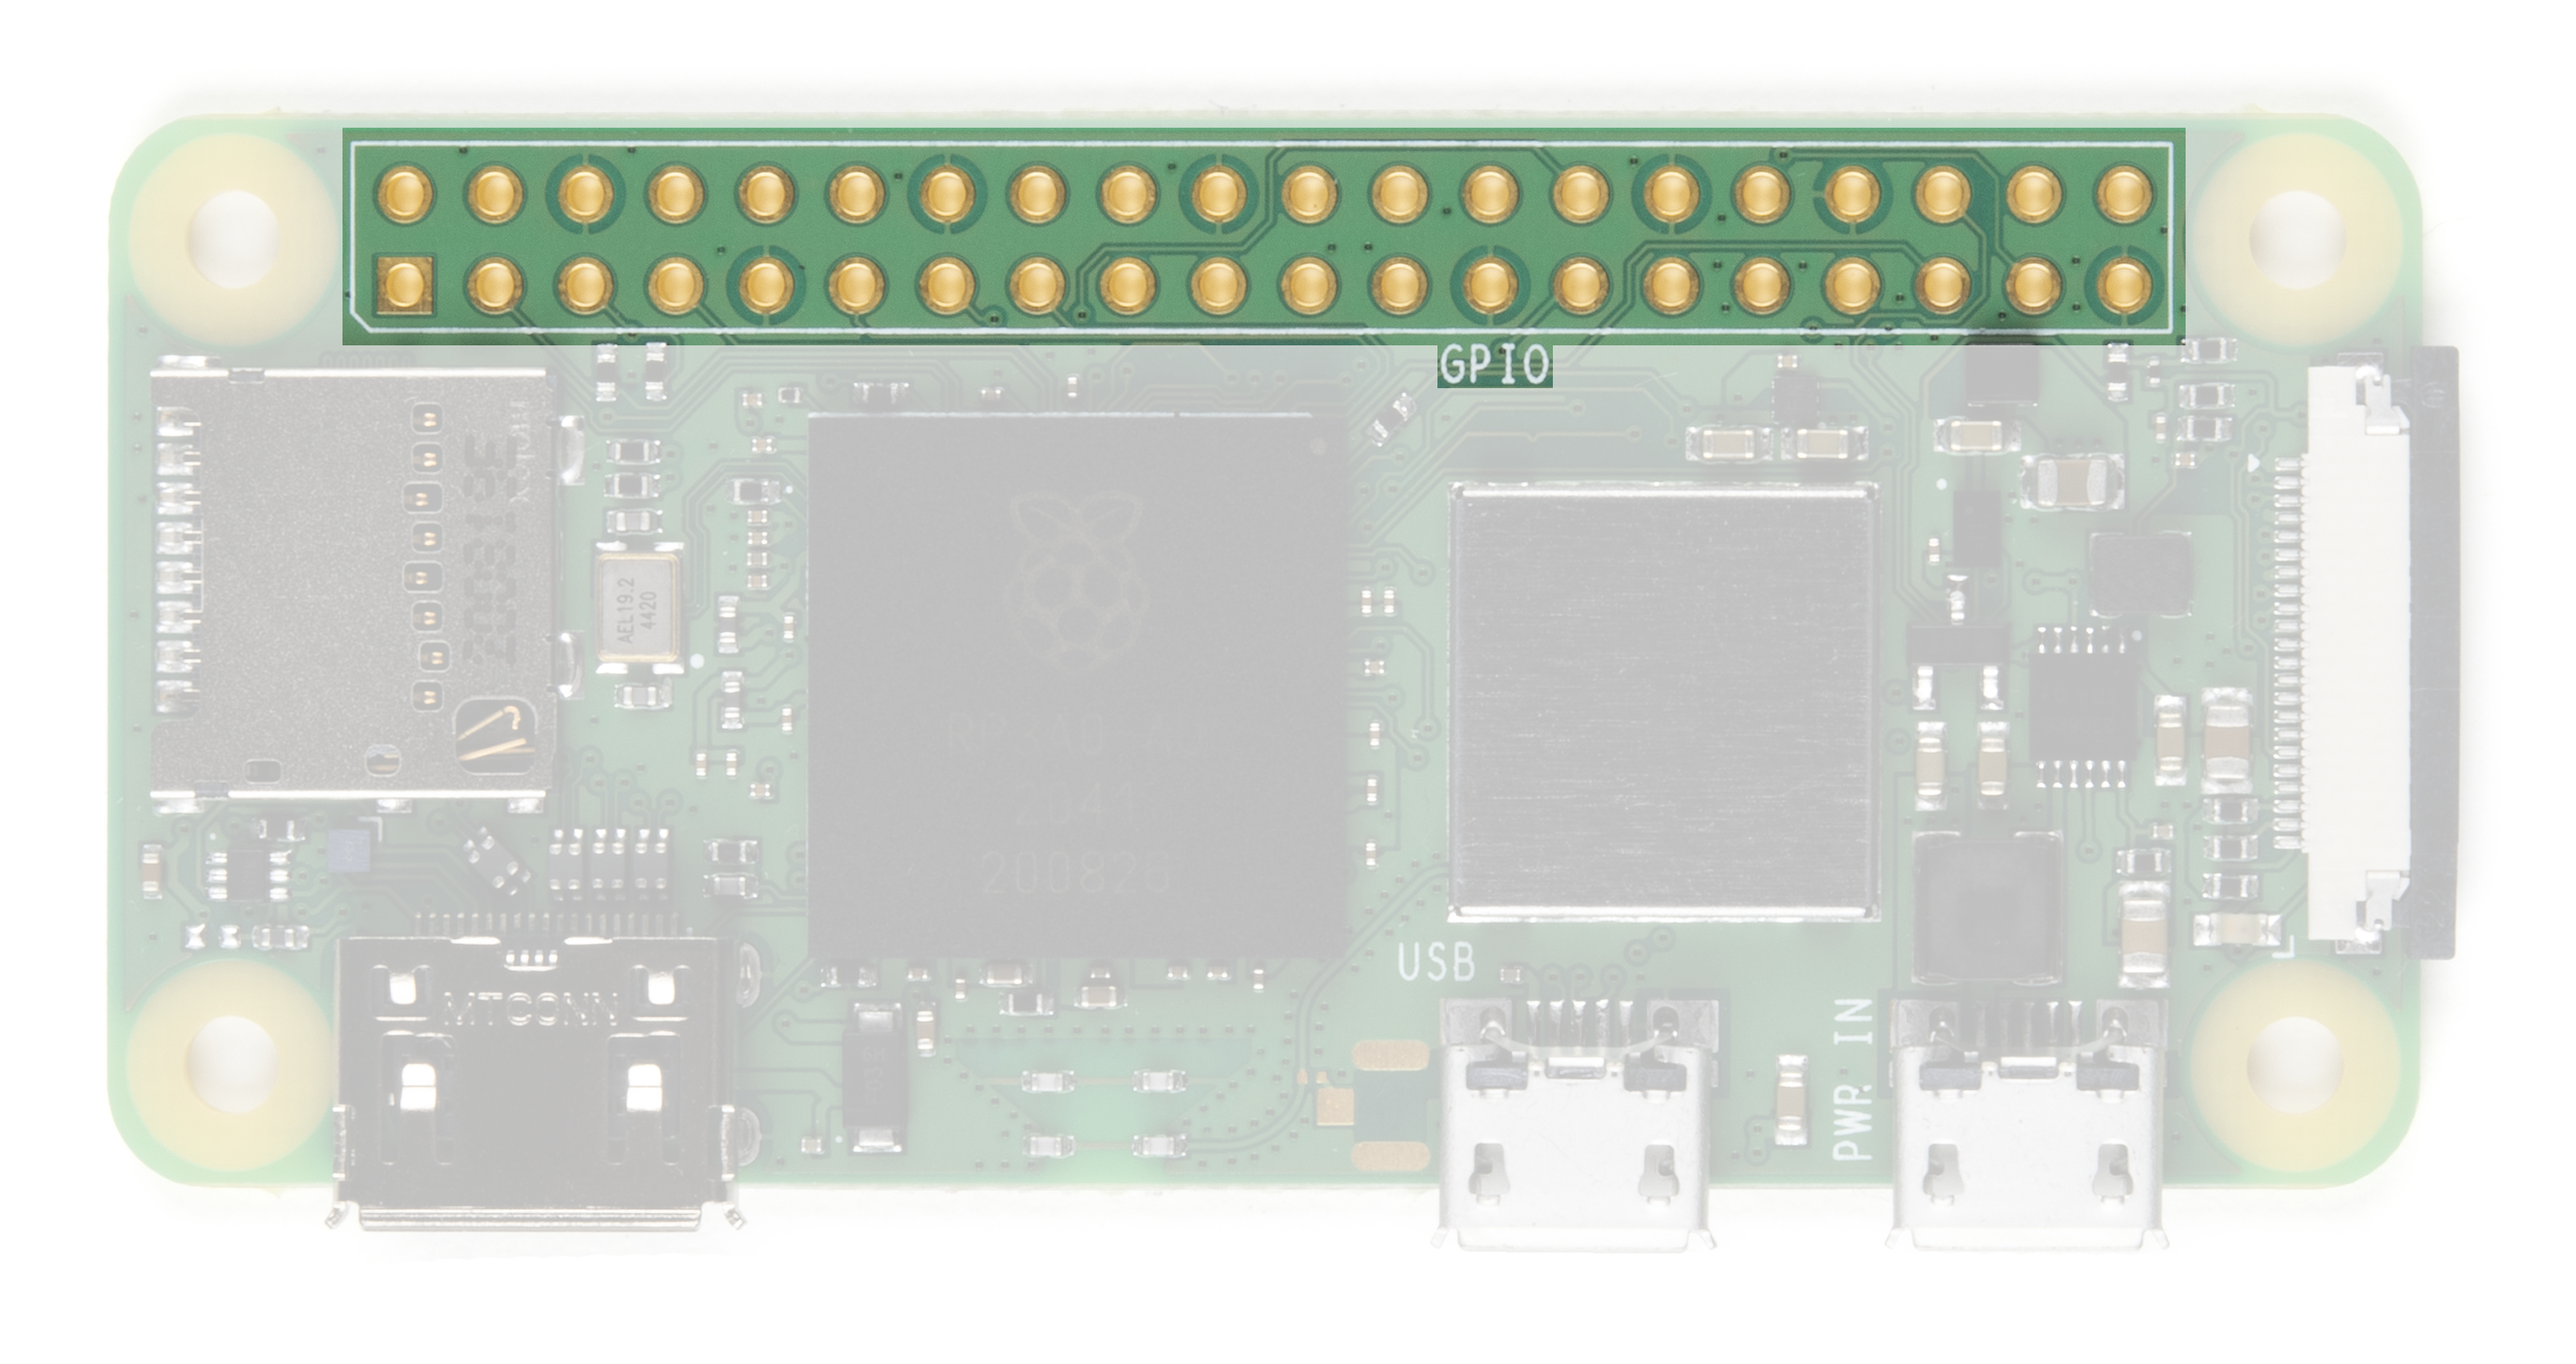
As with all other models of the Raspberry Pi, the Pi Zero 2 W includes a 2x20 set of GPIO pins broken out offering functionality such as SPI, I2C, digital I/O, PWM, etc. If you are using the GPIO header, you may want to consider soldering headers to it.