Getting Started with the Raspberry Pi Zero 2 W
 M-Short,
  El Duderino
Using the Raspberry Pi OS
Now that you've gotten your board up and running let's go over some basics of the Raspberry Pi OS. This section covers how to use the Pi via HDMI out to a monitor.
Raspberry Pi OS
The Raspberry Pi OS is Linux based (to be specific it is a port of Debian Bullseye with the Raspberry Pi Desktop). Don't let that scare you too much. Gone are the days of having to remember lots of commands or that you need to type :wq to save and exit your text editor. The OS runs a desktop Graphical User Interface (GUI) similar to Windows or MacOS, and, while you will probably want to learn a few basic commands and shorcuts, you can usually get away with not using them.
Initial Boot
The first boot of the Pi with a fresh install of the OS takes a few minutes and the Pi will most likely restart at least once. Once the OS finishes initial setup, you should be greeted by a desktop setup similar to the image below:
Follow the set up wizard to configure the location settings, set a new password, connect to WiFi, update the system and packages and more settings on the Pi. You can skip some of these steps but we strongly recommend at least setting the location and setting a new password. If you ever need to go back and update the settings, open them by going to the Raspberry Pi Start Menu > Preferences > Raspberry Pi Configuration.
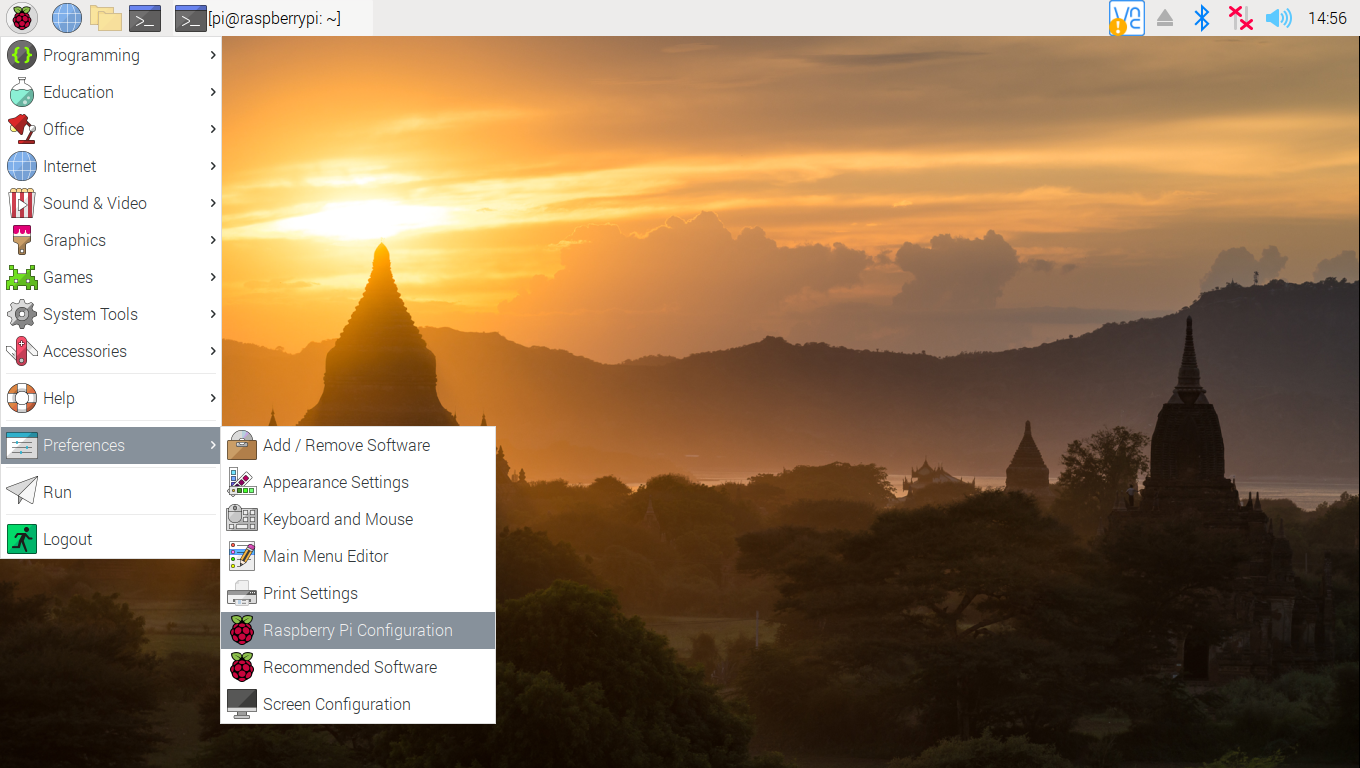
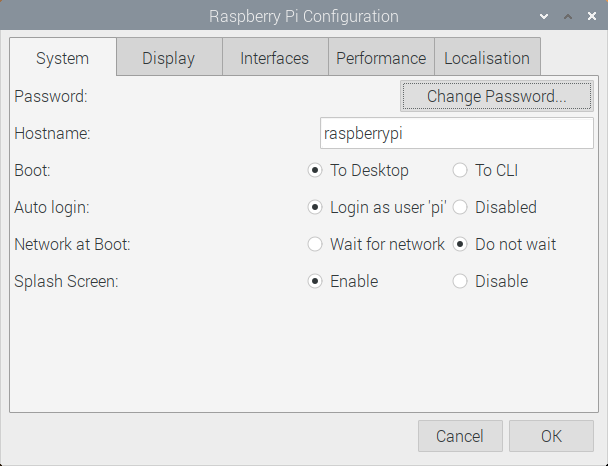
This opens a pop up allowing you to update the region, monitor, keyboard, password, as well as turn on any peripheral interfaces like SPI and I2C.
Update Software
In case you skipped the step in the set up wizard or need to update software packages in the future, we can update the software package on the Pi through the Command Line Interface (CLI). Access it by opening the terminal and type the following and hit Enter:
language:bash
sudo apt-get update
This command tells the Pi to retrieve the latest package information and tells the package manager what needs updating.
sudo(also known as super user) is a command that you will see a lot, specifically with high security commands. It temporarily allows the user (if you’re not already logged in as root) the ability to run these commands if your user name is in a list of users ('sudoers').apt-getis the package manager andupdateis the command we are giving it.
This downloads and upgrades all packages on the system and may take a while.
Shutdown/Reboot
The desktop includes a standard shutdown button in the desktop main menu but you can also tell the Pi to shutdown through the CLI using this command:
language:bash
sudo shutdown -h now
shutdownas you may guess, shuts down the machine.nowtells it do perform the action immediately (15would tell the machine to shutdown in 15 minutes).
To reboot the Pi through the CLI send this command:
language:bash
sudo shutdown -r now
Raspberry Pi Safe Reboot and Shutdown Button
Other Useful Linux Commands
A few other useful commands for use in the terminal command line:
pwd- Print Working Directory, if you not sure what folder you are in this will tell you where you are in the filesystem.ls- List, this will show you the contents of the folder. To show all files, including hidden ones, typels -ato show all files/folders. Alternatively, typingls -alwill show you all files/folders as well as their permission settings.cd- this is how you change directories.cd foldernamewill move you to that folder.cd ..will back you up one level.cd ~will take you back to your home directory.passwd- this will allow you to change your passwordman- this stands for manual. Type man before a command to get a summary of how to use it.nano- this will open a basic text editor that is fairly easy to use.