Edison Getting Started Guide
Meet the Edison
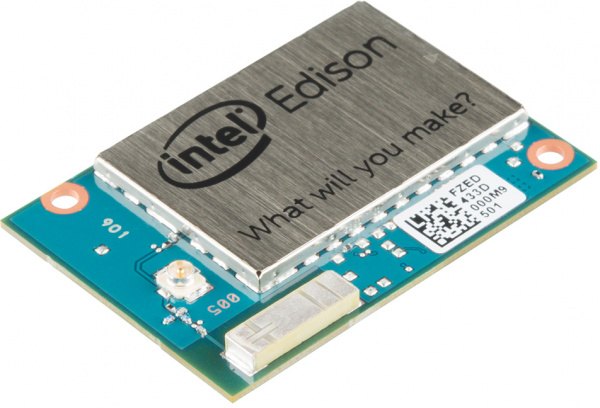
The Edison is the powerful new computing module from Intel(R). It's tiny enough to embed into wearable projects, versatile enough to manage internet-of-things applications, and powerful enough to control robotics platforms.
The Edison packs a host of features, including WiFi (802.11a/b/g/n), Bluetooth (4.0 and 2.1 EDR), UARTs, I2C, SPI, USB, and 40 GPIO. It's driven by a 32-bit Intel® Atom™ Processor clocked at 500MHz, supported by 1GB of LPDDR3 RAM and 4GB eMMC flash memory. To top it off, it's housed in a tiny, 35.5 x 25.0 x 3.9 mm module.
Needless to say, the Edison is a powerful, little electronics brain. It has the power to change how we all think about embedded computing. The module is equipped with a Linux OS based on Yocto, so you can compile C/C++ files, or run Python, Node.js, and other scripts.
Interfacing With the Edison
To keep the platform small, all of the I/O pins are broken out to a 70-pin Hirose DF40C connector. These fine-pitch connectors are great for keeping things small, but can be difficult to interface with. They're board-to-board connectors, so to interface the Edison with other components you'll need a board with a mating Hirose connector.
Currently, the mating boards available include a whole host of SparkFun Edison Blocks, the Arduino Expansion Board, and the [Mini Breakout]((https://www.sparkfun.com/products/13025).
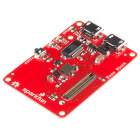
The Edison Blocks which (among many other boards) include the Base Block, Console Block, Console Basic Block, and Battery Block are a great way to customize your Edison project, while maintaining the minuscule form factor. Learn more about the Blocks and how they interconnect by reading our General Guide to SparkFun Blocks for Intel Edison
SparkFun Block for Intel® Edison - UART
DEV-13040SparkFun Block for Intel® Edison - Base
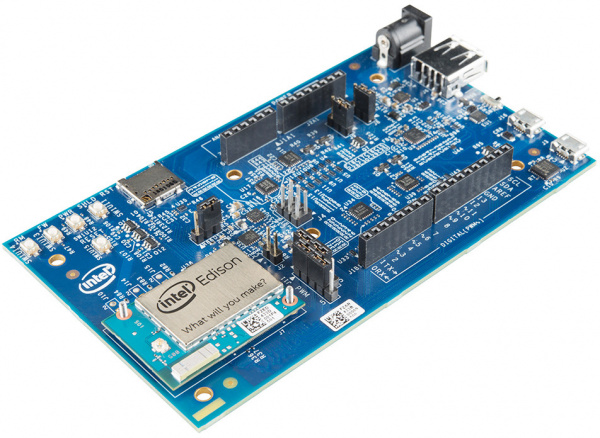
DEV-13045The Arduino board is a great place to start, if this is your first foray into the Edison or embedded computing.
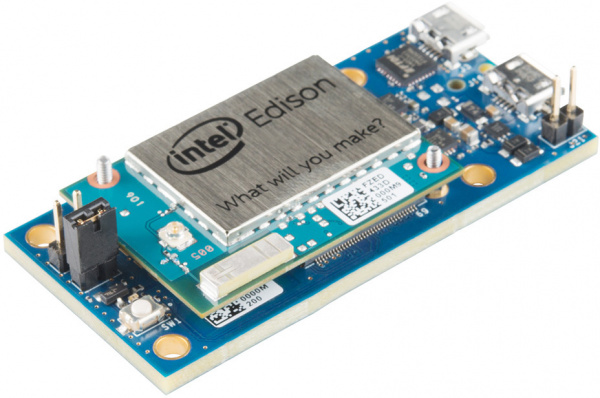
The Mini Breakout, like the SparkFun Blocks, is useful if you want to embed the Edison into a project. It includes an FTDI for interacting with the console, and it also breaks out the Edison's USB-OTG port and a number of I/O pins.
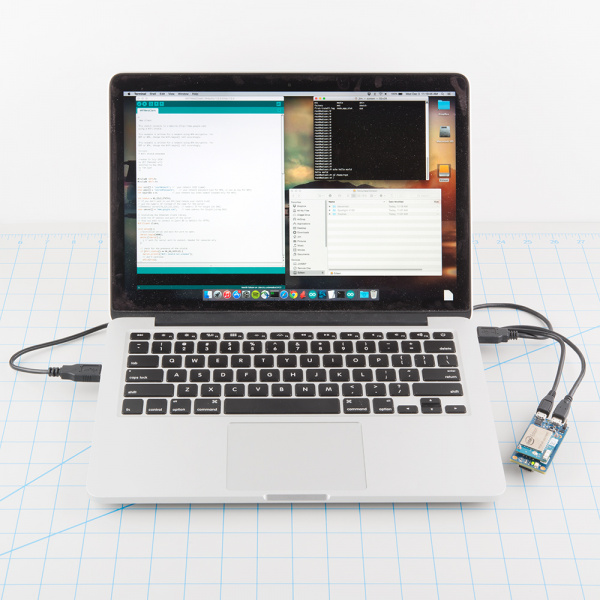
Once you have the Edison plugged into a power and console source, you can interact with the on-board Linux kernel and start developing!
Covered In This Tutorial
This tutorial is focused on getting you ready to develop on the Edison. We'll walk you through everything from handling and powering the Edison to getting a console loaded up and connecting it to WiFi. We'll also cover how to program the Edison through the comfy confines of Arduino.
The tutorial is split into the following sections:
- Download Drivers and Arduino -- A plethora of links to get your computer ready for Edison development.
- Plugging In -- What to expect and what to look for the first time you plug the Edison into your computer.
- Programming the Edison in Arduino -- An introduction to developing on the Edison through Arduino.
- Setting Up the Console -- How to use the Edison's console port to interact with the Linux kernel.
- Updating the Firmware -- As soon as you can, we recommend updating the Edison to use the latest version of its Yocto Linux distribution.
- Connecting to WiFi -- The updated firmware image includes a tool that makes setting up WiFi on the Edison easy-breezy.
- SSH-ing Into the Edison -- Take advantage of the Edison's WiFi capabilities by SSH-ing into it, and developing remotely.
What You'll Need
- Intel(R) Edison -- Kind of goes without saying.
- Base Board -- Something to supply power and provide a console interface. One of the following should do:
- SparkFun Base Block -- This block is equipped with two USB connectors, which provide access to the Edison's OTG port and UART console. This block allows everything from upgrading the firmware, and programming via Arduino, to interacting with the Linux terminal.
- Edison Mini Breakout -- This is a simple breakout for the Edison. It provides power over USB, as well as a console. A second USB connector provides you with access to the Edison's USB OTG interface. The Edison is included with this kit!
- Arduino Expansion Board -- A bigger Edison base board, with headers broken out to the familiar Arduino footprint. If you plan to use the Edison with the Arduino IDE, this is the board you'll want to use. It also includes an Edison!
- SparkFun Console Block -- This block is similar to the Base block, but removes the OTG USB port. This block only provides console access, you won't be able to use it for firmware upgrade or Arduino programming.
Beyond that, you may also need to gather:
- Micro-B USB Cable(s) -- Every board above can be powered and controlled over USB, and they all use at least one micro-B USB connector. For every board except the Console, you'll actually need two micro-B cables, in order to get the most out of your Edison.
- Power Supply -- This will depend on which base board you're using. If you're using an Arduino Expansion Board a 7-15V wall adapter may be required in addition to the USB cable. Our 9V Wall Adapter should do the trick.
- A computer with two available USB slots, or a hub. To upgrade the Edison's firmware, you'll need access to both its OTG and debug ports.
That should be enough to get started developing on the Edison!
Suggested Reading
- Serial Terminal Basics -- We'll be working with the serial terminal a lot in this tutorial. If you don't already have a reliable terminal emulator program installed on your computer, check out this tutorial to find one you like!
- Galileo Hookup Guide -- The Galileo board works as a nice introduction to the Edison. They both run a very similar, Yocto-based Linux kernel. If you're unfamiliar with the Galileo, or Intel processors in general, this might be a useful tutorial to check out.
