Edison Getting Started Guide
 jimblom,
  HelloTechie
Updating the Firmware Image
Most Edison's ship with an older version of the firmware. Updating to the latest version of the firmware equips the Edison with a whole host of new utilities, including a WiFi configuration tool and a fix to that annoying 5-second sleep in the terminal.
This step requires access to both the Edison's OTG USB port and the console. That means you'll need two USB cables, connected to two ports on your computer (or a hub).
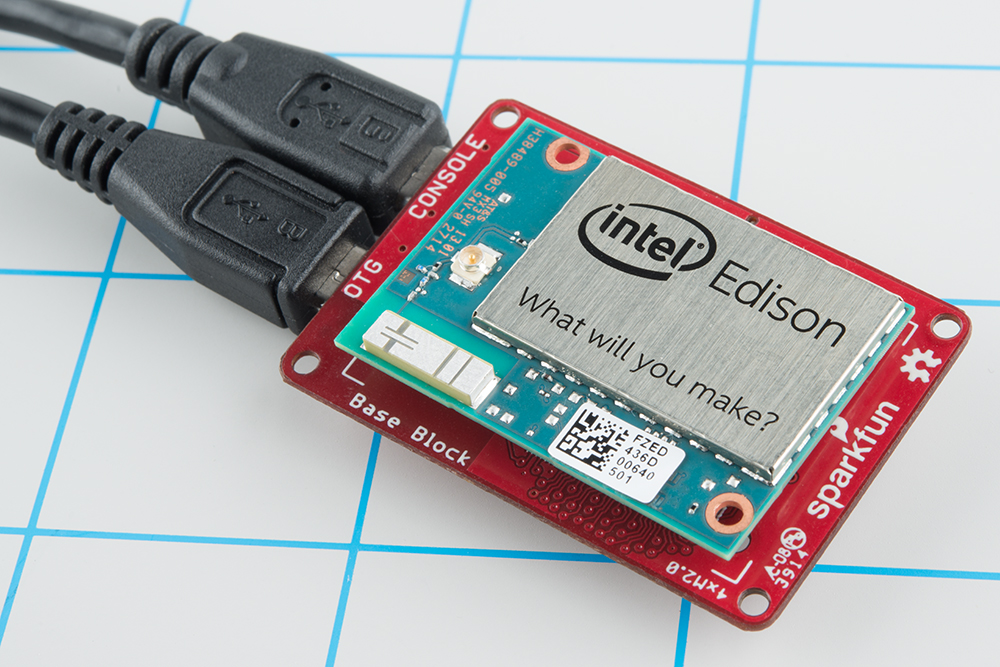
The OTG port will give us access to the Edison's USB mass storage device.
You can either update firmware with the Intel Installer or the manual way.
Using the Intel Installer
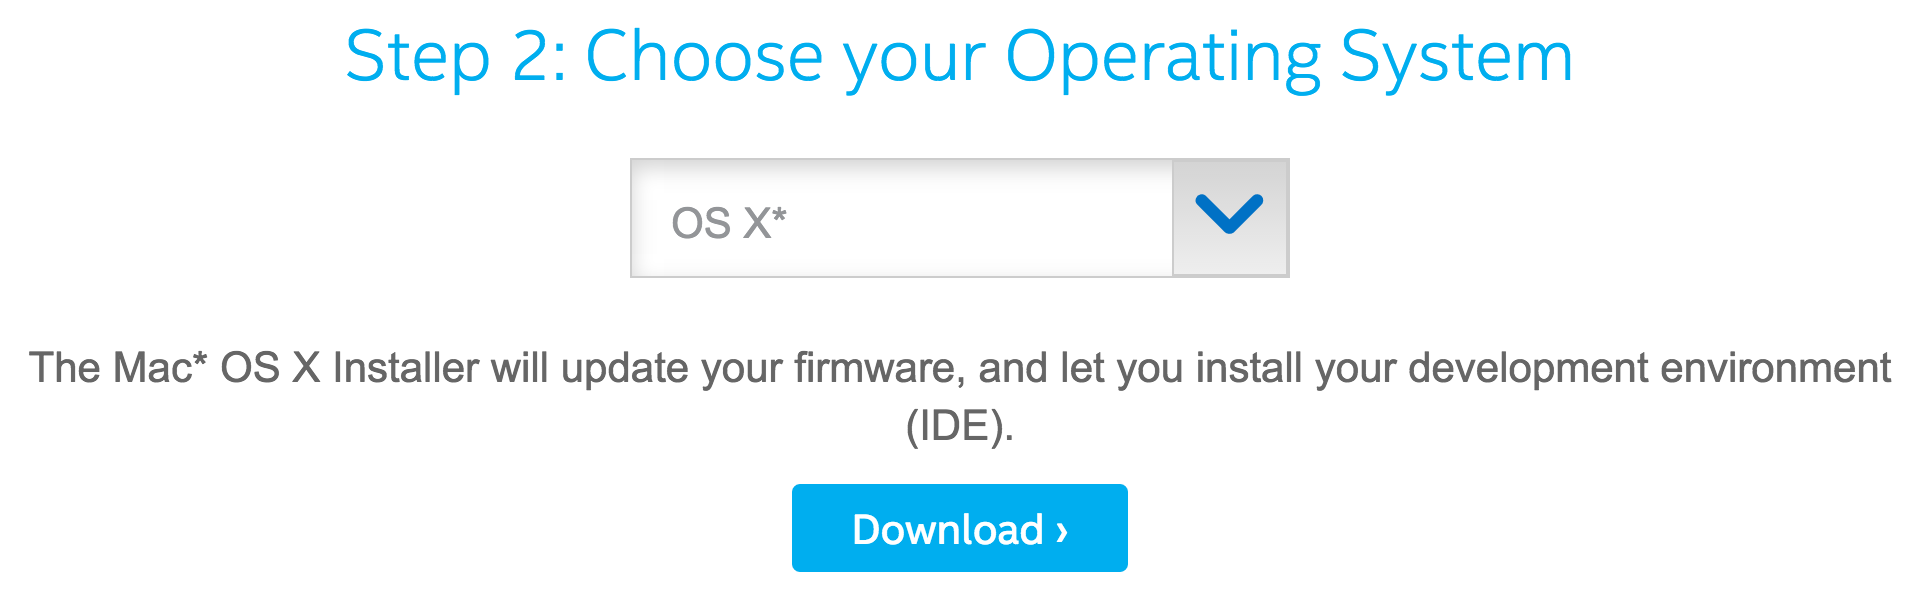
Intel is continuing to improve the Edison support. Now, there is an Installer to make updating your firmware a breeze. There is an option to install the Arduino IDE too. Head over to the Edison Getting Started Guide on the Intel Developer Zone site. If you already assembled your board, jump to "Step 2: Choose your Operating System". Pick your operating system and download the Installer.
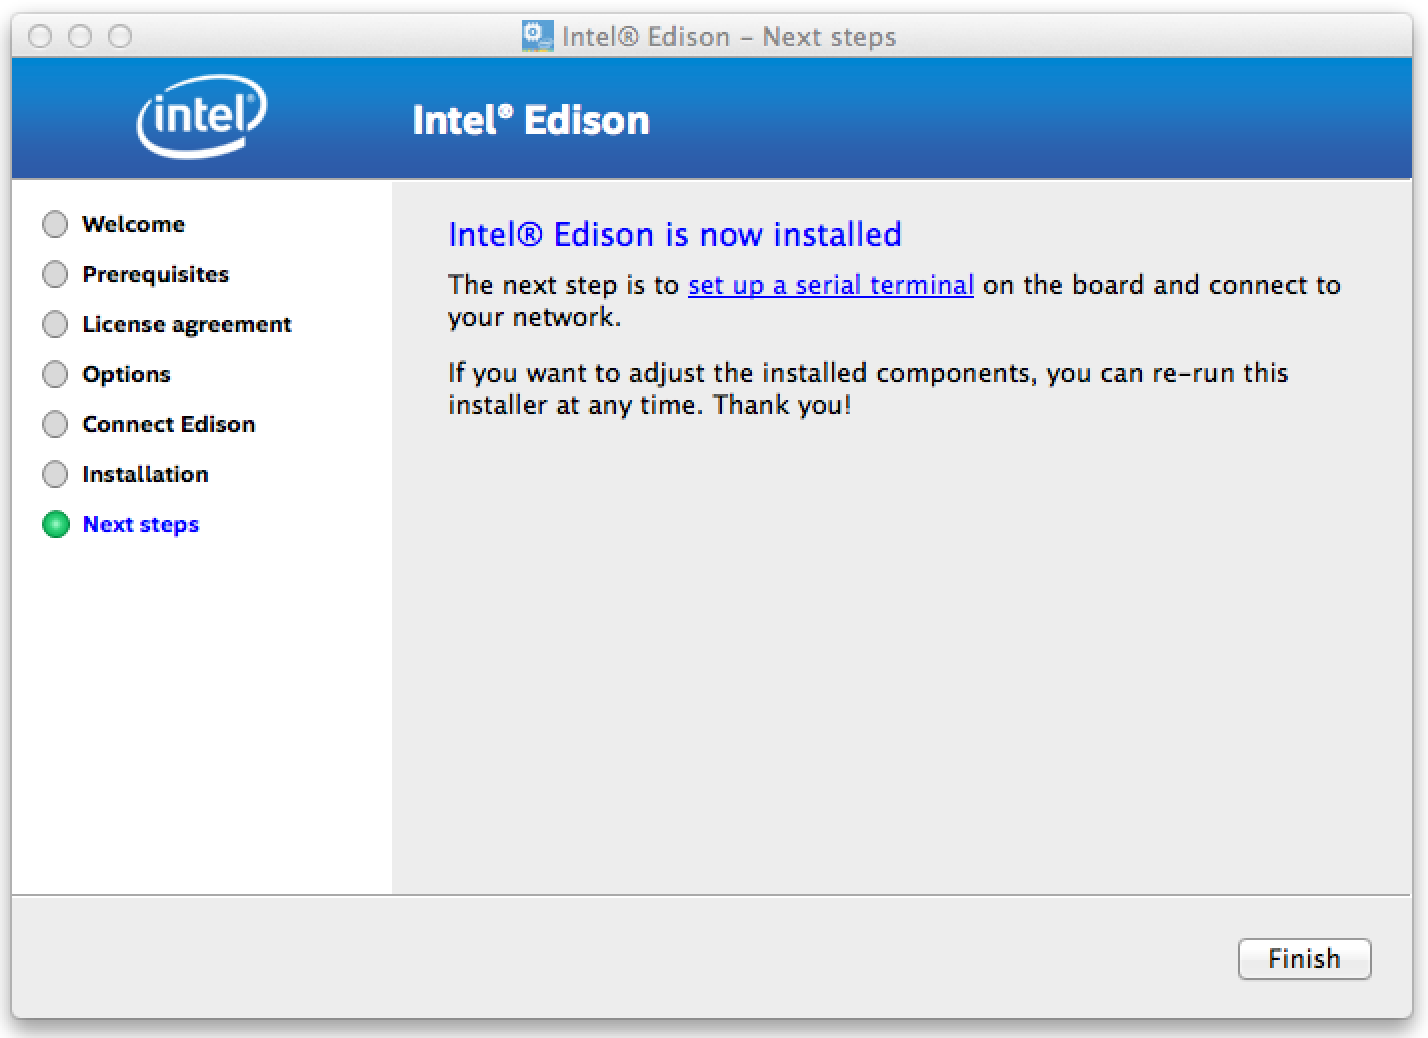
Open up the Installer. You will be asked to install as administrator. Follow through the rest of the steps and you are good to go! Next step will be to set up a serial terminal and connect to WiFi.
Manually Updating the Firmware
We'll begin by downloading the latest and greatest version of the Edison firmware, grab it from the Edison Software Downloads page.
Download the "Edison Yocto complete image" ZIP -- it's about 100 MB. Then unzip the archive, and keep the extracted contents up somewhere handy.
Out With the Old
Before you load the new firmware onto the Edison, make sure all of the old stuff is out of the way. Use your terminal (Mac) or CMD (Windows), and navigate to the top level of your Edison's mass storage drive.
On Mac, type cd /Volumes/Edison. On Windows type E: -- replacing "E" with the drive letter of your Edison.
Once inside the folder, type rm -rf * and rm -rf \.* to remove all of the files -- hidden or not -- from the drive.
In With the New
Next, open up the Edison mass storage drive in your file explorer. Then move everything from within the extracted ZIP folder into the drive. It should look a little something like this:
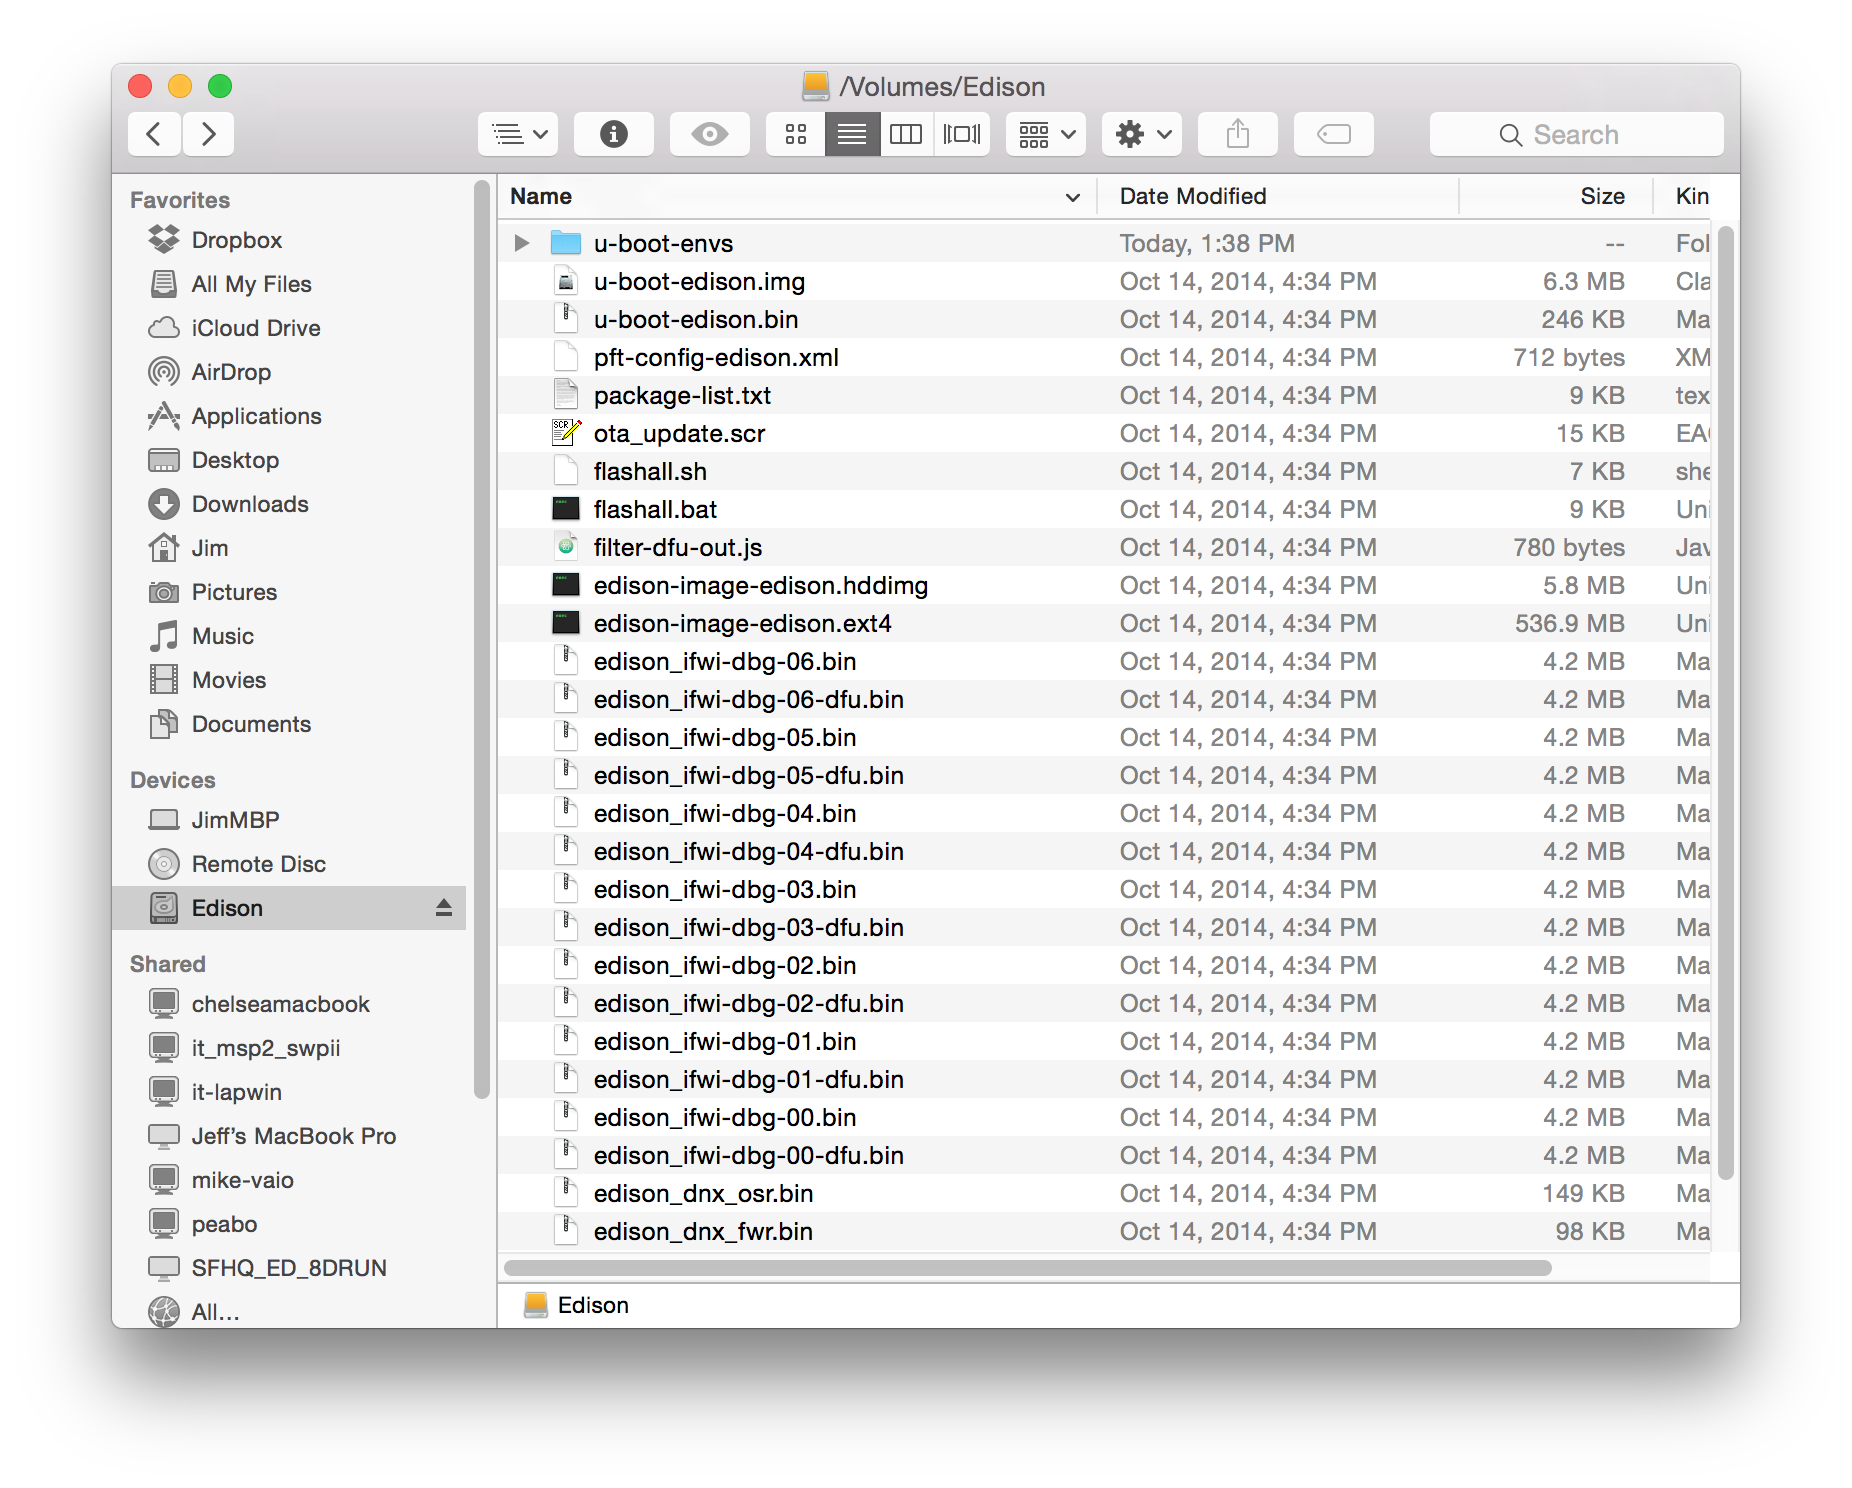
Notice that there are an assortment of bin's and other files at the top level of the drive, not within a folder within the top level.
Issuing the Update Command
Finally, begin the update by opening your Edison's console and entering this command: reboot ota.
The Edison will shut down, then, as it begins to reboot, it will notice there's a flash update in the mass storage device and begin to install the update. The update will take a minute-or-so to install, and the Edison will reboot one last time.
When the Edison comes back up, log in as root and take comfort in knowing your Edison is running the latest and greatest version of the Edison Yocto image.