Edison Getting Started Guide
 jimblom,
  HelloTechie
Programming the Edison in Arduino
With a built-in C-compiler, Python, Node.js, and more, the Edison is capable of amazing things. As you'll discover in later Edison tutorials, we really recommend exploring the Edison's full capabilities by writing your applications in C, C++, Python, or anything that takes full advantage of the Edisons capabilities.
That said, using Arduino to program the Edison is a great way to start developing on the mini-computer in a safe and familiar environment. In this section, we'll examine how to program the Edison in Arduino, cover some common troubleshooting, and point out some useful examples to help get you started.
Note 1: This section requires a base block with a USB OTG port -- that means you won't be able to use the Arduino IDE with the Console Block. If that's all you have, skip ahead to the Setting Up the Console section.
Note 2: if you're using the Arduino Expansion Board, make sure the switch labeled "SW1" (between the micro-B USB port and the larger host USB port) is slid in the direction of the nearby micro-B port. That will switch that port into device mode.
Uploading Blink
By now you should have the Edison powered and plugged into your computer (connecting the Edison's OTG USB port to your computer), drivers set up, and Arduino for Edison software installed. If not, refer back to the previous sections of this tutorial.
Open up the Edison-specific Arduino software. This software is nearly indistinguishable from other Arduino builds. To make sure you're using the right version, go up to the Tools > Board menu and select Intel(R) Edison.
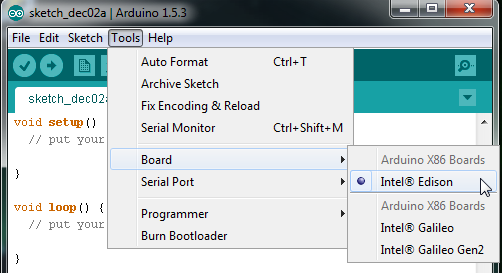
You may also notice the entires for the Intel(R) Galileo, and a distinct lack of any other Arduino board in the list -- this software only works with Intel's boards.
Next, select your serial port by going to Tools > Serial Port and select the COM port number that matches your new Edison.

On Windows the serial port will come in the form of "COM#". On Macs there will be two entries in the list for your Edison, make sure you select the one that looks something like "/dev/cu.xxxxxx" (cu not tty).
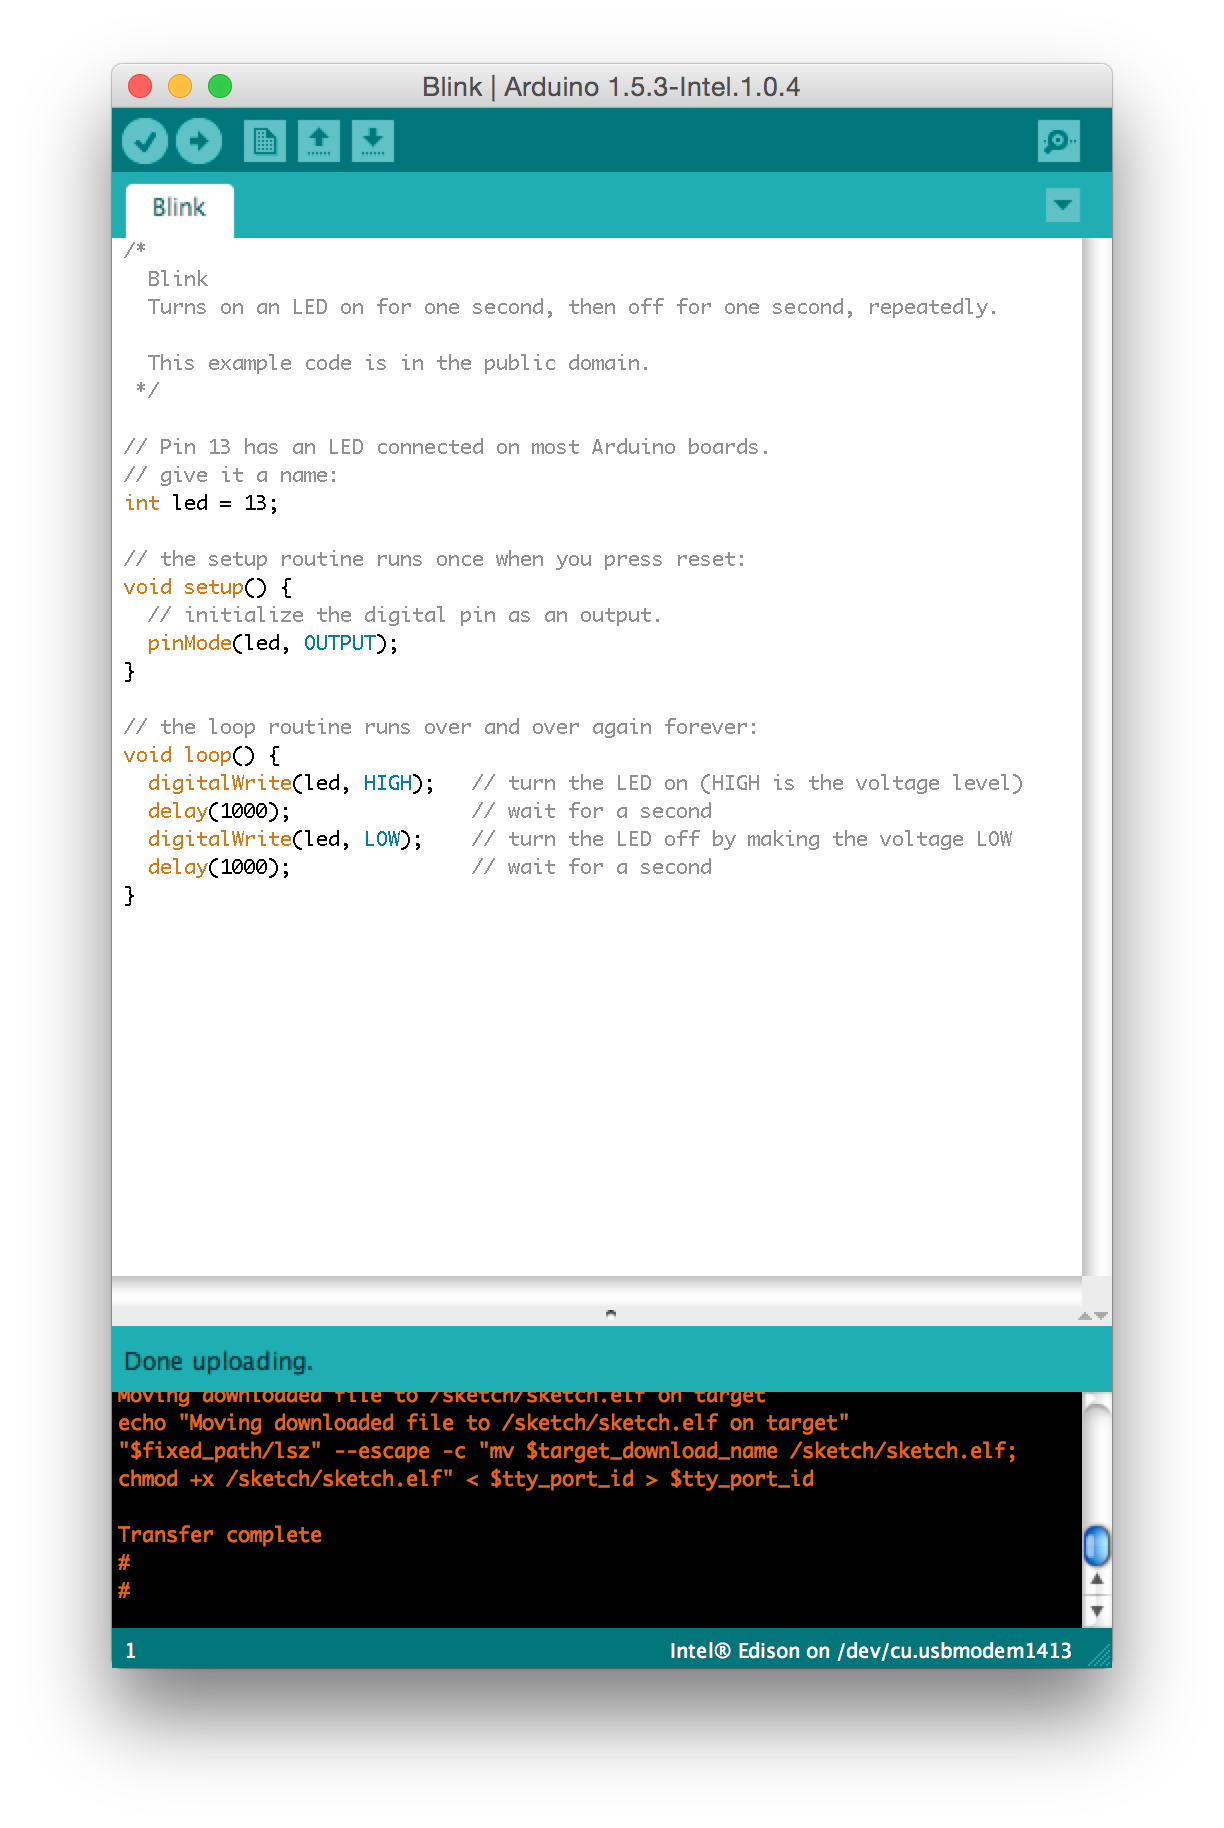
Finally open Blink by going to File > Examples > 01.Basics > Blink. And click the Upload icon.
After the compile, the code should quickly upload over to the Edison. Look for a "Transfer Complete" notification in the console window below.
Don't fret if you get an upload error! We've gotten a lot of them too. For most problems, there's usually no-better a fix than the old restart. This interface can be finicky, if you get an upload error try unplugging the Edison then plugging it back in and trying again. If that doesn't help, consider checking out Intel's Edison forum.
Handy Examples
We've loaded up the blink example, but on many boards the Edison doesn't even have an LED to blink. Here are some other handy examples that prove the Edison is working, and provide some insight into how the Edison's Arduino interface works.
Serial
As always, the Arduino serial monitor is a handy debugging tool. Give some of the examples in the File > Examples > 04.Communication folder a try, or load up something simple like this:
language:c
void setup()
{
  Serial.begin(9600);
}

void loop()
{
  if (Serial.available())
  {
    Serial.print("Decimal value: ");
    Serial.print(Serial.read());
    Serial.println();
  }
}
Then open up the serial monitor and interact with your Edison!
WiFi
WiFi is one of the most important features embedded into the Edison, and it's supported in the Arduino IDE by an updated WiFi library.
Try loading up any of the examples in the File > Examples > WiFi folder -- the "WiFiWebClient" example is a good one. You'll probably have to update the SSID and passkey before uploading.