Cellular Function Board - Blues Wireless Notecarrier
Software Setup
Using the Cellular Function Board in the MicroMod ecosystem requires a few software setup steps before getting started.
Blues Wireless Software
Blues Wireless has several software support packages to help communicate between the Notecard and connected Processor and to communicate between the Notecard and the cloud.
Notehub
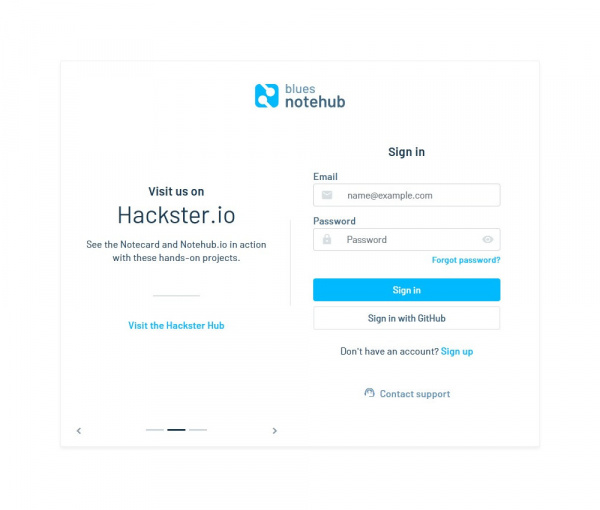
Blues Wireless' Notehub.io is a service that routes data from a Notecard to the cloud. Notehub works with a wide range of cloud options like AWS, Azure, Google Cloud. In addition, Notehub can route data to an IoT messaging platform like MQTT or a custom HTTP/HTTPS endpoint. Notehub requires an account tied to your Notecard so make sure to register if you do not have one already.
Once your account is created and verified, click the "Create Project" button in the top right of the page to start a new Project for your Notecard. This opens a pop-up on the page where you enter a Project Name, unique ID and select the billing account tied to the Project. By default, this selects the billing acount tied to your Notehub account but you can select other options in the drop-down menu. Once you have everything selected, select "Create Project".
Blues Wireless Documentation
This tutorial only does a cursory dive into using Notehub with the Function Board. For all the information you'll ever need for Notehub, Blues has written a host of tutorials covering the basics of Notehub as well as how to route data to a wide variety of platforms so be sure to check them out here:
Blues Note Arduino Library
The Blues Note Arduino Library allows users to communicate with a Notecard using the Arduino IDE over serial and I2C. To install the library using the Arduino Library Manager tool, navigate to the Tools menu and click "Manage Libraries" (you can also use the keyboard shortcut of Ctrl + Shift + I) and search for "note-arduino". Users who prefer to manually install the library can find it here on GitHub or you can click the button below to download a ZIP of the library:
Notecard CLI
Blues also offers two options for getting right to work with the Notecard with their in-browser terminal Notecard Playground (Note: the in-browser terminal only runs on Chrome, Opera or Edge browsers). The CLI is also available as a traditional application for download here.
Using the CLI only requires a USB-C cable connecting the Cellular Function Board to your computer. The CLI should automatically detect the Notecard and appear as a selectable device in the drop-down menu in the CLI.
Environmental Function Board Libraries
The Arduino Example in the following section requires the SparkFun Arduino libraries for the SGP40, SHTC3 and STC3X sensors on the Environmental Function Board. Install them with the Arduino Library manager tool by opening it and searching "SparkFun SGP40", "SHTC3" and "STC3X". If you prefer to manually install them you can download them from their GitHub repositories (SGP40, SHTC3, STC3X) or click the buttons below to download a ZIP of the libraries:
SparkFun SHTC3 Arduino Library (ZIP)
SparkFun STC3X Arduino Library (ZIP)
Processor Arduino Board Definitions and Driver
Make sure you go through the Hookup Guide for your chosen Processor Board to install the latest Arduino board definitions and any necessary drivers:
MicroMod Artemis Processor Board Hookup Guide
MicroMod STM32 Processor Hookup Guide
Pin Connection Table
The table below helps show which pins the Function Board connects to depending on the slot it is connected to on a Main Board (Note: The Single Main Board connection is Slot 0):
| AUDIO | UART | GPIO/BUS | I2C | SDIO | SPI0 | Dedicated |
|
Function Board
Pin Name |
Main Board's
Processor Pin |
Slot 0 | Slot 1 |
|---|---|---|
| VCC | - | |
| 3.3V | - | |
| GND | - | |
| PWR_EN | SDIO_DATA2/PWR_EN0_ALT | SDIO_DATA1/PWR_EN1_ALT |
| DFU_RST | RESET | |
| DFU_BOOT | BOOT | |
| DFU_FC_TX | RX1-DFU_TX-FC0-PLEX1 | RX1-DFU_TX-FC1-PLEX1 |
| DFU_FC_RX | TX1-DFU_RX-FC0-PLEX1 | TX1-DFU_RX-FC1-PLEX1 |
| RX | TX1-PROCESSOR-PLEX1 | TX2-PROCESSOR |
| TX | RX1-PROCESSOR-PLEX1 | RX2-PROCESSOR |
| F3 | G0 | G5 |
| F4 | G1 | G6 |
| F5 | G2 | G7 |
