Using the Serial 7-Segment Display
7-Segment Shield
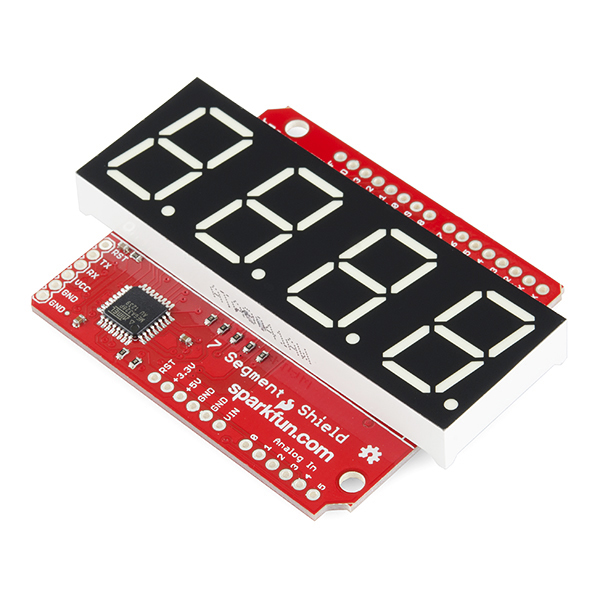
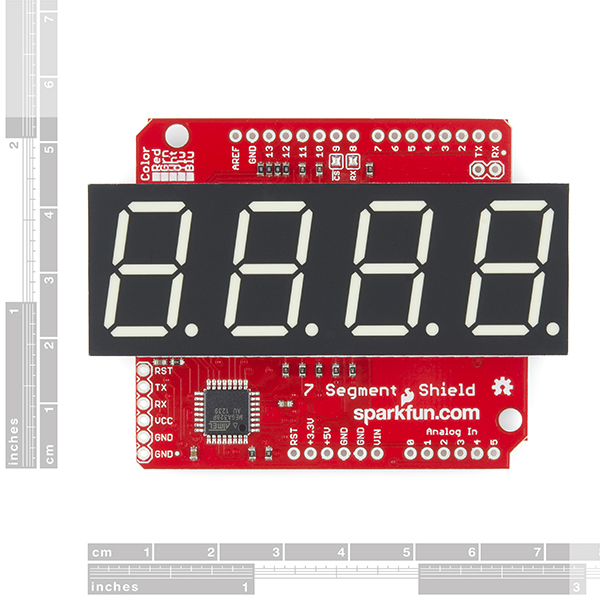
If you're looking for an even simpler form factor of the S7S, take a look at the 7-Segment Shield display. The S7S Display Shield is an Arduino shield designed to run on top of an Arduino Uno or an Arduino Uno compatible board. It runs the same firmware as the OpenSegment and Serial 7-Segment displays and is controlled in the same manner. It is arguably the easiest of the three to get up in running as all you have to do is populate the standard Arduino headers, a 7-segment display of your choice, and then plug the shield into an Arduino Uno compatible board. For more instructions on shield assembly, visit our shield tutorial.

Similarities and Differences
Just like its brother boards, the serial 7-segment shield can be controlled via SPI, I2C, and serial communication. You can choose which communication protocol works best for your specific application leaving the others open to interact with other pieces of hardware. It shares the same command set, and all the same example Arduino sketches work for it as well without needing to change a single line of code.
Since all communication protocols are connected by default, there is the option of disabling both the SPI or Serial communication streams. You only need to disable these if they conflict with other devices you want to communicate with, otherwise you can leave them alone. You can disable SPI by desoldering the Chip Select pin (CS). You can disable Serial by desoldering the shield's receive pin (RX). These jumpers are located in the top center of the picture below.

So what about I2C? Well while I2C can't be disabled in the same manner, it shouldn't conflict with another I2C device on the same bus unless they share the same address. In this case, you can reprogram the shield's firmware with a different I2C address. The shield's I2C address is 0x71 by default.
When comparing the displayable data, both have four 7-segments and four decimal places. However, the 7-segment shield does not have a colon or apostrophe available. Any commands to turn on the colon and apostrophe will not display on the 7-segment shield.
Super Quick Start Guide
- Solder headers to the 7-Segment Shield Display.
- Mate to an Arduino Uno compatible board.
- Choose one of the basic example Arduino sketches and download it from here.
- Upload example sketch to your Arduino.
- If 1-4 went correctly, your display should now be counting upwards.
- Continue reading the Example coding sections of this tutorial to get a better grasp of the code.
If you're ready to take the plunge into creating your own sketches, feel free. If you want a bit more explanation of one of the basic sketches, visit the following coding sections of this tutorial. Simply plug in your shield to an Arduino, and follow along.