Simon Tilts Assembly Guide
The Other Resistors
Now that you've successfully soldered in the 10K resistor, you're ready to begin soldering in in the remaining resistors.
Note, before soldering in each resistor, double check you have the correct value by ensuring that the color markings are correct.
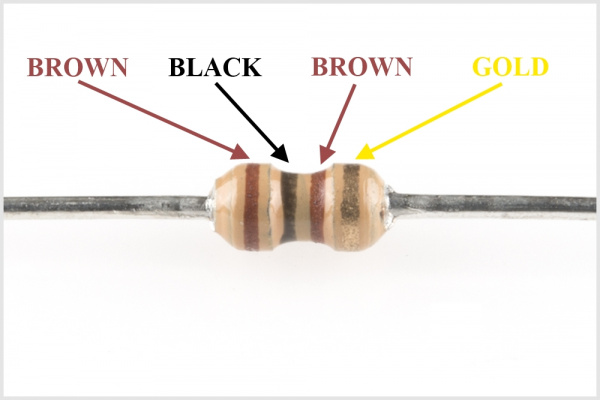
Locate the 100Ω Resistor. It has this pattern of strips on it: BROWN, BLACK, BROWN, GOLD.
A 100Ω resistor looks like this:
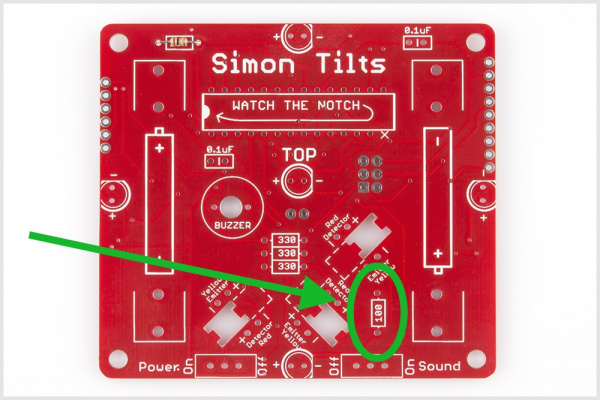
Locate the position on the PCB:
Using the same methods you learned with your first component (the 10KΩ resistor), solder into place, and trim the extra lead length.
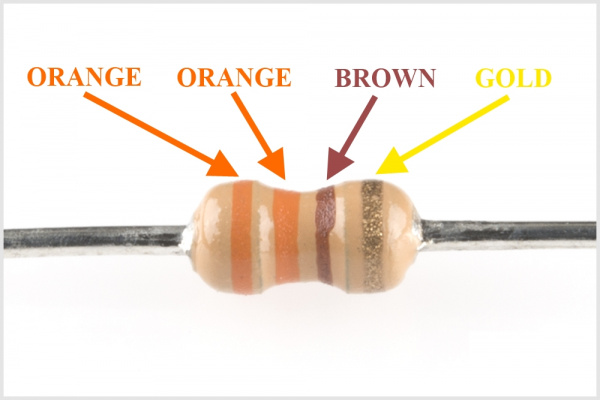
Next, locate the 330Ω Resistors (x3). They each have this pattern of strips on them: ORANGE, ORANGE, BROWN, GOLD.
A 330Ω resistor looks like this:
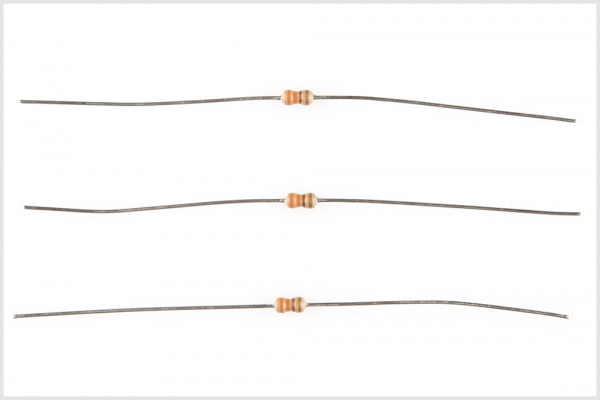
There should be three of them:
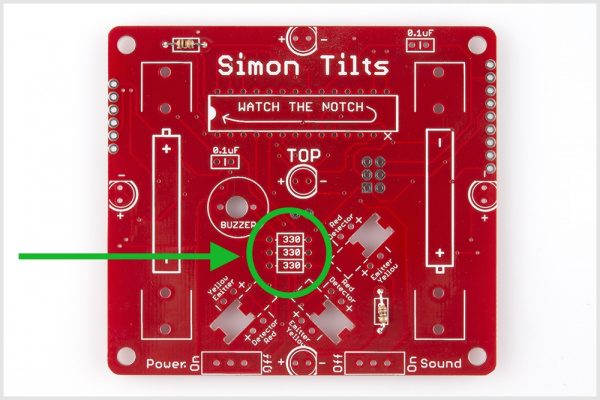
Locate the position on the PCB:
Using the same methods as before, solder into place and trim the extra lead length.
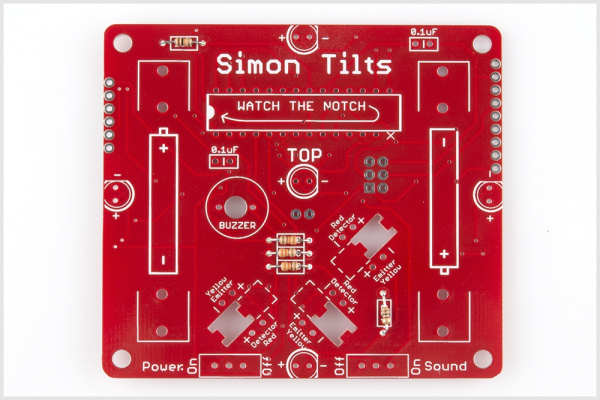
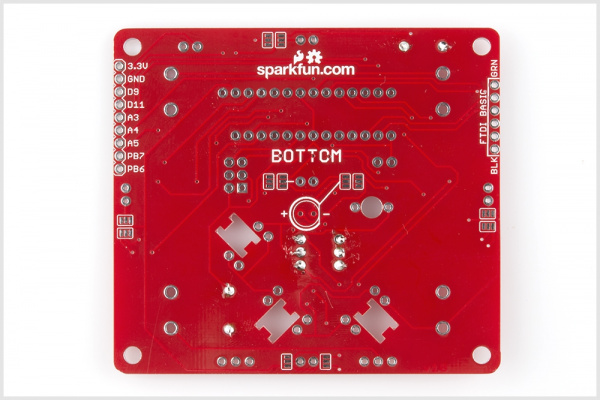
When you're done soldering these remaining resistors, your board should look like this:
TOP:
BOTTOM:
