Contributors:
santaimpersonator,
 Englandsaurus
 Introduction
PCA9548A and TCA9548A? The SparkX version of the Qwiic Mux breakout used the PCA9548A. The SparkFun red version uses the TCA9548A. Overall, both should be functionally the same with a
few minor differences.
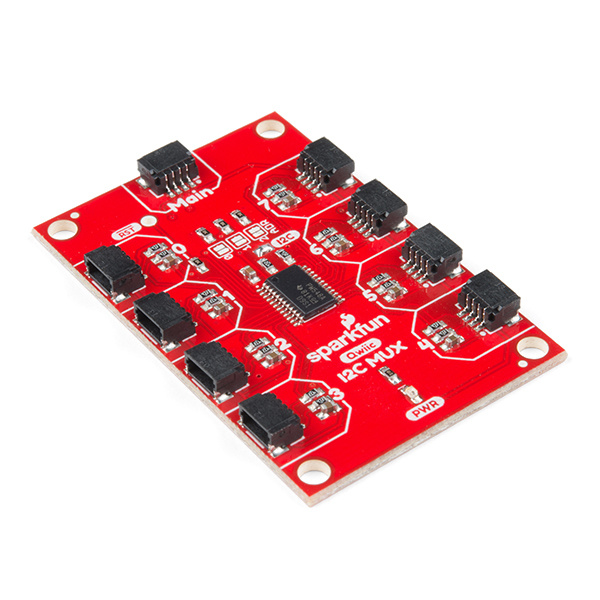
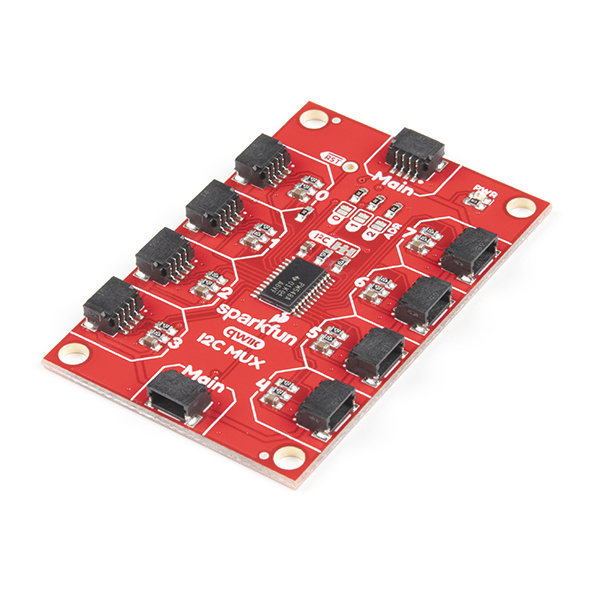
The Qwiic Mux - TCA9548A (v1) and (v1.1) enable communication with multiple I2C devices that have the same address. The IC is simple to interface with and also has 8 configurable addresses of its own, this allows you to put 64 I2C buses on a single bus!
BOB-14685
The SparkFun Qwiic Mux Breakout enables communication with multiple I2C devices that have the same address that makes it simp…
Retired
BOB-16784
The SparkFun Qwiic Mux Breakout enables communication with multiple I2C devices that have the same address that makes it simp…
Revision Update: In the latest revision of the Qwiic MUX, we have made a few changes to improve the board, listed below. If users are unsure about which version they purchased, please refer to the pictures of the most prominent changes, shown below.
- We have added a pass-through Qwiic connector.
- The power LED was moved to accommodate the additional Qwiic connector.
- We have updated the I2C pull-up resistor jumper to a cuttable trace.
- We have widened the trace for the 3.3V power.
- There is a v11 label on the back of the board.
- The silk screen labels have been updated.
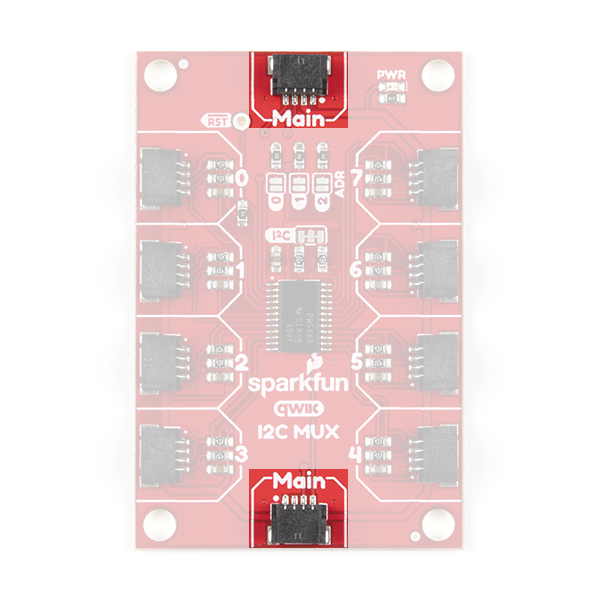 Added Qwiic connector to make board daisy-chainable.
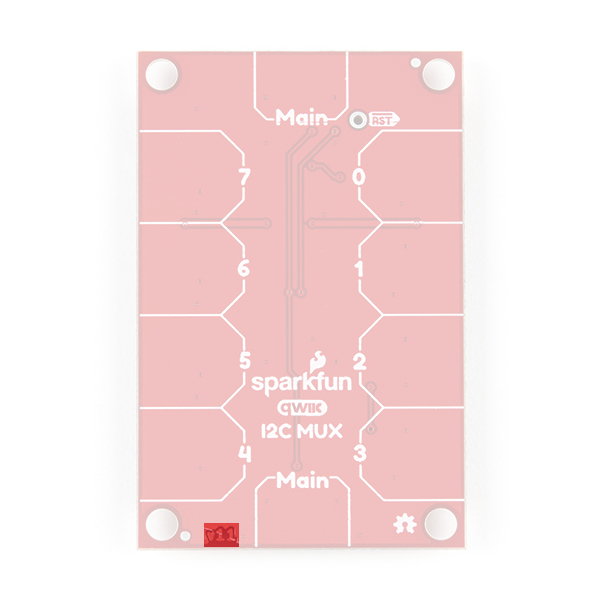 The v11 label on the back.
In this tutorial we'll go over how to talk to sensors on different channels of your MUX breakout board. The application of this is pretty straightforward so things won't get too fancy.
Required Materials
You'll need a few additional items to get started with the Qwiic Mux. The RedBoard Qwiic is for the Arduino examples and the Qwiic pHAT is for the Raspberry Pi example (see note below). You may already have a few of these items, so feel free to modify your cart based on your needs. Additionally, there are also alternative parts options that are available as well (click button below to toggle options).
KIT-15081
To make it even easier to get started, we've assembled this Qwiic Cable Kit with a variety of Qwiic cables from 50mm to 500mm…
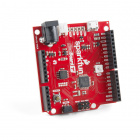
DEV-15123
The SparkFun RedBoard Qwiic is an Arduino-compatible development board with a built in Qwiic connector, eliminating the need …
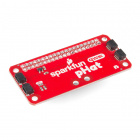
DEV-15351
The SparkFun Qwiic pHAT for Raspberry Pi is the quickest and easiest way to make your way into the Qwiic ecosystem and still …
Retired
Qwiic compatible microcontrollers:
DEV-15123
The SparkFun RedBoard Qwiic is an Arduino-compatible development board with a built in Qwiic connector, eliminating the need …
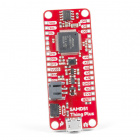
DEV-14713
With a 32-bit ARM Cortex-M4F MCU, the SparkFun SAMD51 Thing Plus is one of our most powerful microcontroller boards yet!
DEV-14812
If you’re ready to step up your Arduino game from older 8-bit/16MHz microcontrollers, the SparkFun RedBoard Turbo is a form…
WRL-14689
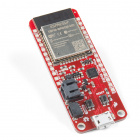
The SparkFun ESP32 Thing Plus is the next step to get started with Espressif IoT ideations while still enjoying all the ameni…
Retired
In addition we also offer, Qwiic compatible stackable shields for microcontrollers and pHATs for single board computers (like the
Raspberry Pi boards) that don't include a Qwiic connector.
DEV-14495
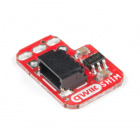
The SparkFun Qwiic Adapter provides the perfect means to make any old I2C board into a Qwiic enabled board.
DEV-14352
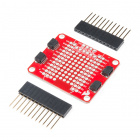
The SparkFun Qwiic Shield is an easy-to-assemble board that provides a simple way to incorporate the Qwiic Connect System wit…
DEV-14477
The SparkFun Qwiic Shield for Photon is an easy-to-assemble board that provides a simple way to incorporate the Qwiic System …
Retired
DEV-14459
The SparkFun Qwiic HAT for Raspberry Pi is the quickest and easiest way to make your way into the Qwiic ecosystem and still u…
DEV-15794
The SparkFun Qwiic SHIM for Raspberry Pi is a small, easily removable breakout that easily adds a Qwiic connector to your Ras…
DEV-15316
The SparkFun Servo pHAT for Raspberry Pi allows your Raspberry Pi to control up to 16 servo motors in a straightforward manne…
DEV-15351
The SparkFun Qwiic pHAT for Raspberry Pi is the quickest and easiest way to make your way into the Qwiic ecosystem and still …
Retired
You will also need a Qwiic cable to connect to your Qwiic Mux, choose a length that suits your needs.
PRT-14426
This is a 50mm long 4-conductor cable with 1mm JST termination. It’s designed to connect Qwiic enabled components together …
Retired
PRT-14427
This is a 100mm long 4-conductor cable with 1mm JST termination. It’s designed to connect Qwiic enabled components together…
Retired
PRT-14428
This is a 200mm long 4-conductor cable with 1mm JST termination. It’s designed to connect Qwiic enabled components together…
Retired
PRT-14429
This is a 500mm long 4-conductor cable with 1mm JST termination. It’s designed to connect Qwiic enabled components together…
Retired
Alternative Parts (Toggle)
Raspberry Pi Example: If you don't already have them, you will need a Raspberry Pi and standard peripherals. An example setup is listed below. (The Qwiic Mux and Python library have not been tested on the newly released Raspberry Pi 4 because we don't carry it in out catalog yet.)
Update: This board and the Python package have been verified to work with the Raspberry Pi 4.
Tools
Depending on your setup, you may need a hobby knife, soldering iron, solder, and/or general soldering accessories.
TOL-09325
This is your basic spool of lead free solder with a water soluble resin core. 0.031" gauge and 100 grams. This is a good spoo…
TOL-09200
It's like an Xacto knife, only better. We use these extensively when working with PCBs. These small knives work well for cutt…
TOL-14228
The WLC100 from Weller is a versatile 5 watt to 40 watt soldering station that is perfect for hobbyists, DIYers and students.…
Retired
TOL-14508
The Slice Craft Knife is a high end hobby knife perfect for precision cutting, scraping, and handling.
Retired
Suggested Reading
If you're unfamiliar with jumper pads, I2C, Qwiic, or Python be sure to checkout some of these foundational tutorials.
Serial Communication
Asynchronous serial communication concepts: packets, signal levels, baud rates, UARTs and more!
Logic Levels
Learn the difference between 3.3V and 5V devices and logic levels.
I2C
An introduction to I2C, one of the main embedded communications protocols in use today.
Serial Terminal Basics
This tutorial will show you how to communicate with your serial devices using a variety of terminal emulator applications.
Raspberry Pi SPI and I2C Tutorial
Learn how to use serial I2C and SPI buses on your Raspberry Pi using the wiringPi I/O library for C/C++ and spidev/smbus for Python.
Qwiic pHAT for Raspberry Pi Hookup Guide
Get started interfacing your Qwiic enabled boards with your Raspberry Pi. The Qwiic pHAT connects the I2C bus (GND, 3.3V, SDA, and SCL) on your Raspberry Pi to an array of Qwiic connectors.
How to Work with Jumper Pads and PCB Traces
Handling PCB jumper pads and traces is an essential skill. Learn how to cut a PCB trace, add a solder jumper between pads to reroute connections, and repair a trace with the green wire method if a trace is damaged.
RedBoard Qwiic Hookup Guide
This tutorial covers the basic functionality of the RedBoard Qwiic. This tutorial also covers how to get started blinking an LED and using the Qwiic system.
The Qwiic Mux is intended for the Qwiic connect system. We recommend familiarizing yourself with the Logic Levels and I2C tutorials before using it. Click on the banner above to learn more about our Qwiic products.


