LED Cloud-Connected Cloud
Physical Cloud Making
We will begin by assembling the clouds.
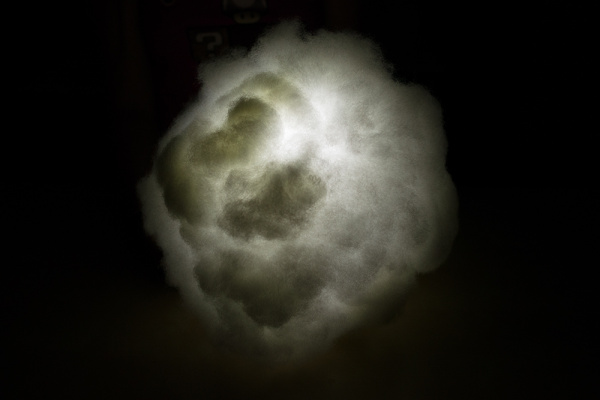
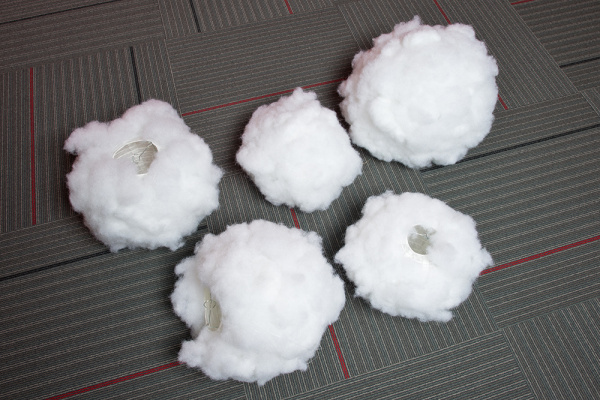
Start with an open white paper lantern, and glue on pieces of polyfil in small sections until you have covered the whole lantern.
Some tricks for making the cloud look cool when it is lit up is to swirl the polyfil before you glue it on or do other fun crazy shapes.
When you have covered it fully (don’t worry about the top and bottom holes right now), you may want to take a flashlight, and check to see what the lantern looks like when lit up. Cover any bare spots you see.
Repeat this process for as many lanterns as you would like. The more lanterns, the larger your clouds will be. Just keep in mind you'll need a power supply that can handle all the LEDs in each lantern. Paper lanterns of different sizes can create a cloud that looks more realistic.
The 5m RGB LED strips fill about five lanterns, so if you want to make your cloud larger or have more than one cloud, you are going to want more RGB LED strips and power sources (you can use the same Pro Mini and ESP8266 Thing Dev Board to power multiple clouds and RGB LED strips).
Once you have the all of your lanterns covered in polyfil, you can tie them together with the fishing wire. This was accomplished by picking a lantern that I wanted to be the highest point of the cloud and tying the tops of the other lanterns to the top of the one I chose. This will give you room for the cloud to look like it is “bobbing” and “shifting”, but if you want it to be more secure, you can tie the lanterns more tightly to each other and even tie the bottoms together as well.
Now that your lanterns are tied together, you can secure them to a wooden dowel so that the cloud is easier to transport and hang.
At this point, set your cloud up near your workstation so that you can easily install the lights and see what the cloud looks like lit up. Take this opportunity to add or take away polyfil as you see fit.
