LED Cloud-Connected Cloud
Code Part 2
Since you have two boards with microcontrollers, you will have to program each one separately.
Pro Mini Code:
If you did not do so in the previous section, download the most recent code from the GitHub repository:
Open the sketch titled LED_Control.ino.
Plug in the Pro Mini, choose Pro Mini as your device, select the corresponding COM port, and then click upload.
Blynk Setup
To hook up the Thing board to the Internet, we will be using the Blynk app. To get the code we need to program the Thing board with you will need to download the Blynk app onto your phone.
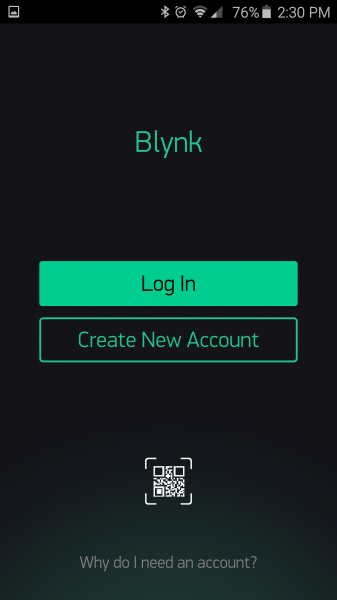
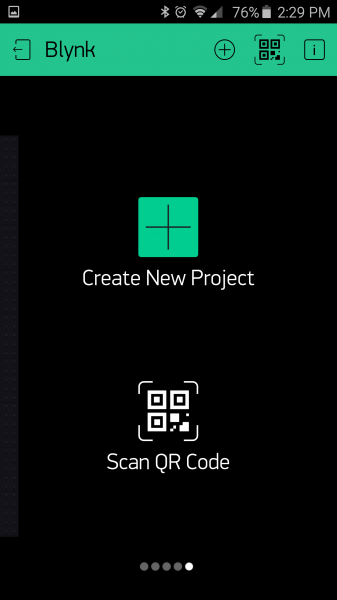
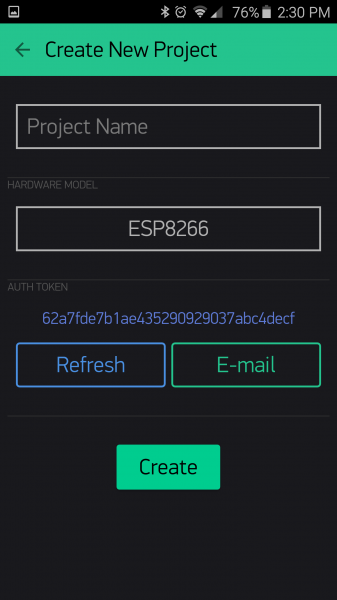
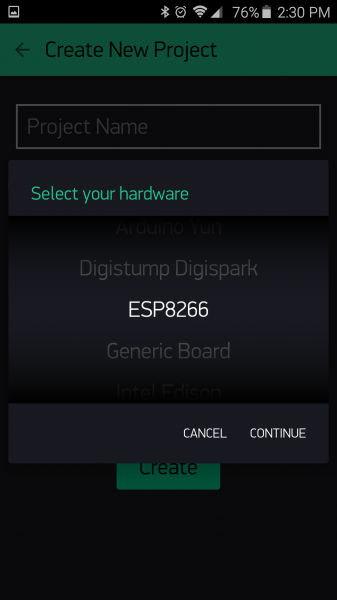
Once you have the app, create an account (if you don’t have one already), and go to “create new project”. There you can name your project, set your hardware to “ESP8266” and you can email or just copy that authentication token, which we will need to paste in the SparkFun Thing code.
In your project that you just created, you are going to want to put three LED light widgets, three button widgets, a ZERGBA widget, and an LCD widget.
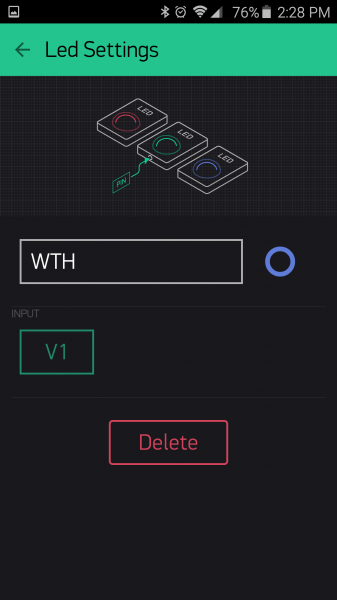
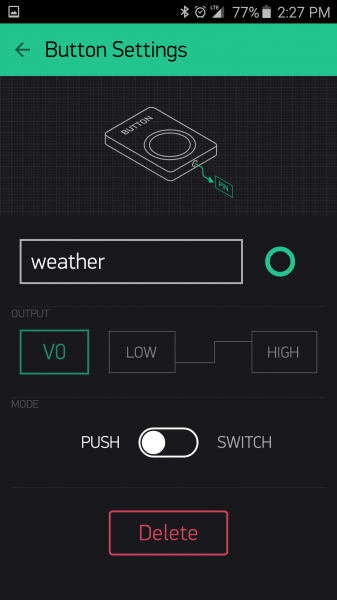
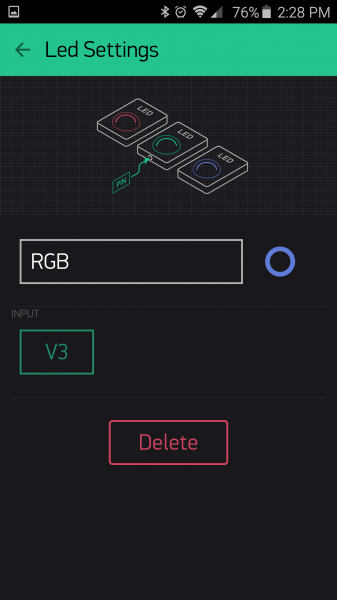
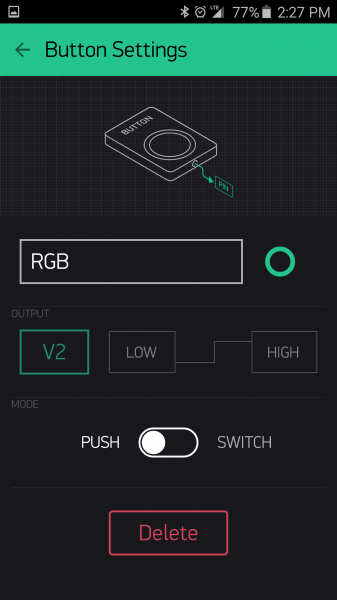
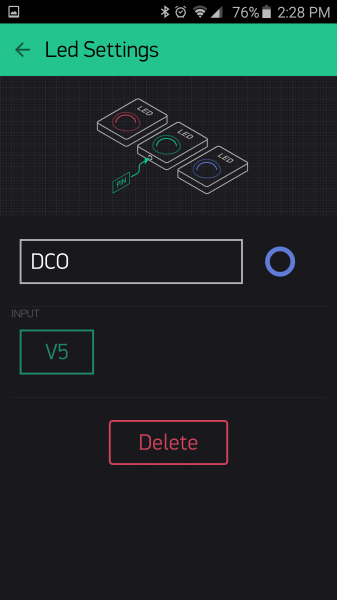
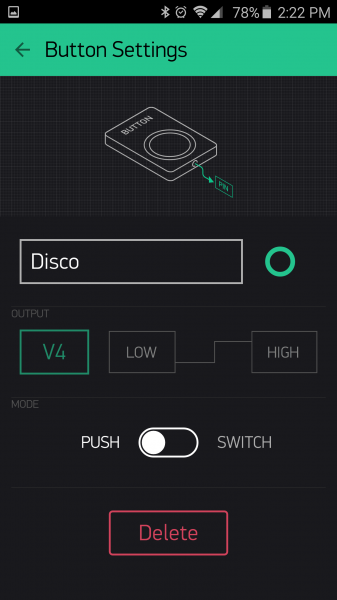
To get these things onto your project board, touch the screen and the left side should show things that you can place. Drag them over to wherever you'd like. Once they are placed on your board, you can click on them to assign them pins. All of ours are going to be assigned to virtual pins in the table below. There is also a step by step photo setup to help you:
| Module | Pin | |||
|---|---|---|---|---|
| Weather Button | V0 | |||
| Weather Indicator LED | V1 | |||
| RGB Button | V2 | |||
| RGB Indicator LED | V3 | |||
| Disco Button | V4 | |||
| Disco Indicator LED | V5 | |||
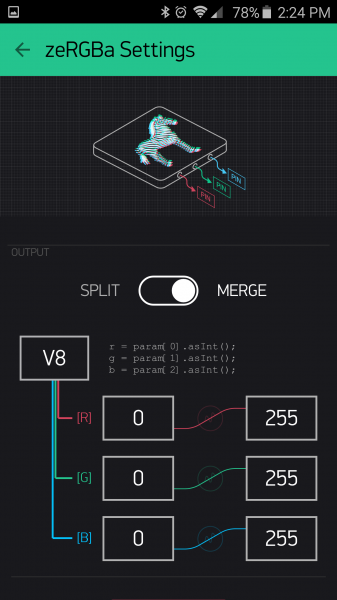
| ZERGBRA | V8 | |||
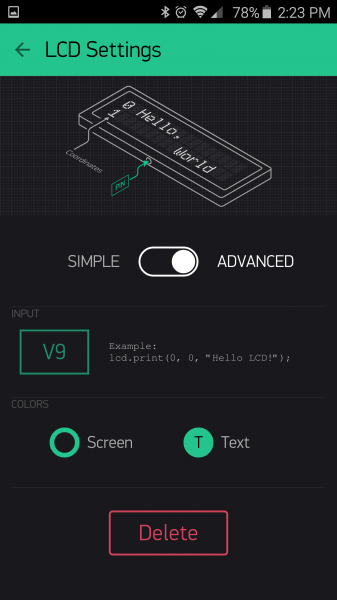
| LCD Screen | V9 | |||
Blynk app Photo Setup Walkthrough:
(remember to email yourself the Auth Tolken or you can come back to this page after you to get it.)
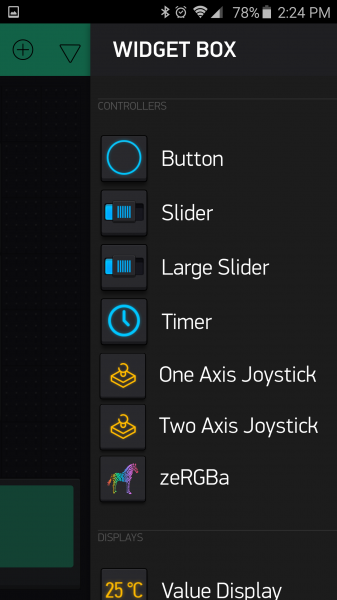
Swipe to the left to get the widget box menu, to pick new modules:
Once you have selected a module, it will appear on your project board. To attach it to a pin and change its setting, click on it:
Repeat those steps for all the modules attached to the pins you will need (as seen below):
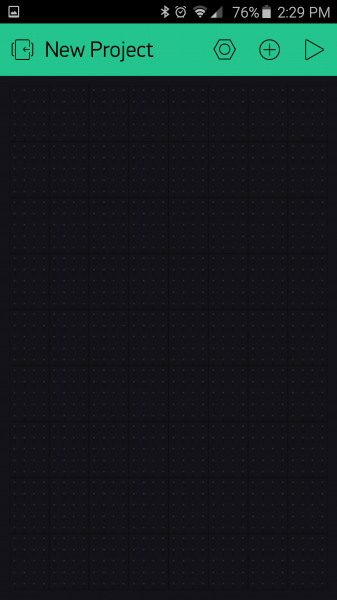
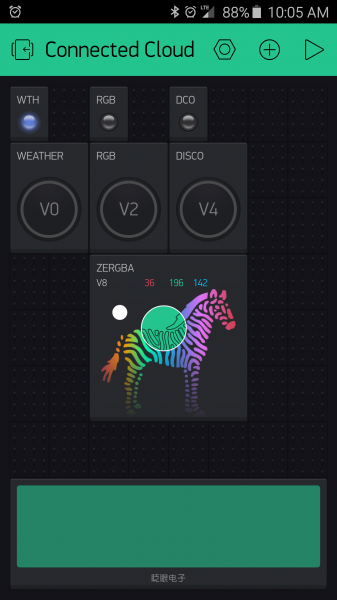
After you have created all the LEDs, Buttons, the ZERGBA, and the LCD and assigned them to the correct virtual pins, you can arrange your modules to look like this:
And now your blynk project is ready!
SparkFun Thing Code:
To program the SparkFun ESP8266 Thing, we have to get a little more complex.
To program this board, you will need a special add on for the Arduino IDE to be able to choose the ESP8266 board, and you can get the instructions for that in this tutorial.
You will also need to download the github libraries for Blynk, Adafruit’s Neo-Pixel Libraries, and lastly add the github libraries for this project.
Once you have done all of that, you can open the Thing code in the cloudcloud project, the sketch titled CloudCloud.ino, change the wifi and password to your network, add your Auth token from the Blynk app, and upload it to your SparkFun Thing to your computer. If you want weather for a city other than Niwot (which you probably do), you can change that in the code as well.
When uploading the code, remember to choose “SparkFun ESP8266 Thing” as your board under the Tools tab. Also check that you have the “Upload using: serial”, “CPU frequency: 80 MHz”, and “Upload speed: 115200” chosen under the Tools tab as well. Make sure you Thing board switch is ‘ON’. Then choose the COM port that your Thing board is hooked up to, and press the Upload button.
(*If you are having errors when you try to upload of undefined libraries, make sure that you have added the file states.h to your project. If after that you are still having issues, it might be the version of the Arduino IDE that you are running, we wrote this on version 1.6.5 and recommend running it on that version.)
Once that is finished uploading, unplug the Thing board from your computer, hook it back up to the circuit, power your Pro Mini (that is also powering the Thing board), and your LED strip. Make sure your Thing board switch is turned on, and wait 30-60 secs. Open up your Blynk app, and run the project you created by pressing play in the top right corner. You should be all hooked up and able to control your lights from the app.
Phew, that was a lot of stuff, but we got through it! Now you can power your lights and your Pro Mini (that is also powering the Thing board) and power up your Blynk app and control your clouds!
