LED Cloud-Connected Cloud
 Sarah Al-Mutlaq
Installing the Lights in the Clouds
Now that we have the lights up and running, we can place them into the cloud and test out how it looks.
Evenly distribute the lights between all the paper lanterns and look at the light distribution, and adjust accordingly.


After I felt good about the distribution, I tied the LED strip to the top of each paper lantern. Note that the LED strip isn’t very secured in the lantern. The reason for this is that I didn’t see a difference if I secured them or not. Since they will always be hanging in the same way, they aren’t going to shift very much, so just securing a part to the lantern seemed sufficient to me.

After the LED strip was in the cloud, I looked around and filled any bald spots on the lantern with more polyfil that I could now see due to the lights. I also covered any exposed LED strip with polyfil that I rolled to be more dense.
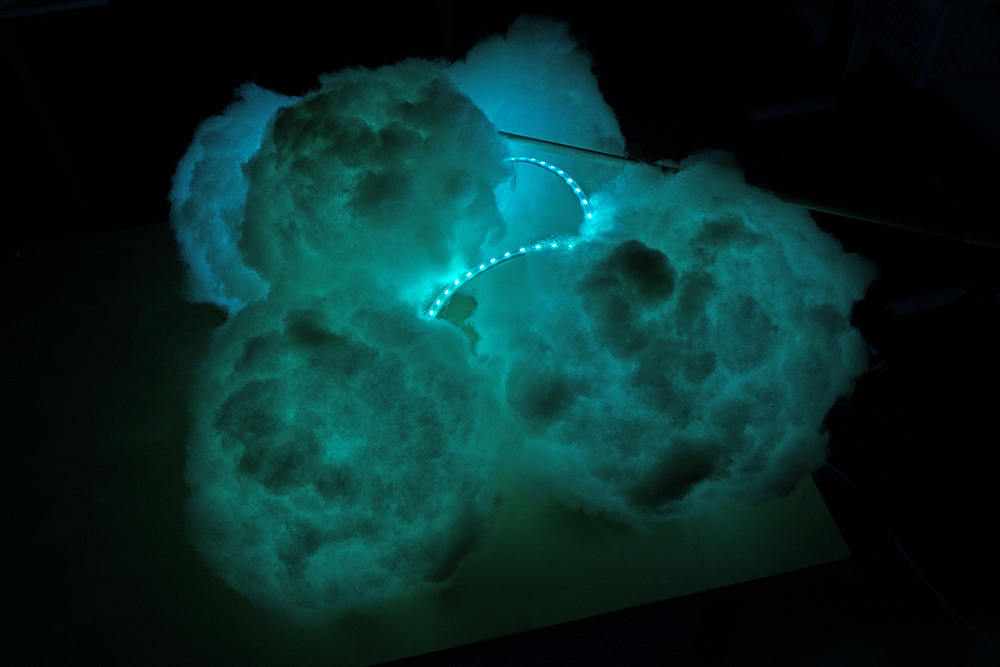


You can glue the polyfil on while the Cloud is lit to get a better idea of what it looks like.
After you have filled in all the uneven spots of the cloud with polyfil, you can install your cloud where you like and enjoy it’s colorful awesomeness!
ReplaceMeOpen
ReplaceMeClose