GNSS Correction Data Receiver (NEO-D9S) Hookup Guide
Contributors:
 bboyho,
  PaulZC
bboyho, PaulZC 
NEO-D9S and NEO-D9C > Example 1: NEO-D9S
From the menu, select the following: File > Examples > Examples from Custom Libraries | SparkFun u-blox GNSS v3 > NEO-D9S_and_NEO-D9C > Example1_NEO-D9S.
Upload Code
When ready, select the correct board definition from the menu (in this case, Tools > Boards > SparkFun ESP32 IoT RedBoard). Then select the correct COM port that the board enumerated to (in this case, it was COM13). Hit the upload button.
What You Should See
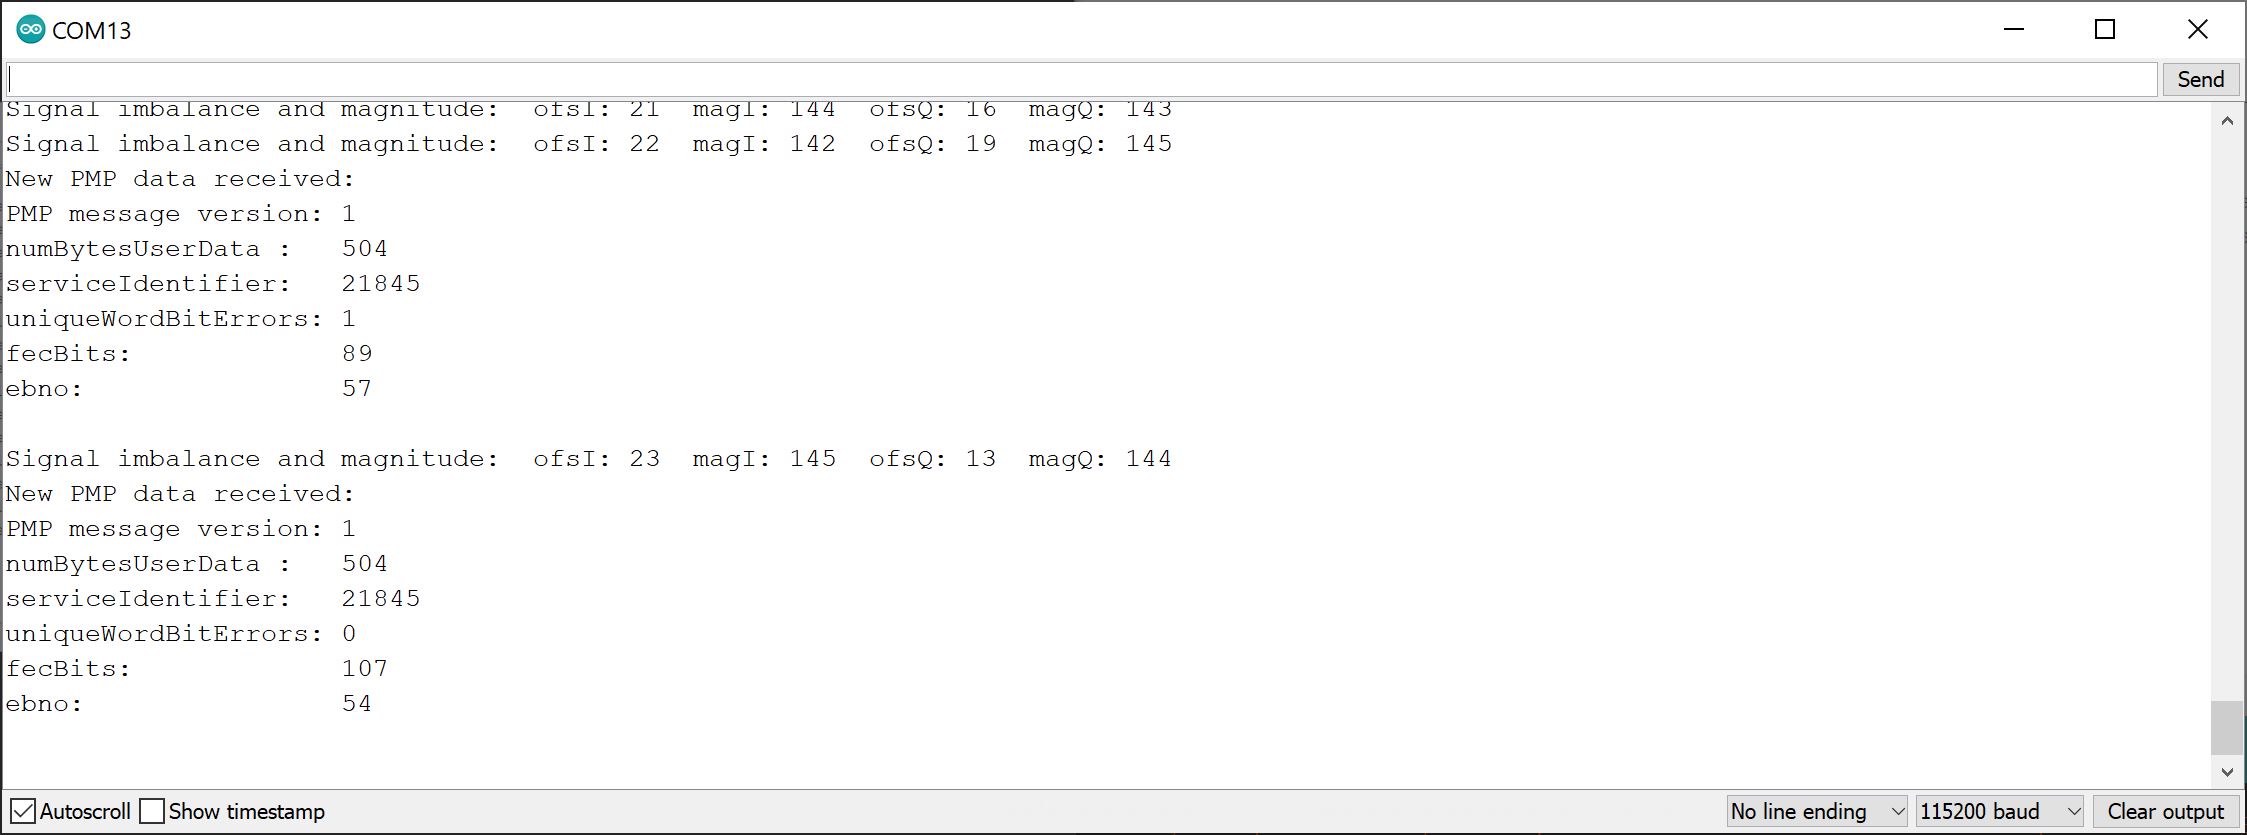
Open the Arduino Serial Monitor at 115200 baud. If all is well, you should see the following output indicating that the UBX-RXM-PMP correction data is being received! In this case, the NEO-D9S had a multiband antenna pointing up towards the sky from SparkFun HQ's rooftop.
Click image for a closer view.