Getting Started with the DA16200 FreeRTOS SDK
Example: GPIO Control
This example will demonstrate how to import and build one of the example projects from the DA16200 FreeRTOS SDK. This example will utilize the GPIO example project from the <sdk_root_directory>/apps/common/examples/Peripheral folder of the SDK (apps > common > examples > Peripheral > GPIO). The example project is written to read and toggle certain GPIO pins.
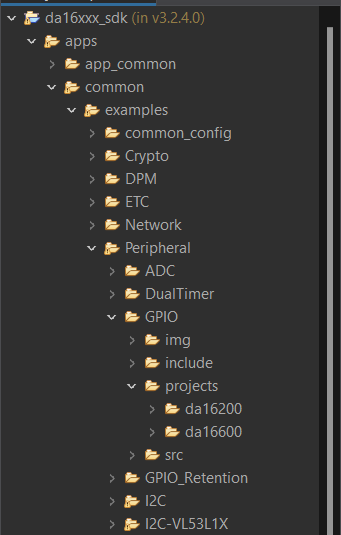
The
projects folder for the GPIO example, from the Peripheral examples folder of the DA16200 FreeRTOS SDK. (Click to enlarge)
By default, the example project will:
- Toggle the
GPIOA0andGPIOA4high and low. - Read the state of
GPIOA1. - The
GPIOA2andGPIOA3pins will be configured as interrupts:GPIOA2will be active low.GPIOA3will be active high.
Below are the prebuilt images for the GPIO example project, using version 3.2.4.0 of the SDK:
Build Project
Users with the DA16200 Thing Plus, can blink the STAT LED by modifying the following lines in the peripheral_sample_gpio.c file in the <sdk_root_directory>/apps/common/examples/Peripheral/GPIO/src folder:
- Replace
GPIO_PIN0withGPIO_PIN11on lines: 97, 162-163, 170, and 177 - Replace
GPIOA[0]withGPIOA[11]on line: 176
Users can also make the print outs in the serial debug interface easier to read by replacing low with low (add a extra space) to lines 177-179.
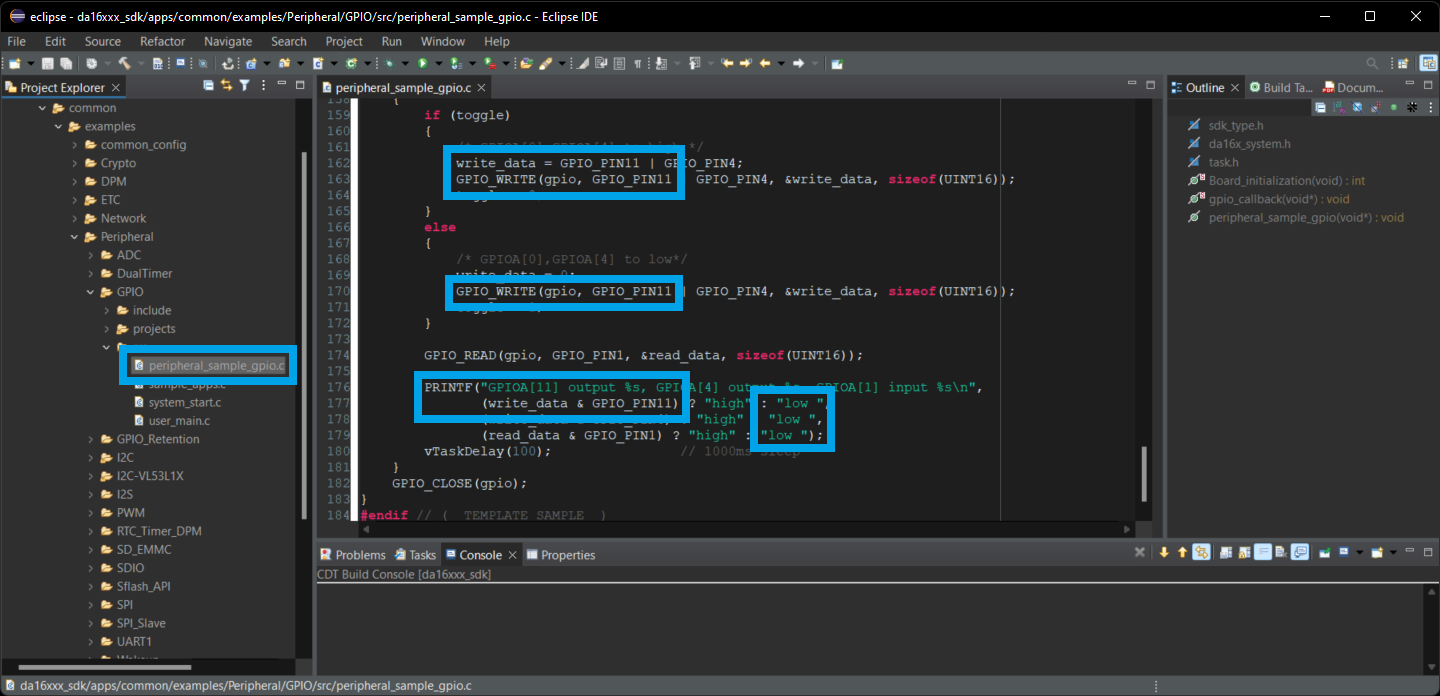
peripheral_sample_gpio.c file and most of the lines to modified in the Eclipde IDE. (Click to enlarge) Once the peripheral_sample_gpio.c file has been modified to suit the users needs, the example project can be imported and built in the Eclipse IDE. Users can then use the serial debug interface to upload the new firmware to the board. Once users reboot the DA16200MOD module, the new firmware should run automatically.
Users who have the DA16200 Thing Plus and have modified the code to toggle the STAT LED will see a blue LED blinking at about 1 second intervals.