Getting Started with the Artemis Development Kit
Introduction
- Window 10 (or later) is required for almost all the additional software required for the ADK.
- Currently (7/7/20), there are no limitations for Mac OS due to their required OS updates.
- For Linux users, we have tested our instructions on Ubuntu 18.04.4 LTS desktop. Users may need to verify the software compatibility for their Linux distribution. In addition, users may need to adapt our instructions to their flavor of Linux.
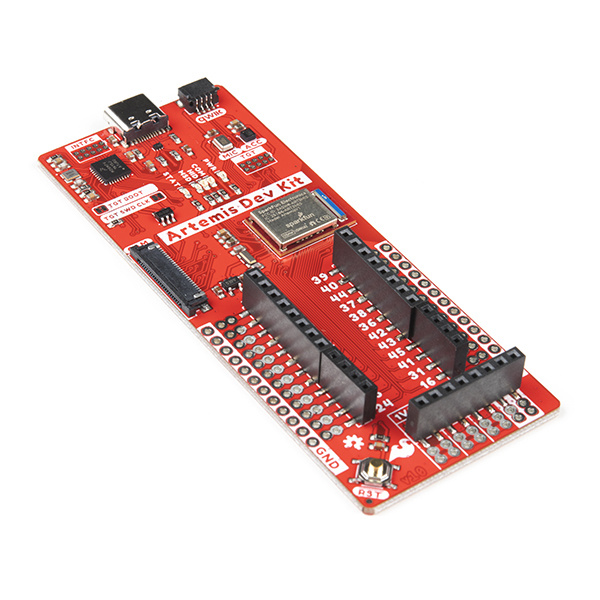
The Artemis Development Kit and Artemis Development Kit (with Camera) are the latest development kit from our Artemis family of products. If you are looking to push the edge of your software development skills, the Artemis Development Kit is what you have been waiting for!
SparkFun Artemis Development Kit
DEV-16828This guide will cover the general design of the development board and the installation of the recommended software used to program the Artemis DK. The primary development programs are the AmbiqSDK, Mbed™ OS, and the Arduino IDE. In addition, we have provided basic examples to verify the operation of the board. For more advanced functionalities, we have software development guides for each of the recommended software platforms that users can reference.
Users may need to watch the video on YouTube.
Note: We do NOT recommend novices begin with this board. There are a lot of details and fundamental knowledge involved with the use of this board. The content of this hardware guide alone can be daunting; not to mention, the three software development guides associated with this board, which can also be overwhelming for a first-time user.
Those who have become familiar with programming and electronic hardware will have an easier time developing with the Artemis DK as various components of this tutorial are geared towards the professional software developer.
Required Materials
To get started, users will need a few items. Now some users may have a few of these items, feel free to modify your cart accordingly.
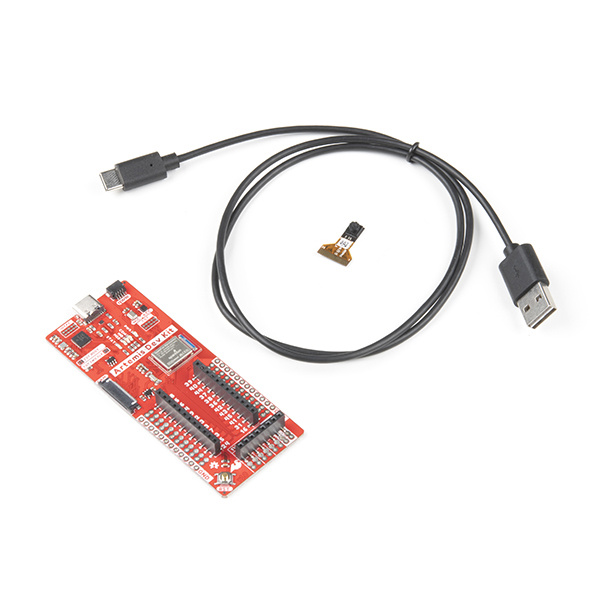
- SparkFun Artemis Development Kit or SparkFun Artemis Development Kit (with Camera)
- USB 3.1 Cable A to C - 3 Foot - The USB interface serves two purposes: it powers the board and allows you to upload programs to it. (*If your computer doesn't provide a USB-A slot, then you will need to choose an appropriate cable or purchase an adapter as well.)
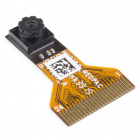
- Himax CMOS Imaging Camera - HM01B0 - The camera is optional, but is recommended for users interested in visual recognition applications. (* The camera is included in the SparkFun Artemis Development Kit (with Camera).)
- Computer with the an operating system (OS) that is compatible with all the software installation requirements.
SparkFun Artemis Development Kit
DEV-16828Jumper Modification
If you would like to modify the jumpers, you will need soldering equipment and/or a hobby knife.
Weller WLC100 Soldering Station
TOL-14228Programming Firmware
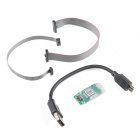
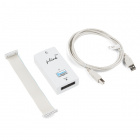
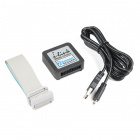
Users interested in modifying or updating the firmware on the NXP chip will need an Arm® Programmer and need to solder on a JTAG header. The same programmer and an additional header can also be used to program and debug the Atermis module. We recommend these programmers from our catalog:
J-Link EDU Mini Programmer
PGM-15345J-Link EDU Base Programmer
PGM-15346J-Link BASE Compact Programmer
PGM-15347Suggested Reading
As a more professionally oriented product, we will skip over the more fundamental tutorials (i.e. Ohm's Law and What is Electricity?). However, below are a few tutorials that may help users familiarize themselves with various aspects of the board.
Serial Communication
I2C
Bluetooth Basics
Logic Levels
Serial Peripheral Interface (SPI)
ARM Programming
Installing an Arduino Library
Artemis Development with the Arduino IDE
Artemis Development with Arduino
Using SparkFun Edge Board with Ambiq Apollo3 SDK
Designing with the SparkFun Artemis
Programming the SparkFun Edge with Arduino
Artemis Development on Arm® Mbed™ OS (Beta)
Getting Started with the micro:bit
Installing Arduino IDE
Installing Board Definitions in the Arduino IDE
One of the new, advanced features of the board is that it takes advantage of the Qwiic connect system. We recommend familiarizing yourself with the Logic Levels and I2C tutorials. Click on the banner above to learn more about Qwiic products.
