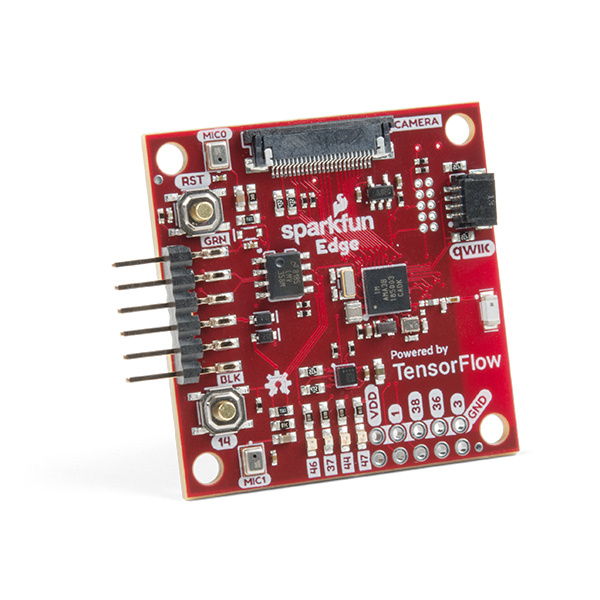
Using SparkFun Edge Board with Ambiq Apollo3 SDK
Introduction
The SparkFun Edge Development Board is designed to disconnect artificial intelligence capabilities -- such as voice or image recognition -- from the cloud. The idea of performing these computations in a decentralized location (or "edge") is how the board gets its name, but the Ambiq Apollo3 microcontroller is how the Edge gets its power. The Apollo3 is an ultra-low power microcontroller that features an Arm Cortex-M4 core running at 48 MHz but uses only 6 microamps per megahertz. Such a high computational to electrical power ratio can enable machine learning features even in battery powered IoT devices.
While the Apollo3 has the convenience of support in Arduino, sometimes you want to dig a little deeper and have more control over how you program your board. With that in mind, our goal here is to set up a tool-chain that will give you that finer tuned control.
Required Materials
To follow along with this tutorial, you will need the following materials. You may not need everything, depending on what you have. Add it to your cart, read through the guide, and adjust the cart as necessary.
Serial Terminal
For Windows, you will also want a serial terminal of your choice. A couple options exist such as:
- The Serial Monitor found in Arduino IDE
- CoolTerm (Mac and PC)
- Putty
Suggested Reading
If you aren’t familiar with the following concepts, we recommend checking out these tutorials before continuing. Make sure to check out the Edge Hookup Guide for more information about the hardware and connecting it to your computer.
SparkFun Edge Hookup Guide
You will also need to have some knowledge about serial terminals. Depending on your computer, you may need to install drivers for the CH340.
