Getting Started with Necto Studio
Software Installation
NOTE: Users will need administrative privileges on their computer's OS to install Necto Studio and the associated software for the MCU programmers.
To install Necto Studio, users will need to download the installation software for their computer's OS from MikroElektronika's Necto Studio product page. *(Users can also find link to the installation software from the mikroSDK GitHub repository's wiki page.)
Once downloaded, execute the installation software and go through the setup steps (Click on images to enlarge):
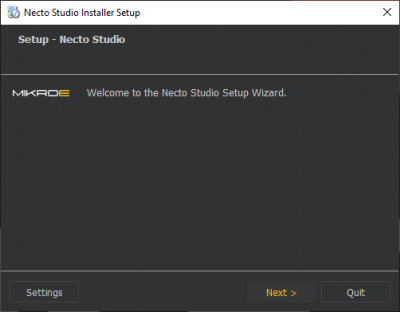
- Execute the installation software from the location that the file was downloaded to

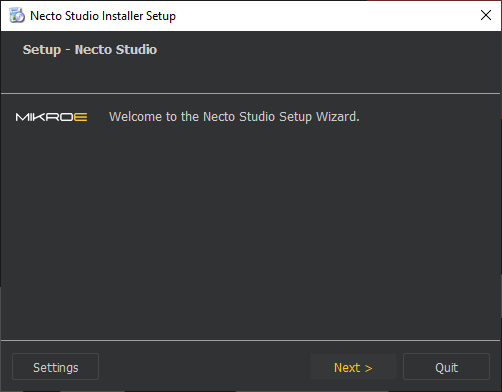
Executing the downloaded installation file. (Click to enlarge) - Click the Next > button to configure the software installation
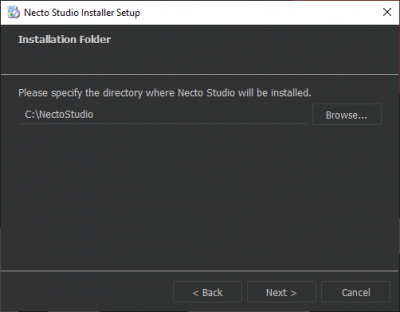
- Enter the directory for the Necto Studio to be installed; then click Next >
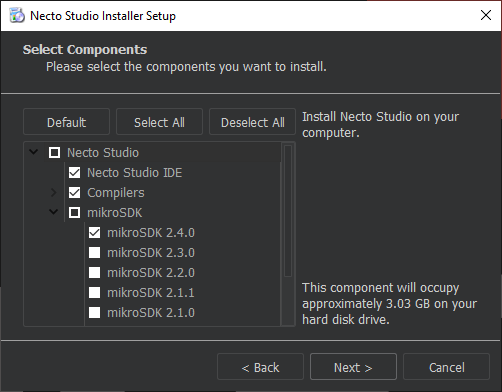
- Select the components to install; then click Next >
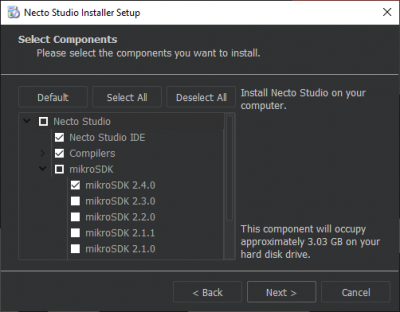
- We recommend, at minimum, selecting the following components:
- Necto Studio IDE
- Compilers
- ARM
- mikroSDK
- 2.4.0 (or latest)
- We recommend, at minimum, selecting the following components:
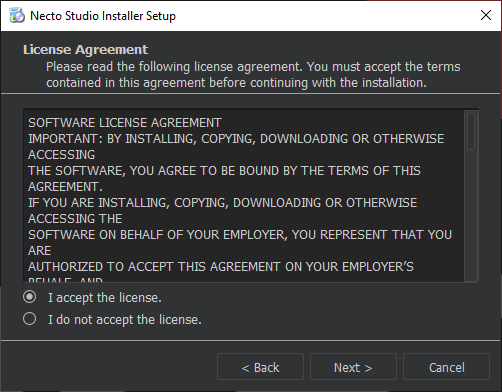
- Read the License Agreement, accept or decline the license, and then click Next >
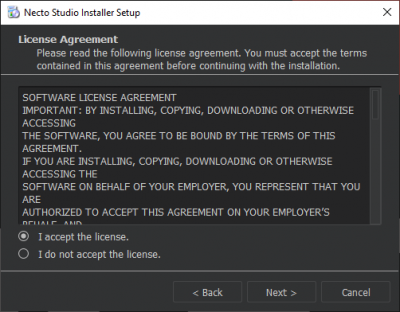 Note: Users will need to accept the terms, if they wish to continue the installation process
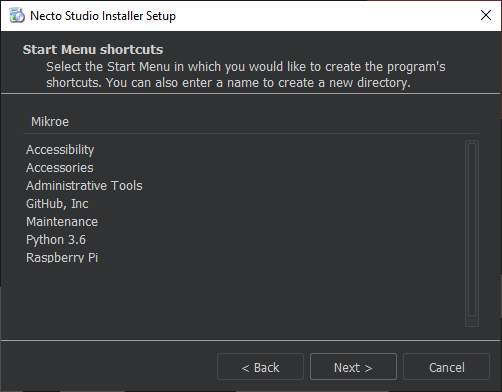
 - Enter the where the software shortcut should be saved; then click Next >

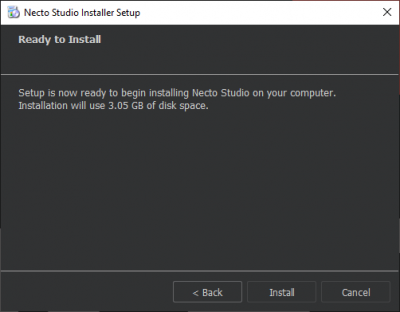
- Once the setup has been configured, users can initiate the installation by clicking the Install button
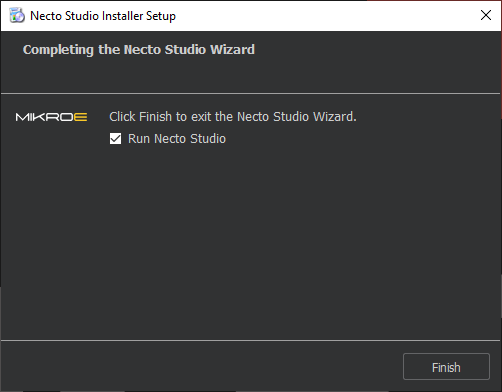
- Once the installation has completed; click the Finish button


CODEGRIP Suite
The first time users run Necto Studio, it will attempt to download and install the CODEGRIP Suite. (The computer will need to be connected to the internet for the installation software to be downloaded.)
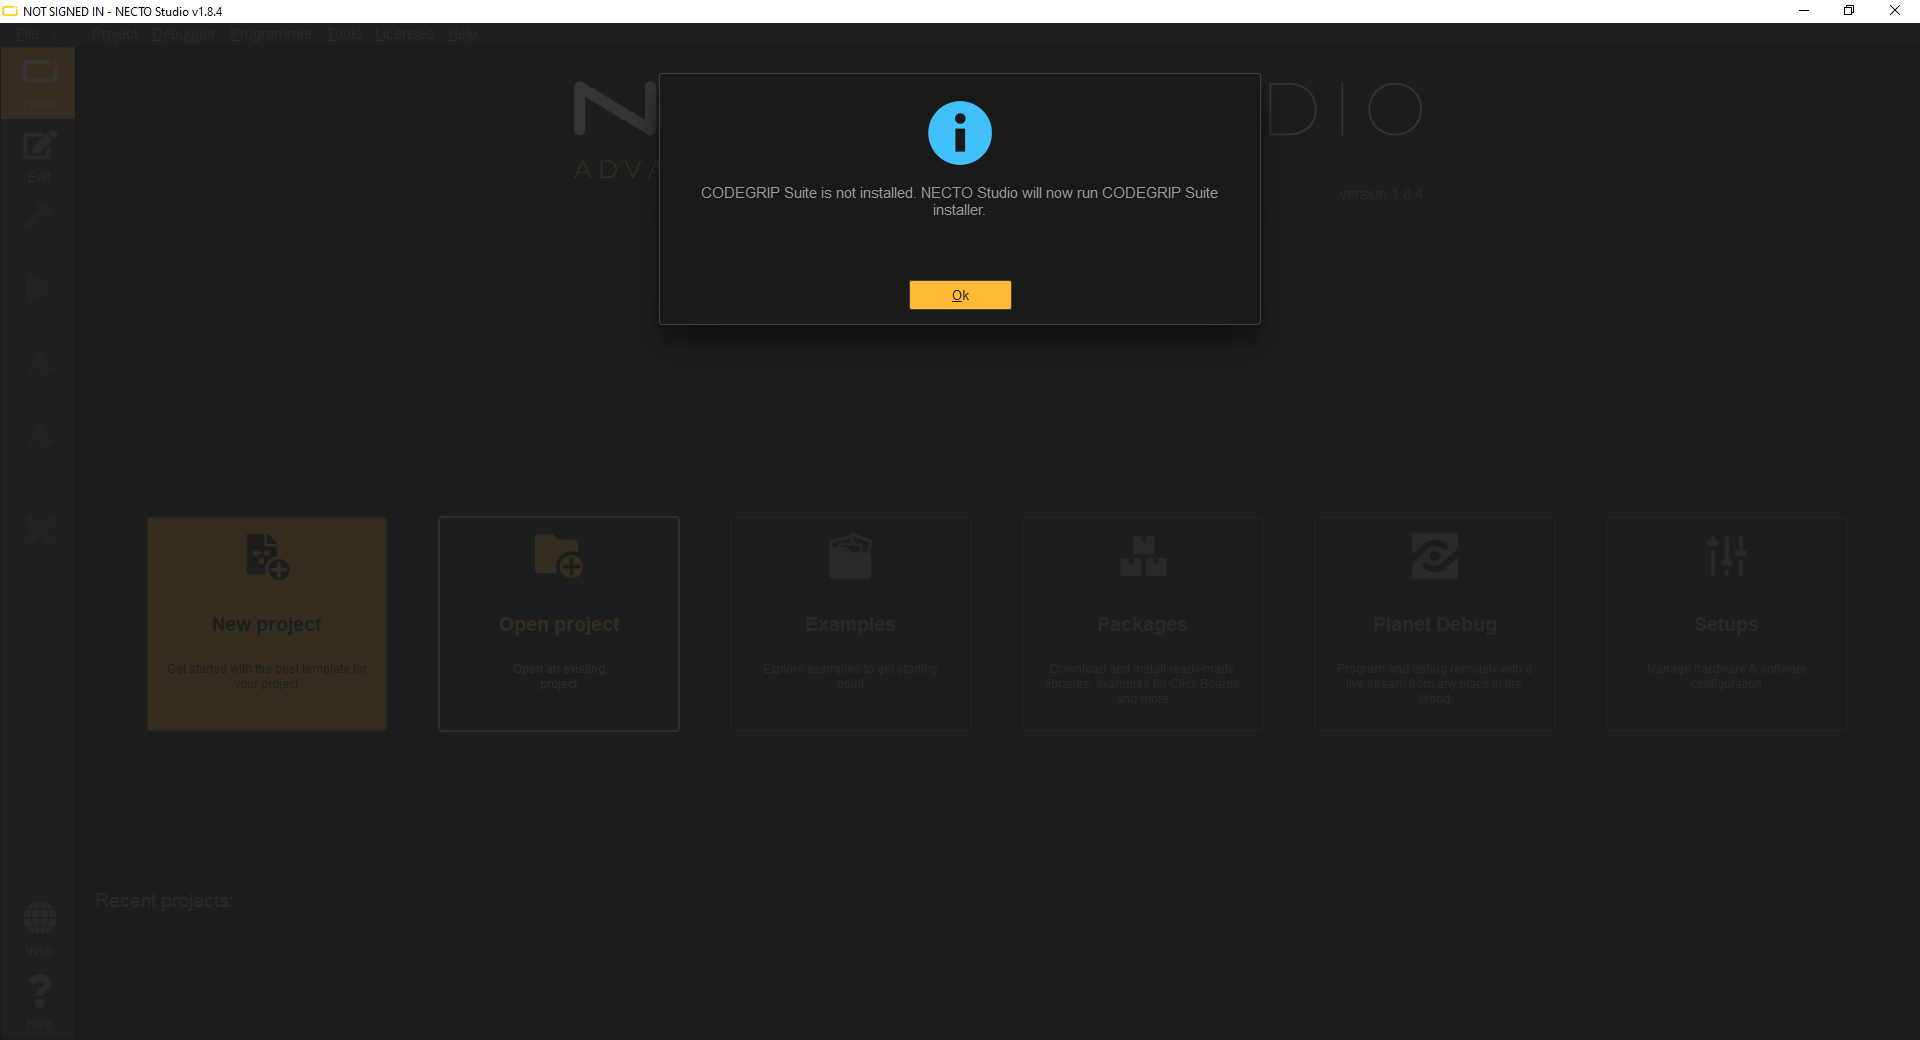
Click the Ok button to proceed and then follow the prompts below (Click images to enlarge):
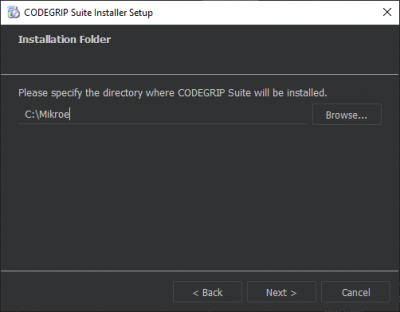
- Enter the directory for the Necto Studio to be installed; then click Next >
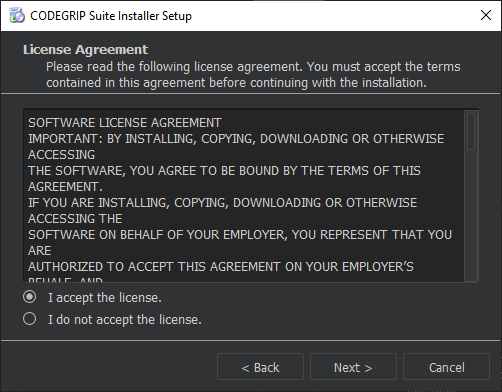
- Read the License Agreement, accept or decline the license, and then click Next >
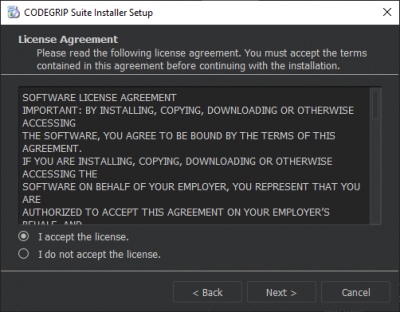 Note: Users will need to accept the terms, if they wish to continue the installation process
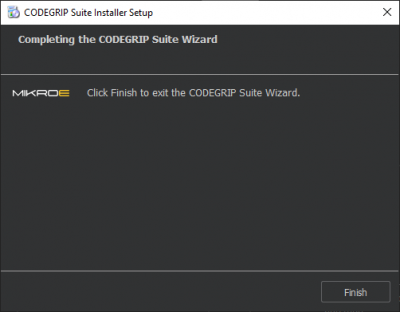
 - Once the installation has completed; click the Finish button


Installation Error
On Windows PCs, if users experience an issue downloading CODEGRIP Suite due to a Error:UnknownNetworkError error, their computer may be missing a Microsoft Visual C++ 2010 Runtime Library.
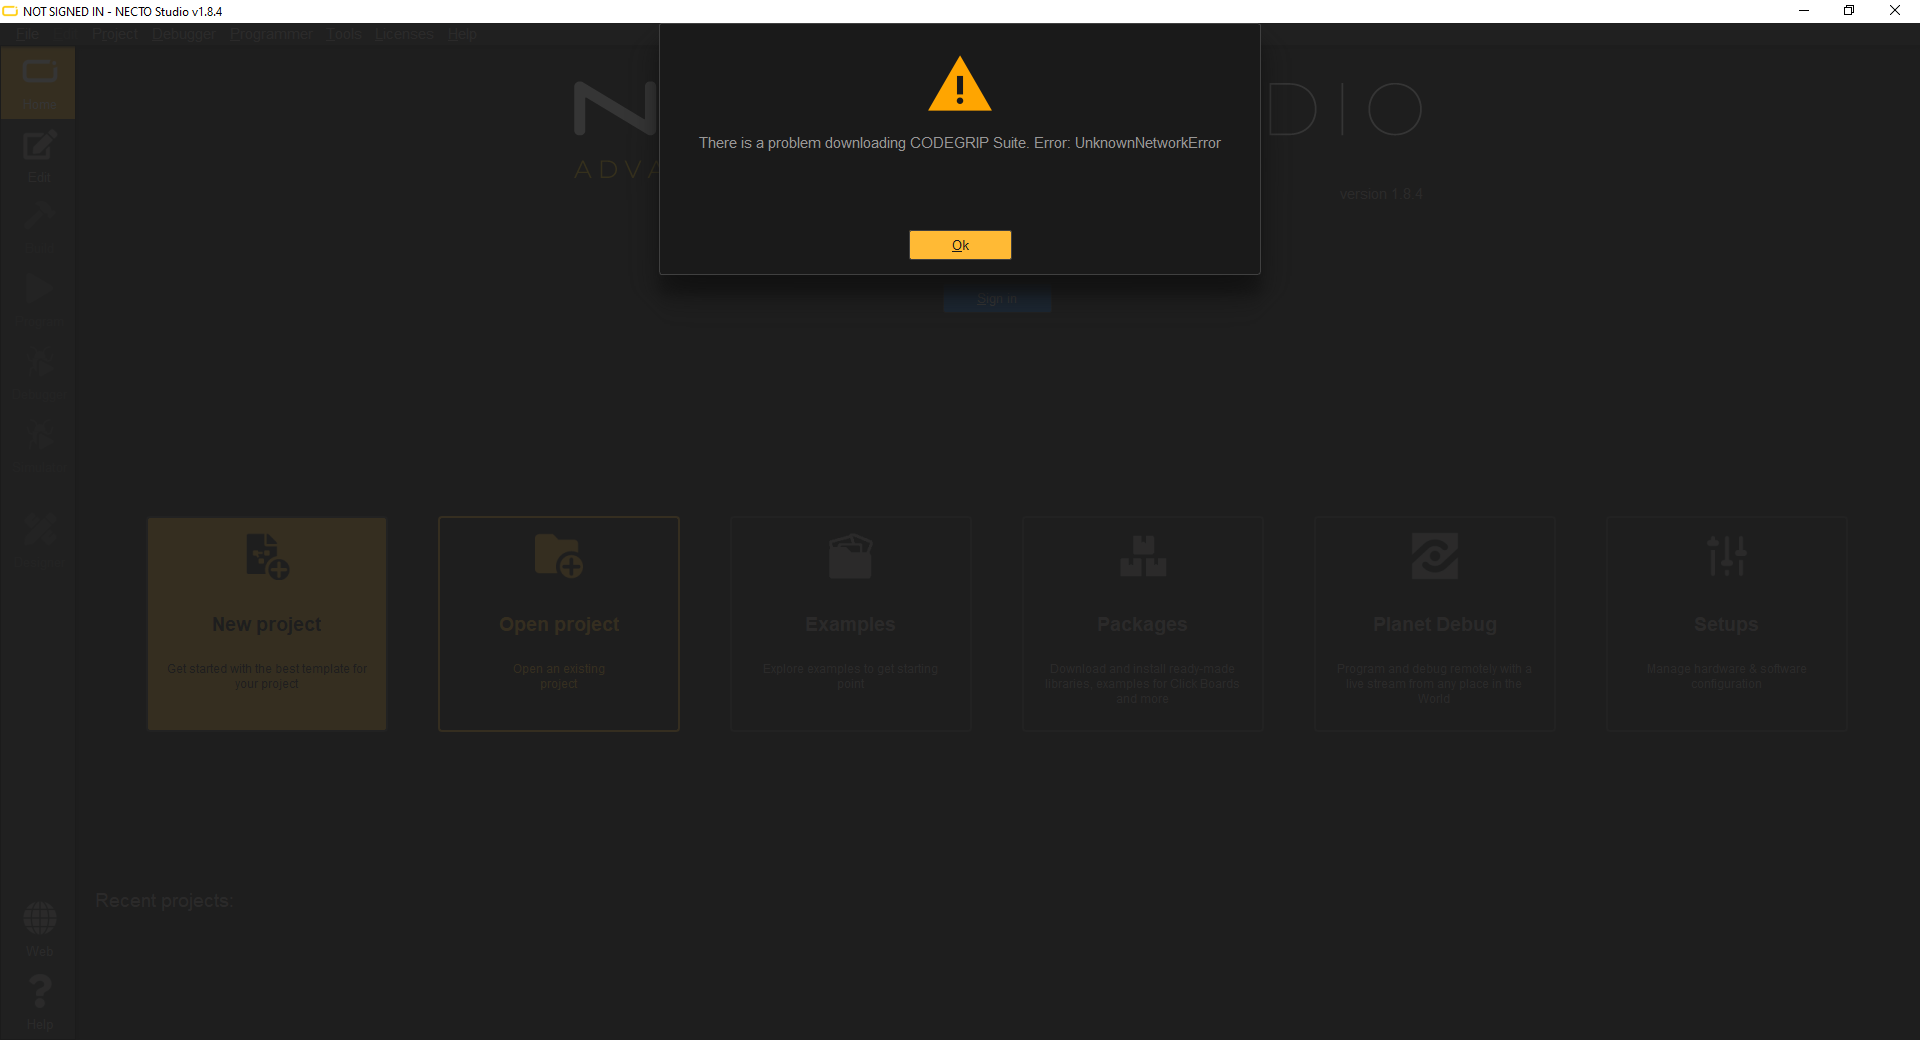
Error:UnknownNetworkError error message. (Click to enlarge) To install the missing Microsoft Visual C++ 2010 Runtime Library, download the vcredist_x64.zip file (or click the button below), extract the folder, and execute the contained installation setup file vcredist_x64.exe.
Then, follow the installation prompts. After the Microsoft Visual C++ 2010 Runtime Library installation is complete, users can restart Necto Studio. The prompt for the CODEGRIP Suite installation will pop up again.
Alternatively, users can install the CODEGRIP Suite separately. However, the Microsoft Visual C++ 2010 Runtime Library is still necessary for users to login to their account in the User Account and Compiler License section.
Download CODEGRIP Suite
Users can still download and install the CODEGRIP Suite installation software separately:
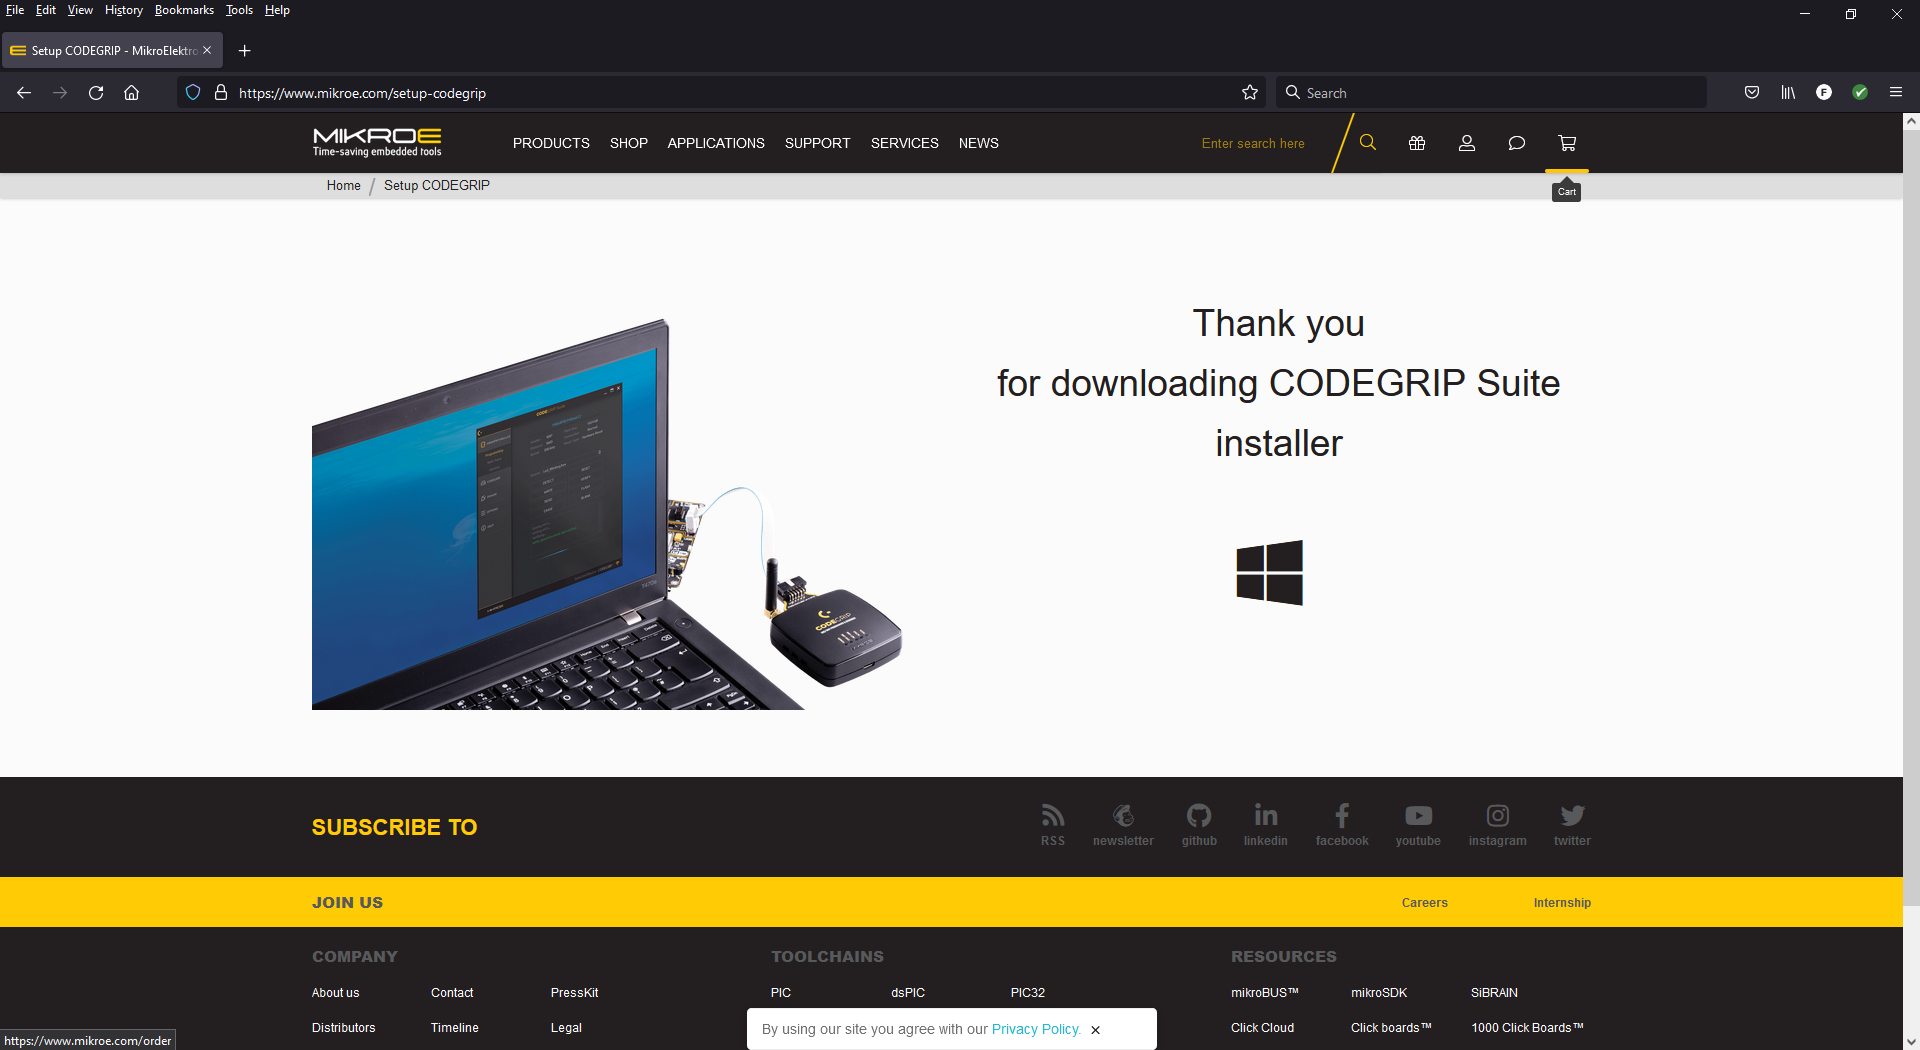
- www.mikroe.com/setup/codegrip
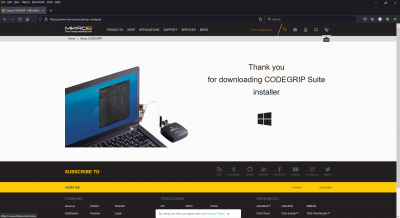 Click on the link above this image. If successful, a thank you page will be displayed. (Click to enlarge)
 - CODEGRIP programmer product page
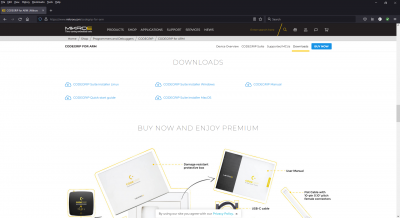 Scroll down to the Downloads section of the product page for the associated programmer. (Click to enlarge)

Once downloaded, execute the installation software and go through the setup steps mentioned above.
mikroProg Suite
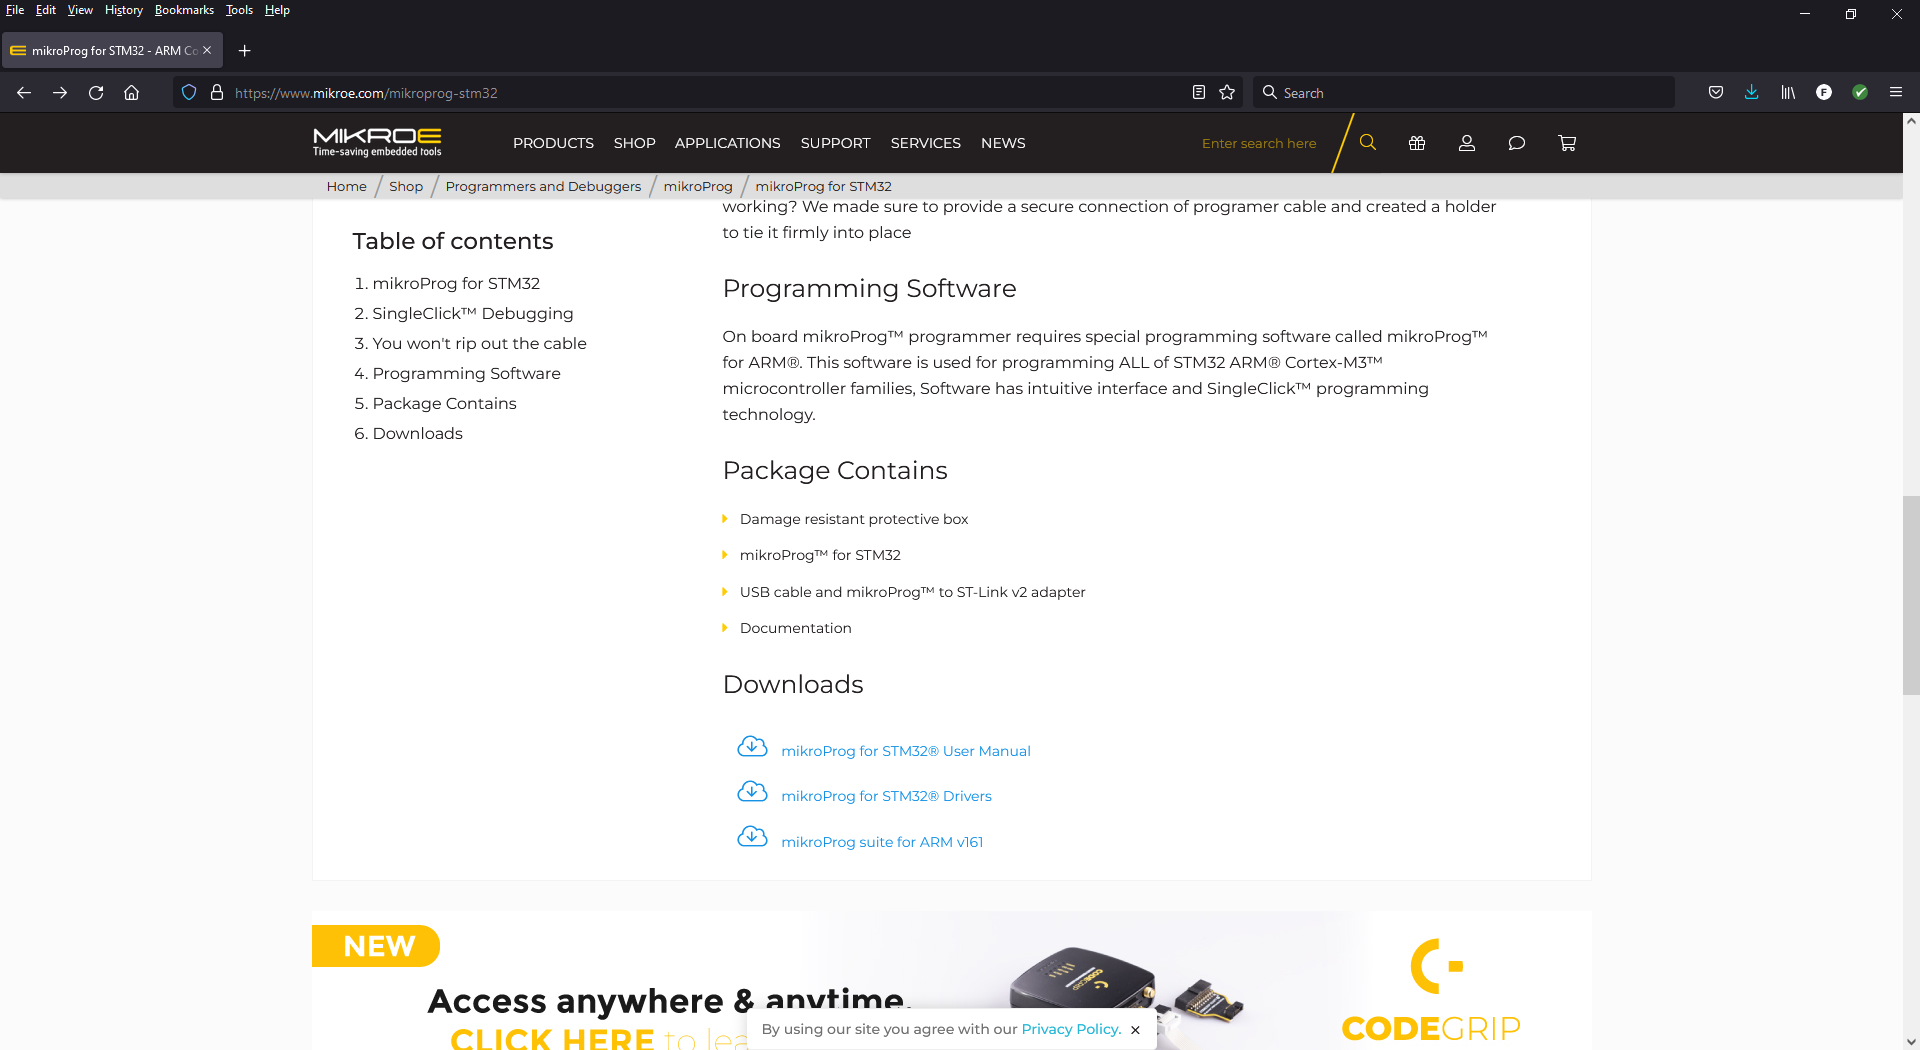
Users with a Windows OS, will have the option to utilize the mikroProg programmer instead of the CODEGRIP programmer (the mikroProg is only compatible on Windows PCs). The installation software for the mikroProg Suite can be downloaded from the product page of the associated programmer:
Once downloaded, extract and execute the installation software and go through the setup steps (Click on images to enlarge):
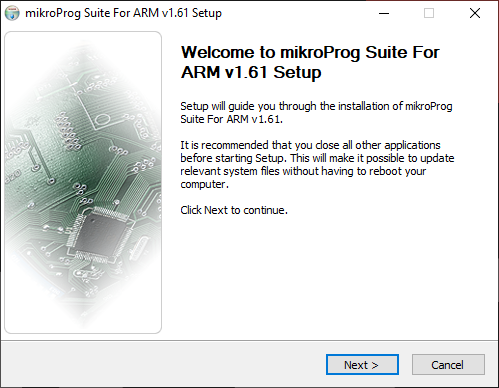
- Execute the installation software from the location that the file was downloaded to

Executing the downloaded installation file. (Click to enlarge) - Click the Next > button to configure the software installation

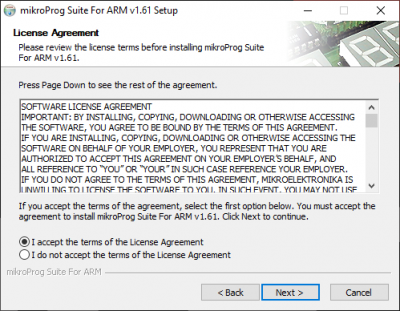
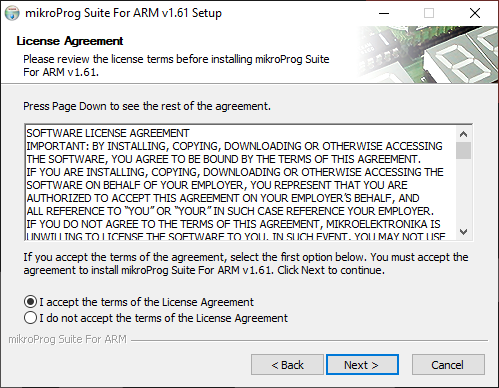
- Read the License Agreement, accept or decline the license, and then click Next >
- Select the user access; then click Next >

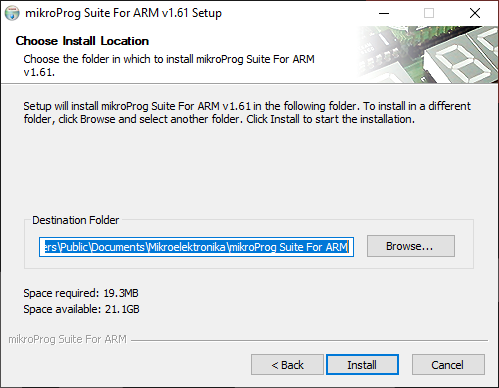
- Enter the directory for the mikroProg Suite to be installed; then click Next >

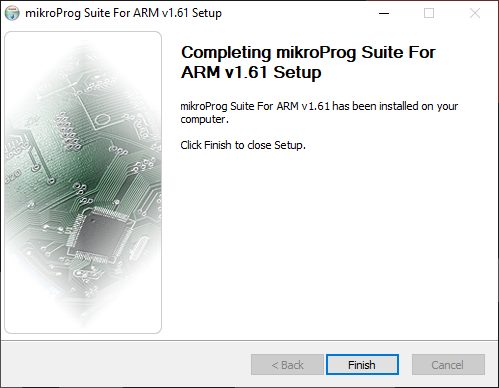
- Once the installation has completed; click the Finish button

