Getting Started with Necto Studio
Projects - Start and Build
Starting a Project
Similar to a sketch in the Arduino IDE, a project is used to organize the code and hardware configuration in Necto Studio. Users can start a new project, open an existing project, open a recently saved project, and use a project from a library example through the home page.
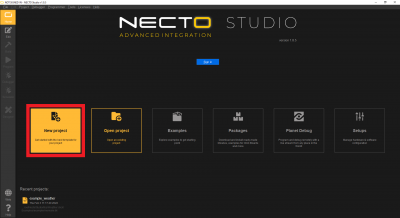
Below, are the options for starting a project (Click on the images to enlarge):
- New Project
- Click on the New Project button
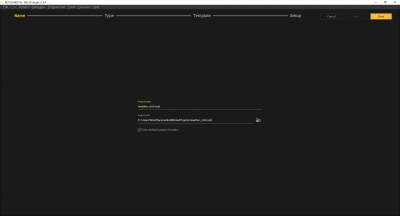
- Give the project a name and select a directory to save it on the Name page; then click on the Next button
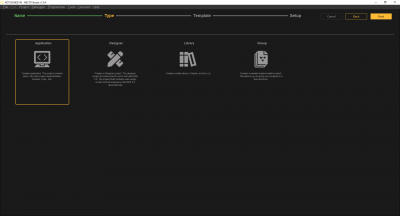
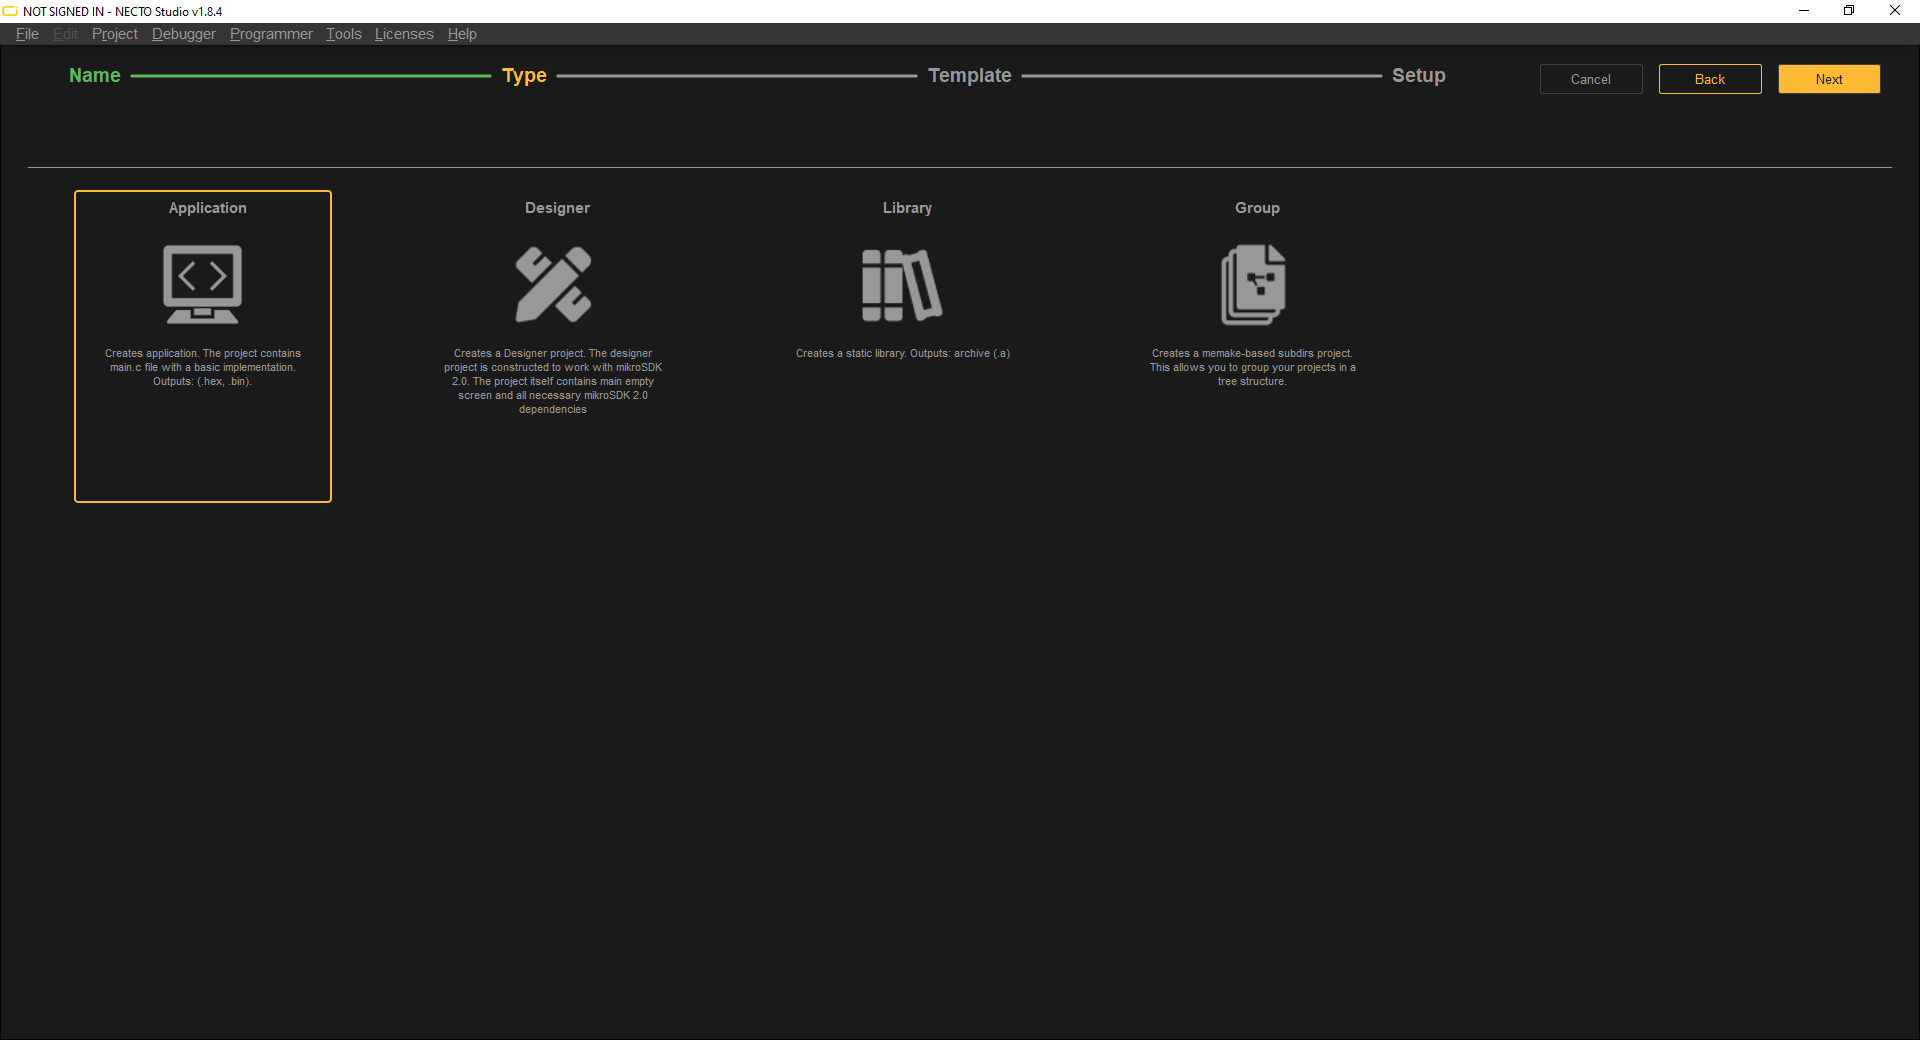
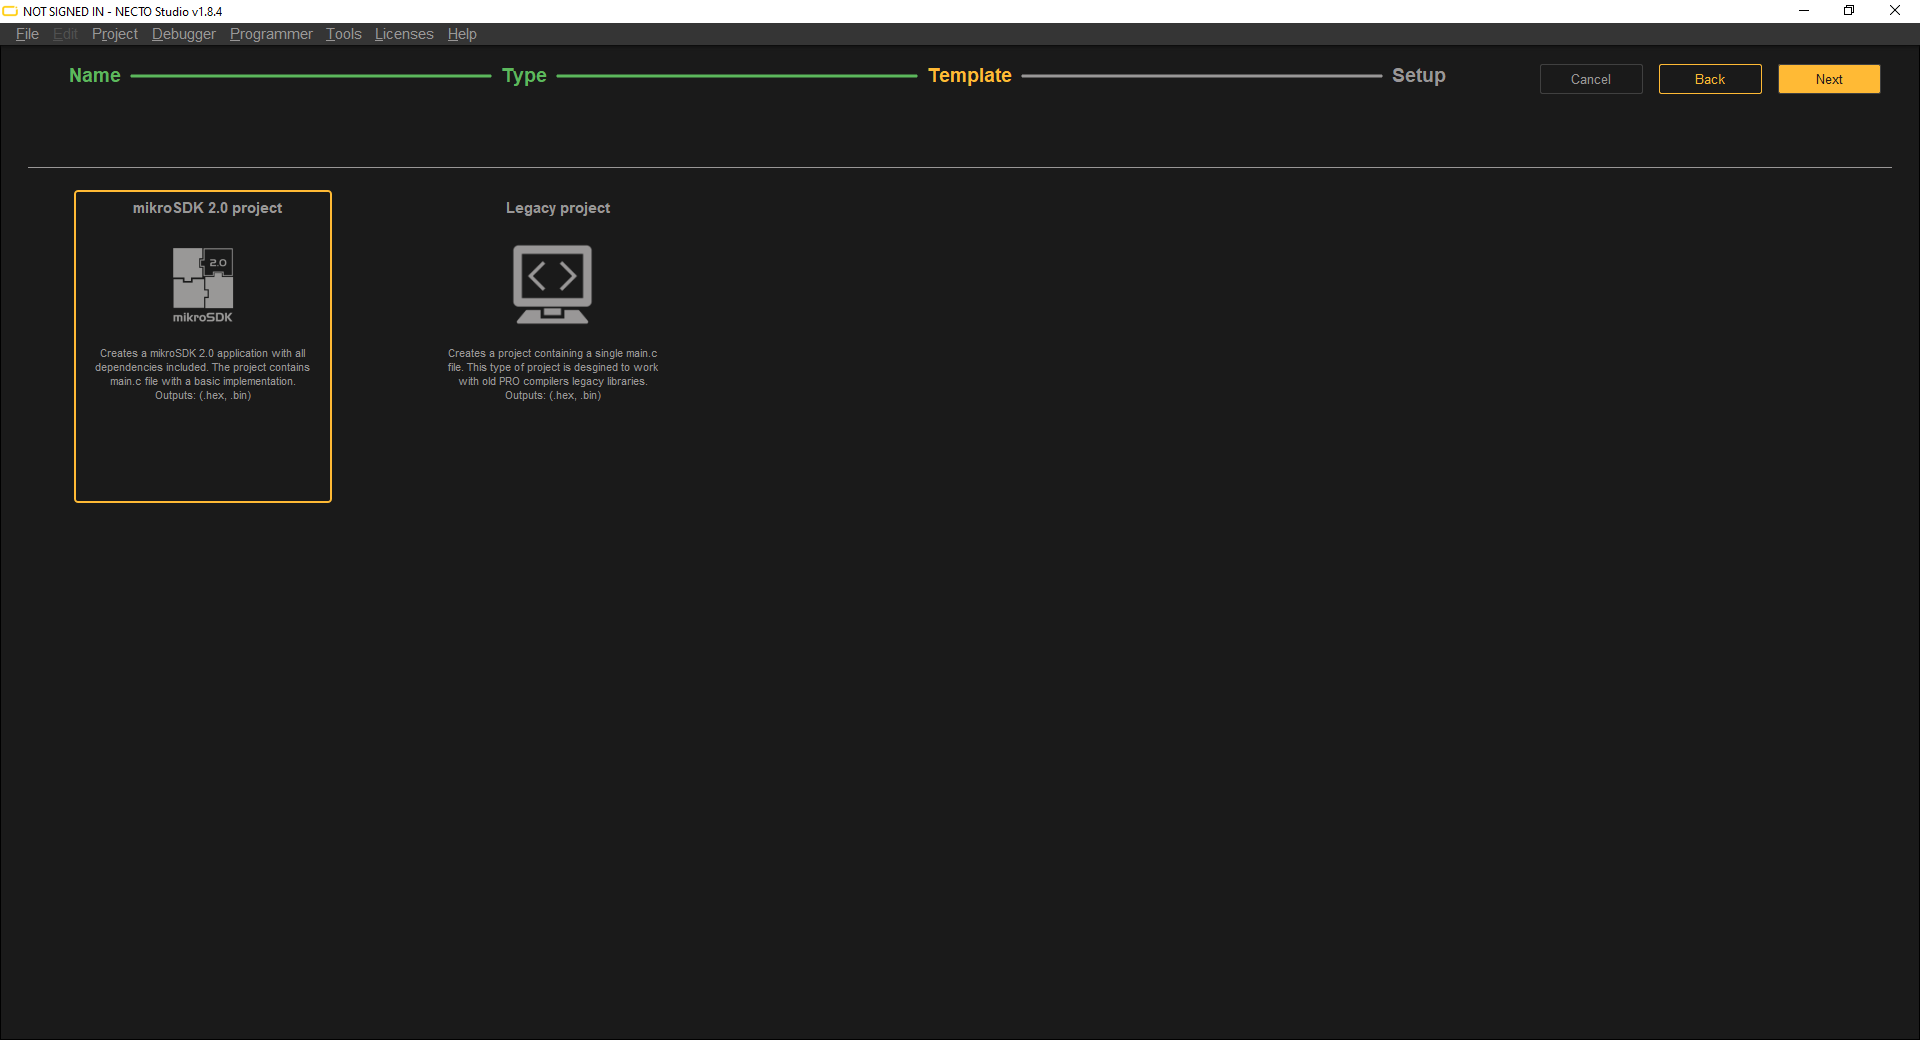
- Select the project type from the Type page; then click on the Next button
- Select an SDK from the Template page; then click on the Next button

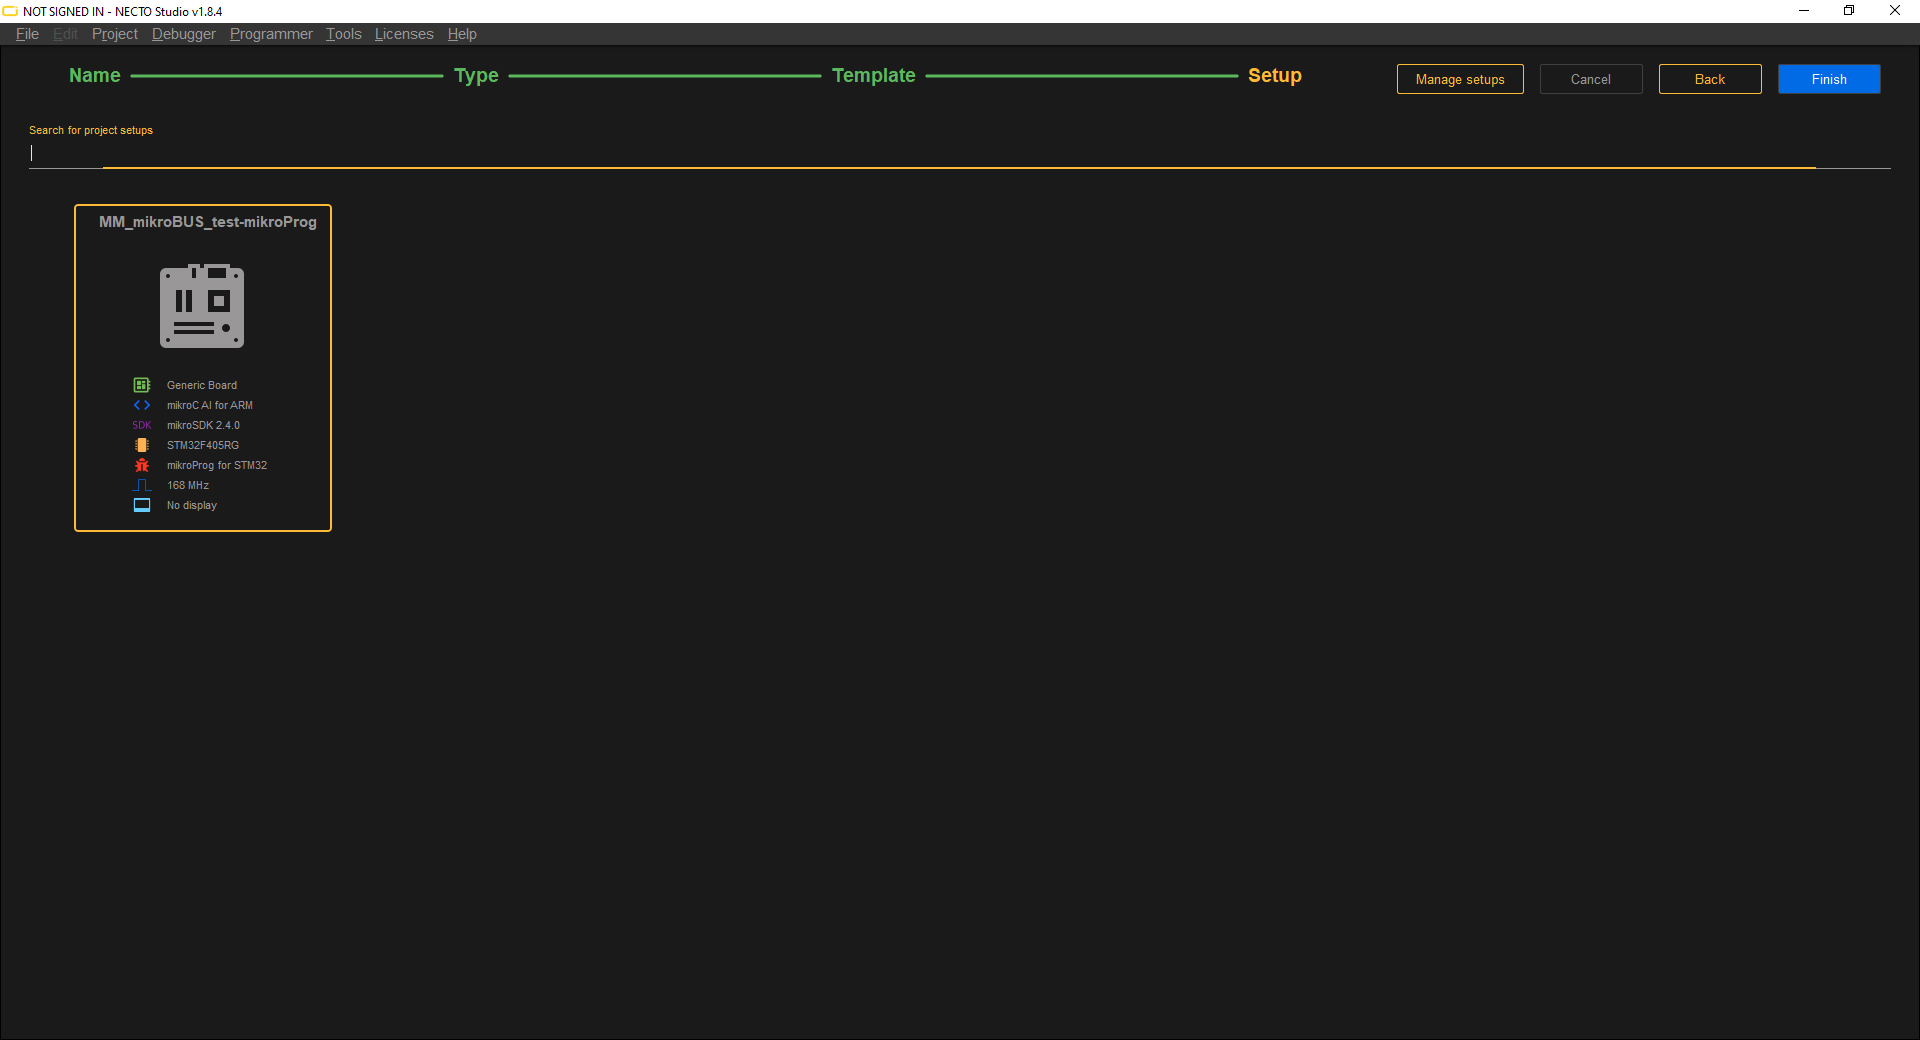
- Select a hardware configuration from the Setup page; then click the Finish button

- Alternatively, use the Manage setups to create or modify a hardware configuration from the My Setups page
- Click on the New Project button
- Open Project
- Click on the Open Project button
- Find and open the project file
- Examples
- Click on the Examples button
- Select the example project from one of the available library examples
- Select a hardware configuration from the Choose setup page and then click the Choose button
- Alternatively, use the Manage setups to create or modify a hardware configuration from the My Setups page


Modifying the Hardware Setup
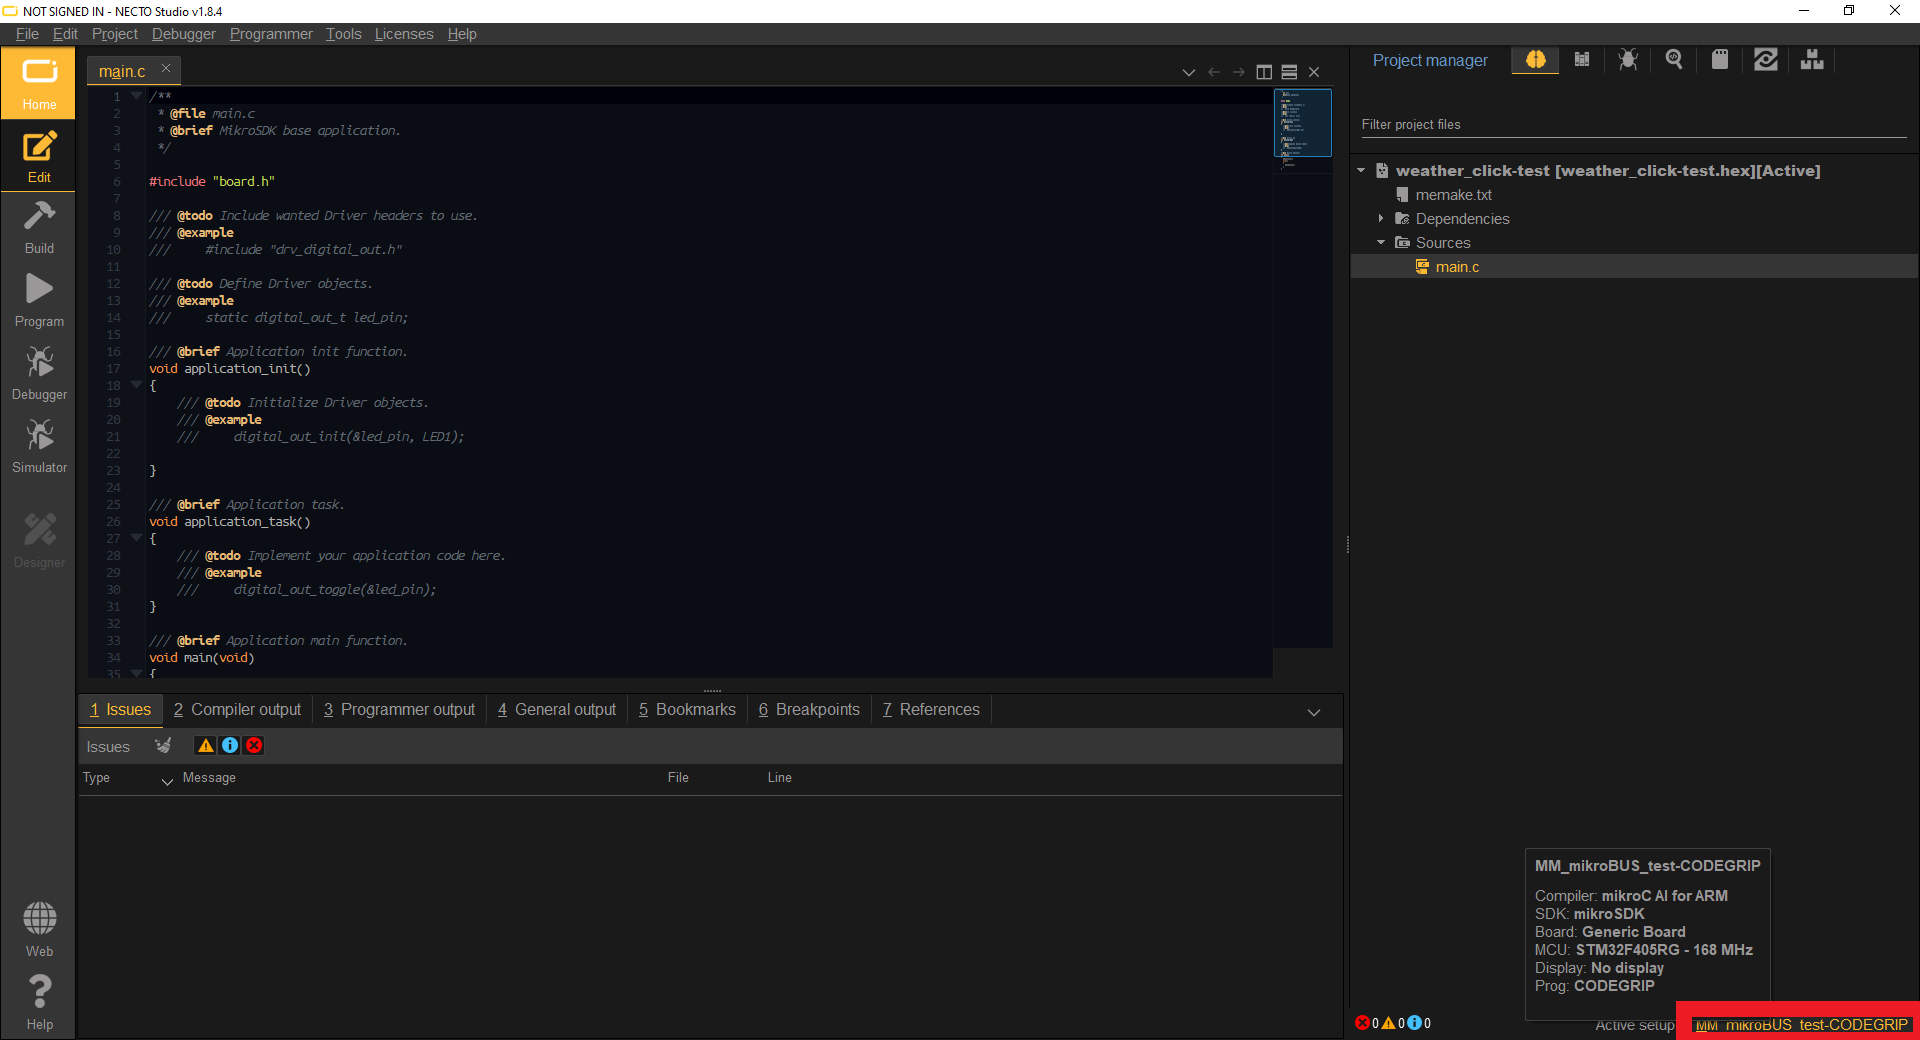
Just as in the Arduino IDE, users can change the hardware configuration. From the project page, users can modify the project's hardware configuration by clicking on highlighted the Active setup.
Build - Compiling a *.hex File
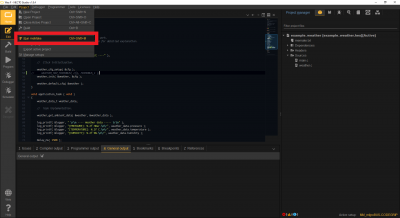
In order to compile a *.hex file to program a MCU, users will need to build the project. Users just need to click on the Build button, but it would be best to run meMake to optimize the project build (Click the images to enlarge):
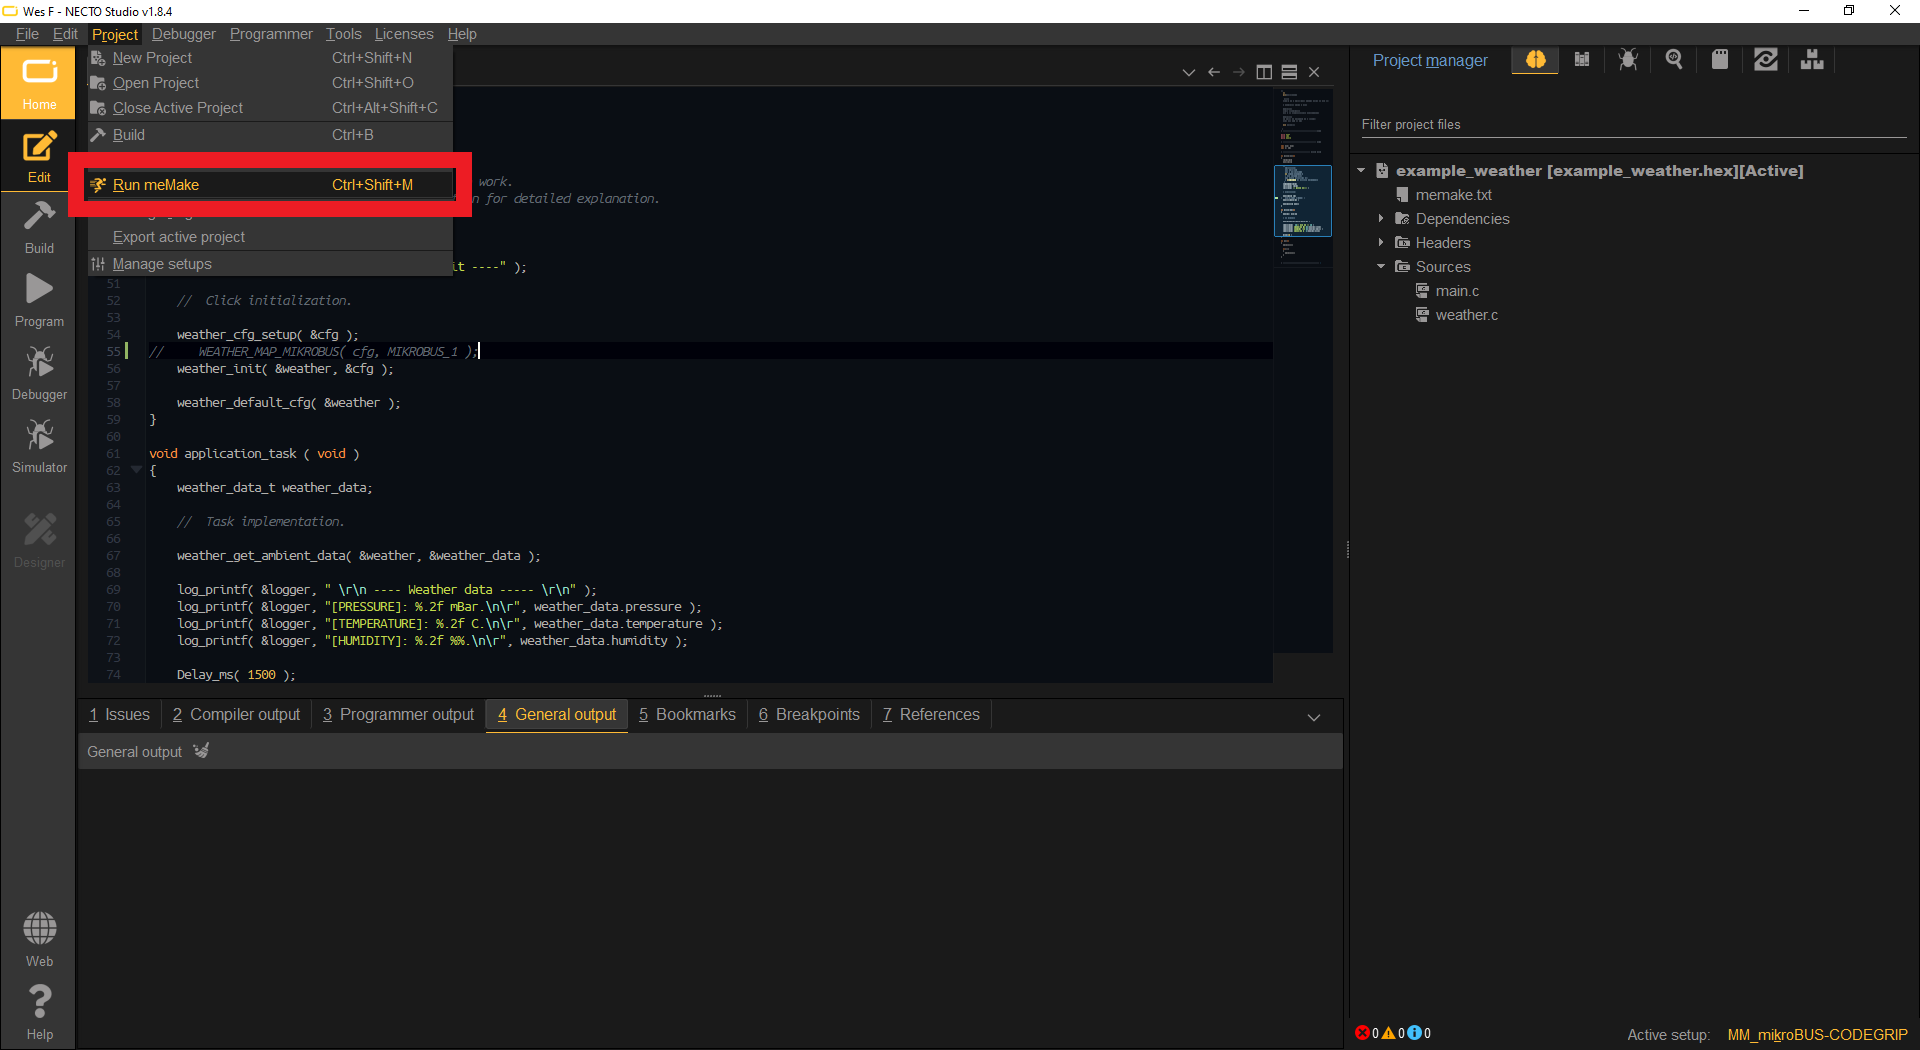
- meMake is a simplified build system designed to get the most out of your CPU designed by parallelizing jobs to decrease the compile and linking times. Run meMake to optimize your project build
- To compile the project code, users only need to click the Build button. Once the build is complete, the compiled
*.hexfile can be found in the directory (it might be located in a hidden folder) listed under theGeneral Outputtab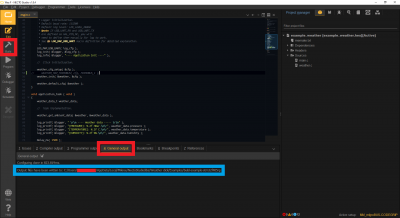

NOTE: Users who select a Generic board in their hardware setup, may run into a compilation error. This error is because the pins for the Generic board are undefined, by default. Users will need to declare the pins utilized by their code for the build to compile.
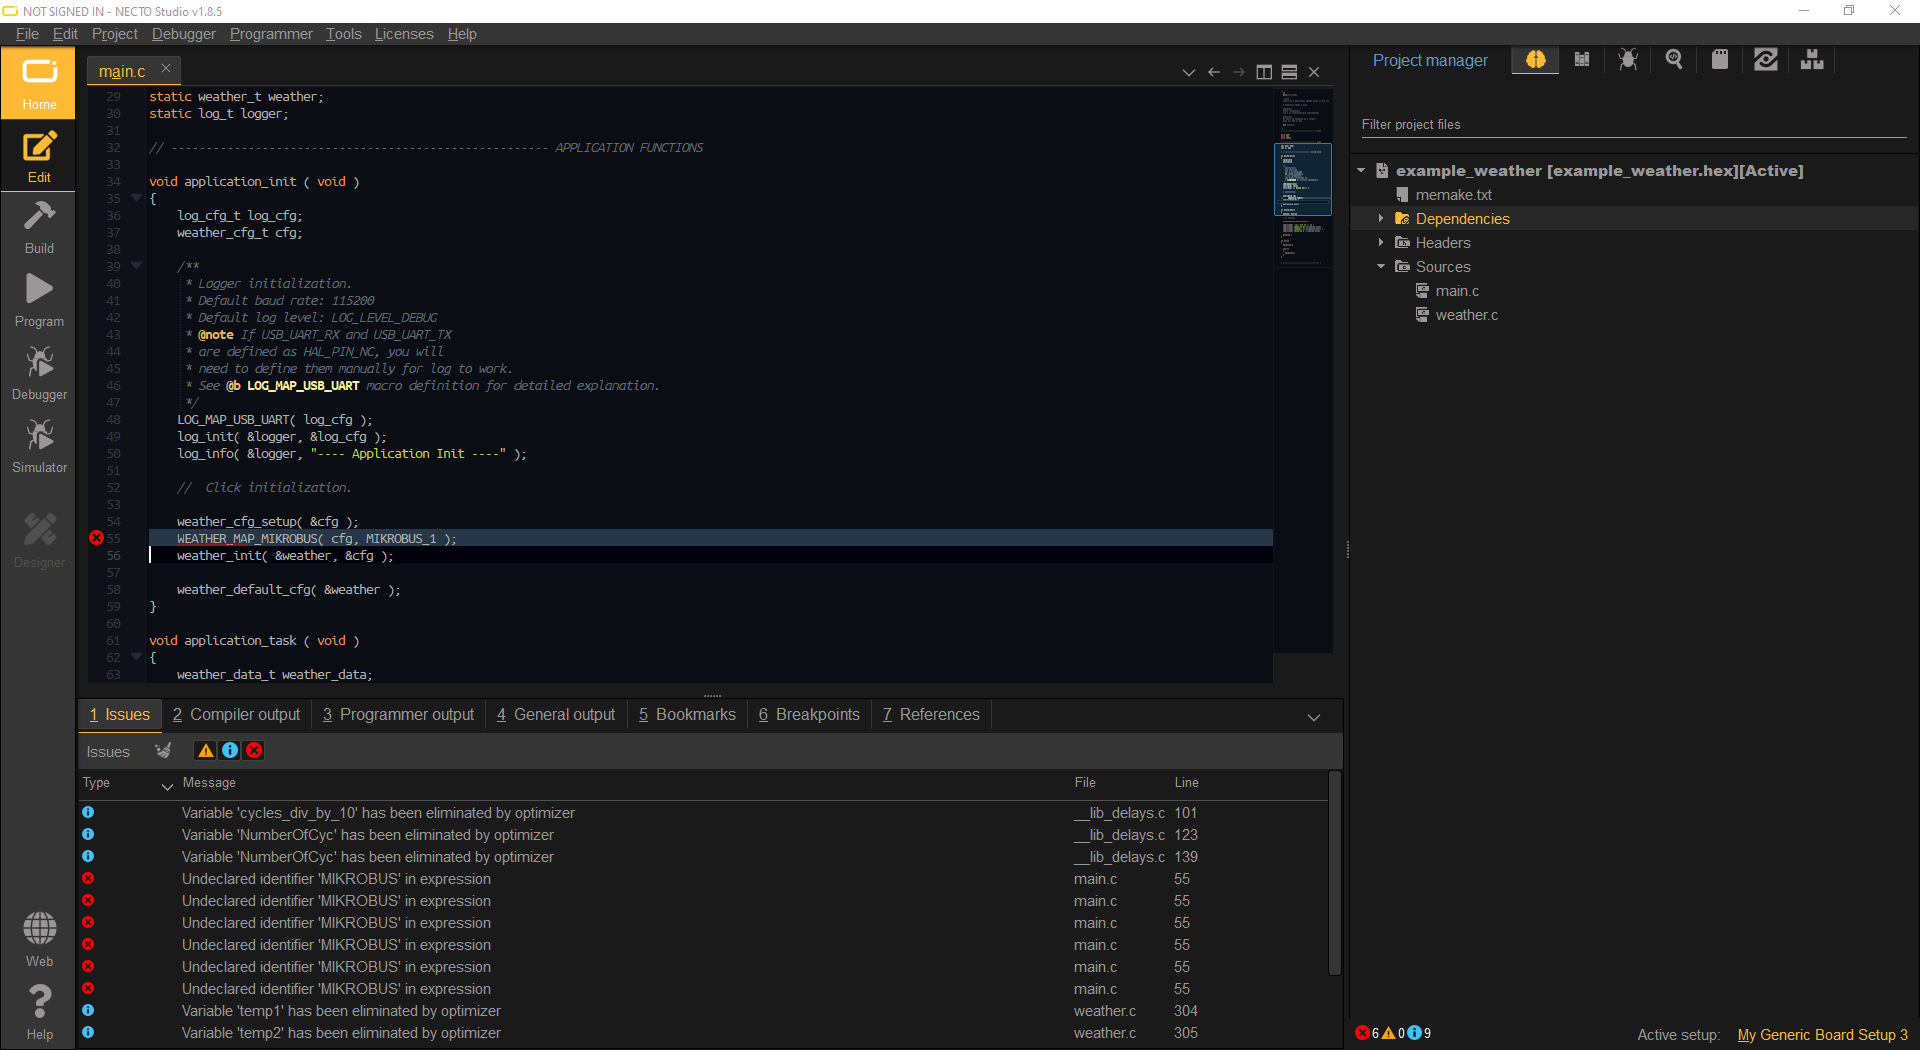
The compile error for a generic board with undeclared pins. (Click to enlarge)