Getting Started with Necto Studio
Contributors:
santaimpersonator
Setup - Hardware Configuration
Similar to selecting a board from the Board Manager in the Arduino IDE, users will create a Setup for a specific board and processor configuration in Necto Studio. Users will need to sign in and activate a compiler license for the SDK to build a Setup. MikroElektronika has a tutorial video on their Youtube channel for this process:
Source: MikroElektronika Youtube channel
Otherwise, users can also follow the steps below to create their setup (Click images to enlarge):
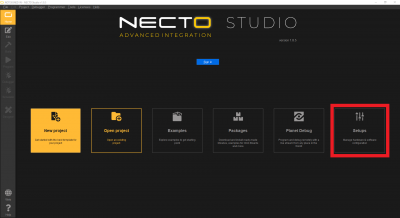
- From the Home page, select the Setups box
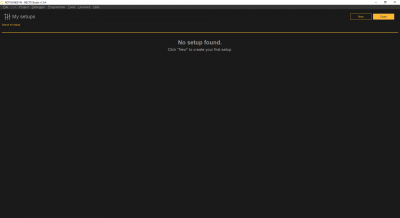
- Click the New button on the My Setups page
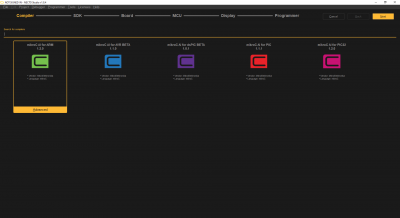
- Select a compiler on the Compiler page
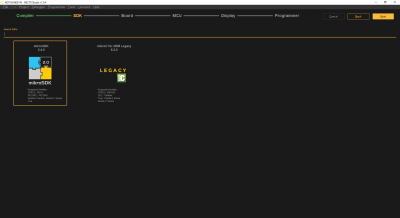
- Select the SDK on the SDK page
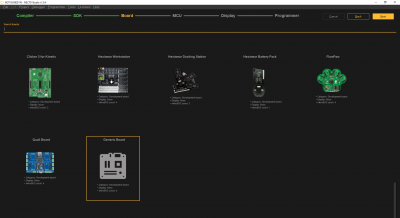
- Select the board on the Board page
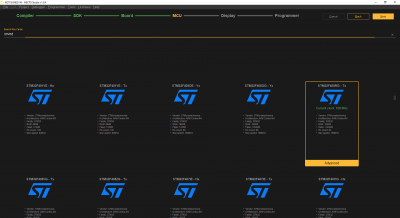
- Select the microcontroller on the MCU page
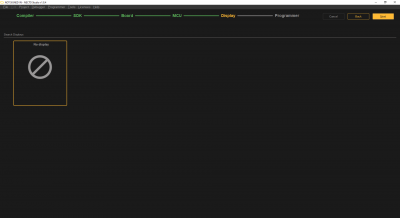
- Select display on the Display page
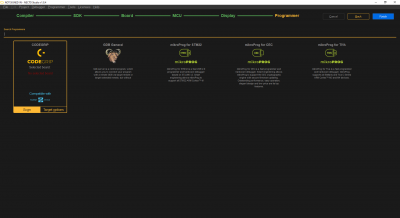
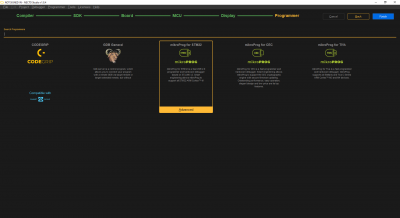
- Select the appropriate programmer on the Programmer page
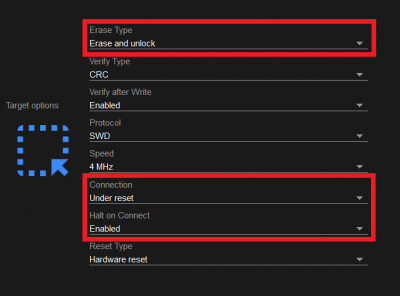
- We recommend users select the following target options for the CODEGRIP programmer, if they wish to program the target MCU directly from Necto Studio:
- Click the Done and then Finish buttons
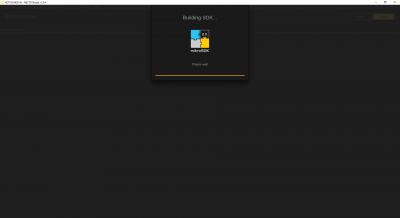
Users will then see the progress configuration and SDK build:
Configuration build progress. (Click to enlarge)
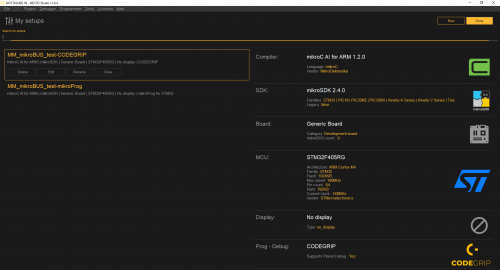
Once completed, users will be taken back to the My Setups page:
- Users should now see that their hardware configuration has been added to the setup list on the left column.
- These setups can be copied, modified, removed, and renamed (we recommend users rename their setup for organization purposes).
- In the right column, users will find a summary of the hardware configuration for the selected setup (from the left column).
Layout of the My Setups page. (Click to enlarge)
