Getting Started with MicroPython and the SparkFun Inventor's Kit for micro:bit
 LightningHawk
 Experiment 9: Using a Buzzer
Introduction
In this experiment, we will again bridge the gap between the digital world and the analog world. We'll be using a piezo buzzer that makes a small "click" when you apply voltage to it (try it!). By itself that isn't terribly exciting, but if you turn the voltage on and off hundreds of times a second, the piezo buzzer will produce a tone. And if you string a bunch of tones together, you've got music! This circuit and set of code blocks will create a simple sound machine.
Parts Needed
You will need the following parts:
- 1x Breadboard
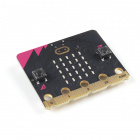
- 1x micro:bit
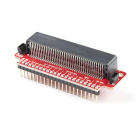
- 1x micro:bit Breakout with Headers
- 1x micro-b USB Cable
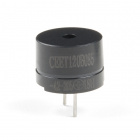
- 1x Piezo Buzzer
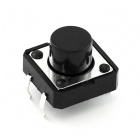
- 2x Momentary Push Buttons
- 7x Jumper Wires
Didn't Get the SIK for micro:bit?
If you are conducting this experiment and didn't get the Inventor's Kit, we suggest using these parts:


Introducing the Piezo Buzzer
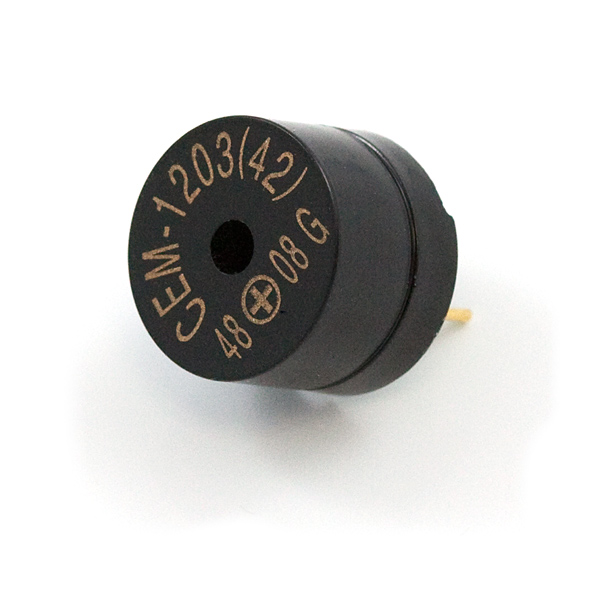
The buzzer is a small component with a piece of metal in it that moves when you apply a voltage across it. This motion causes a small sound, or "click." If you turn the voltage on and off fast enough, you get different beeps, squeals, chirps and buzzes. You will use PWM to control the speed of turning the piezo on and off --- and, in turn, the audio frequency coming out of the buzzer. Adjusting the PWM enables you to get legitimate notes out of the buzzer.
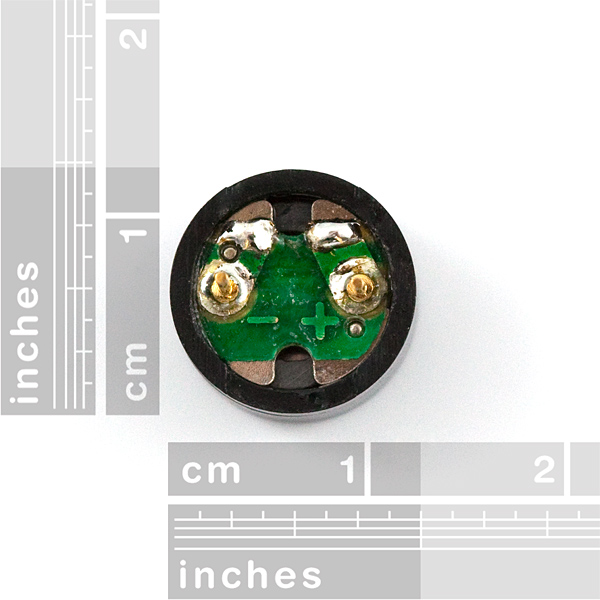
If you flip the buzzer over and look at the bottom, you will see that one pin has a (+) next to it. That pin gets connected to a signal from the P0 pin. The other pin should be connected to ground.
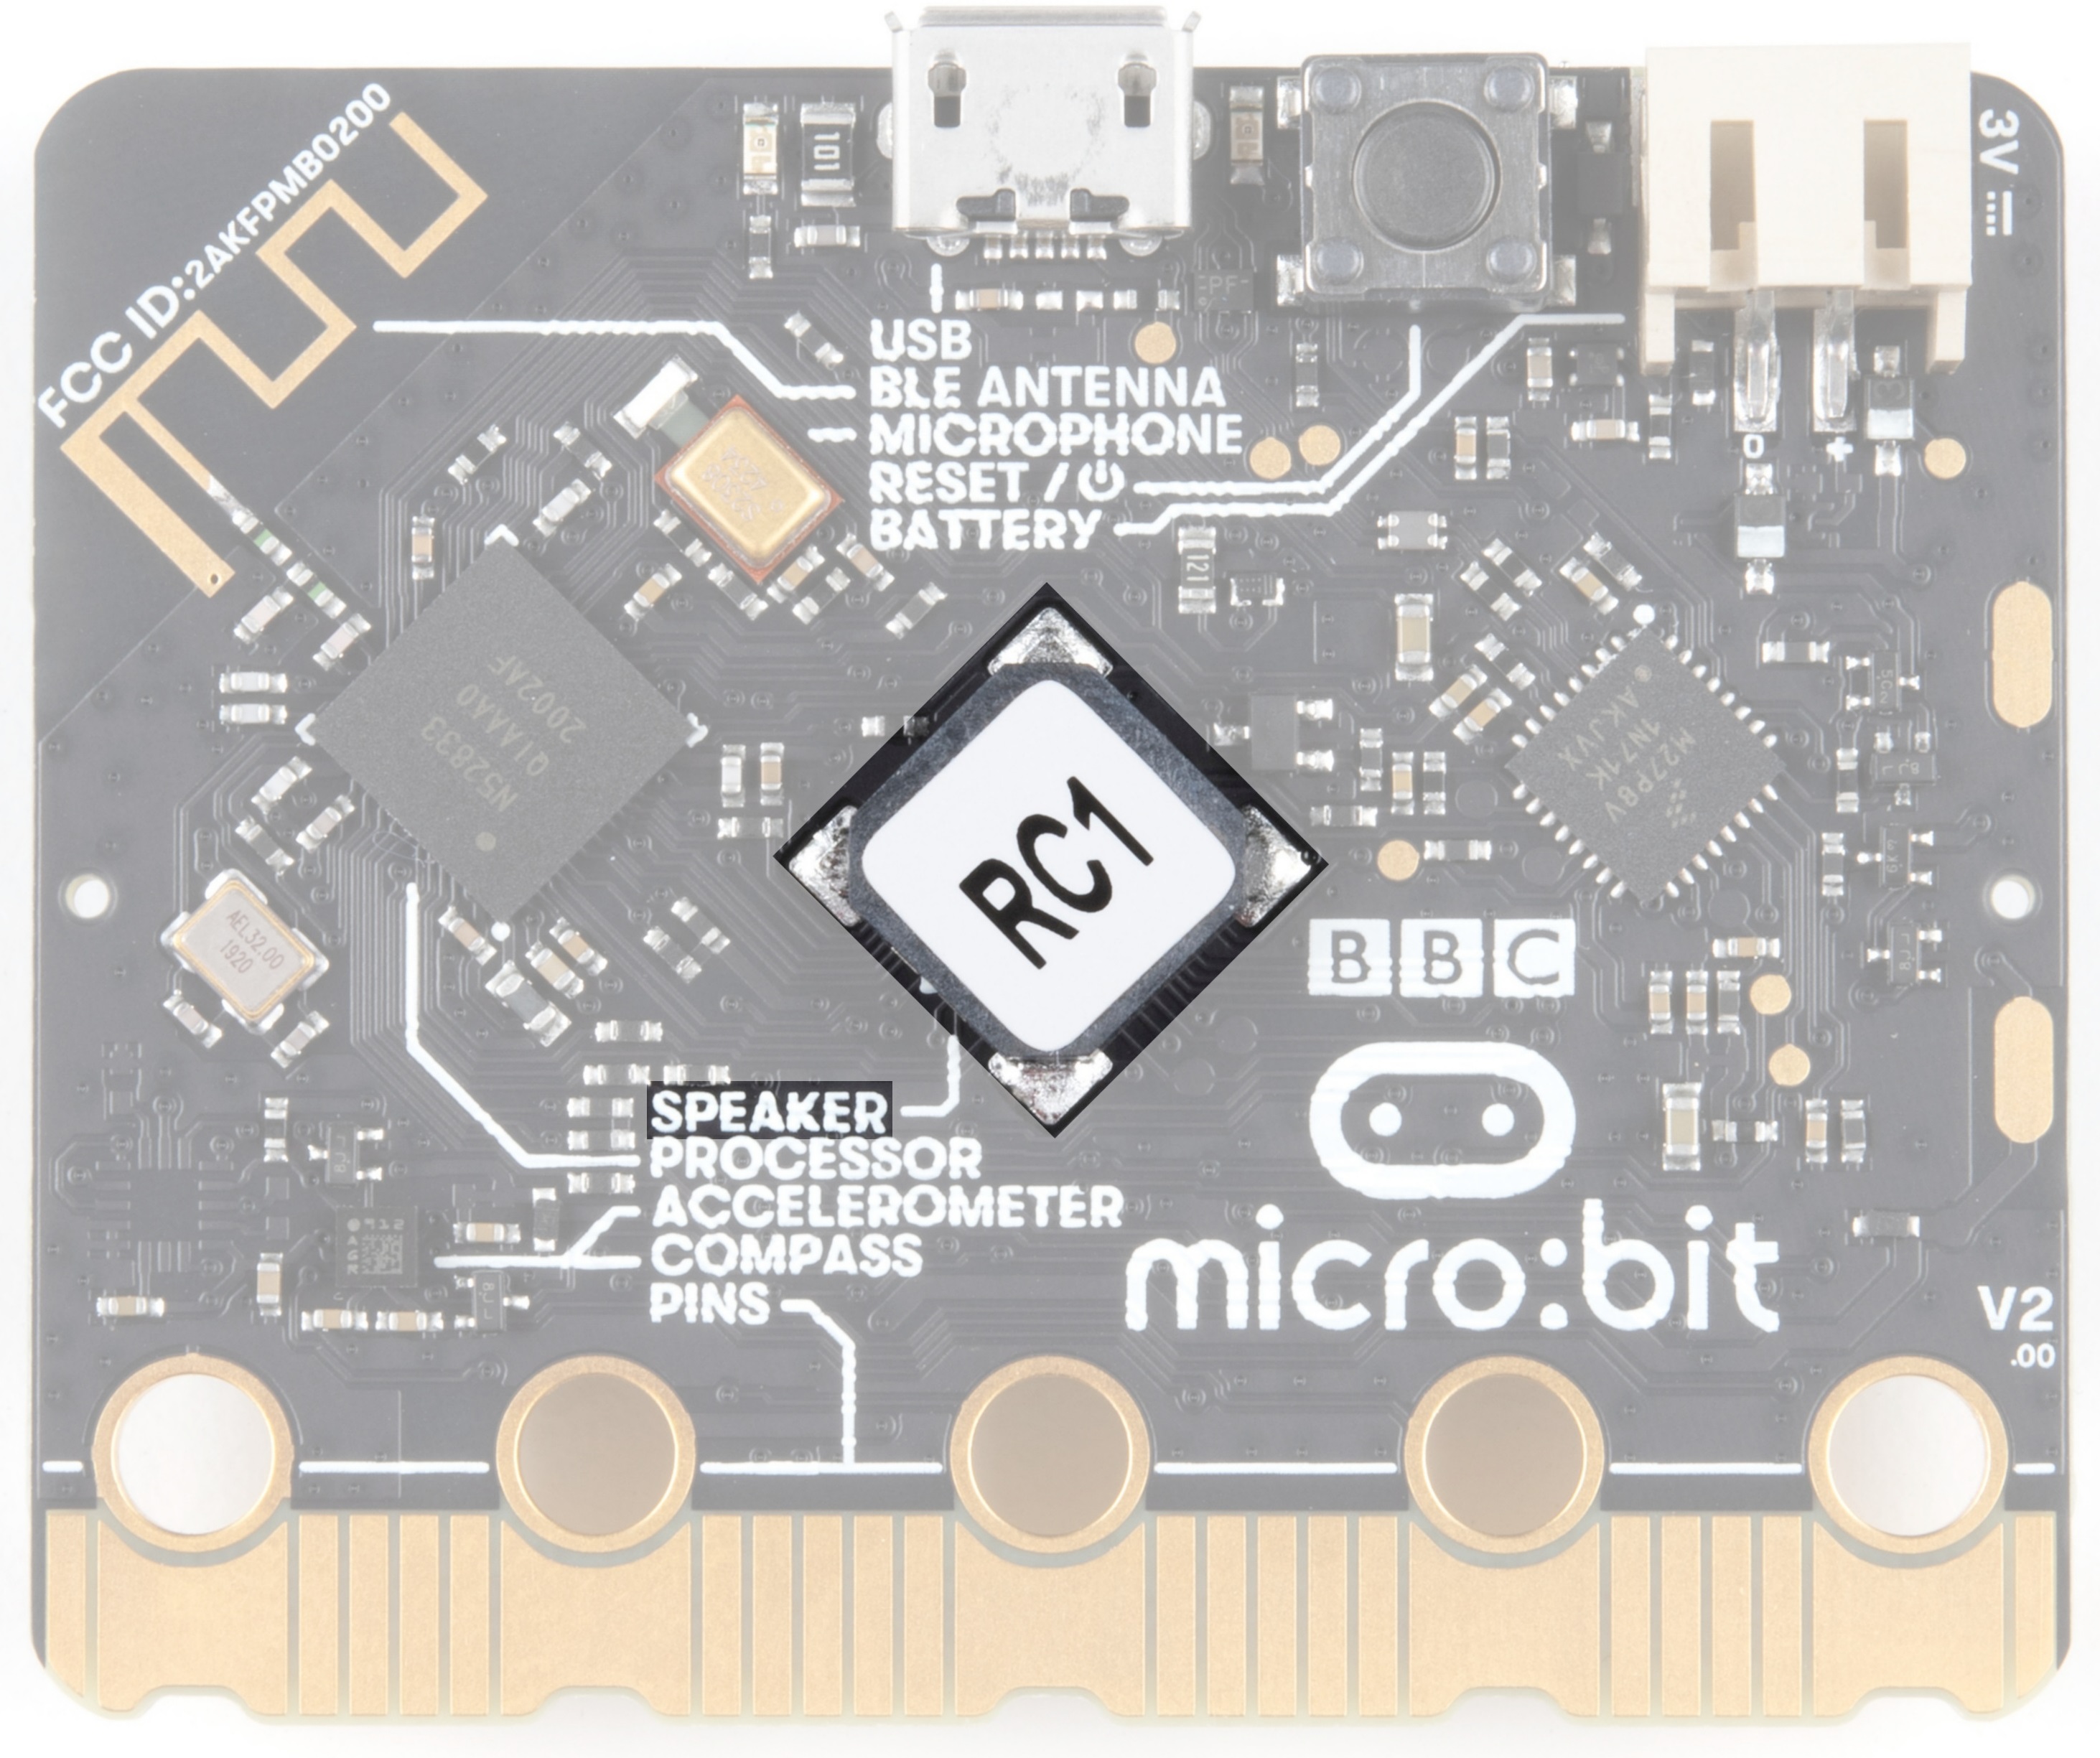
For users with a micro:bit v2, there is also a built-in piezo buzzer. We will be focusing on wiring an external piezo buzzer.
Hardware Hookup
Ready to start hooking everything up? Check out the wiring diagram below to see how everything is connected.
| Polarized Components | Pay special attention to the component’s markings indicating how to place it on the breadboard. Polarized components can only be connected to a circuit in one direction. |
Wiring Diagram for the Experiment

Run Your Script
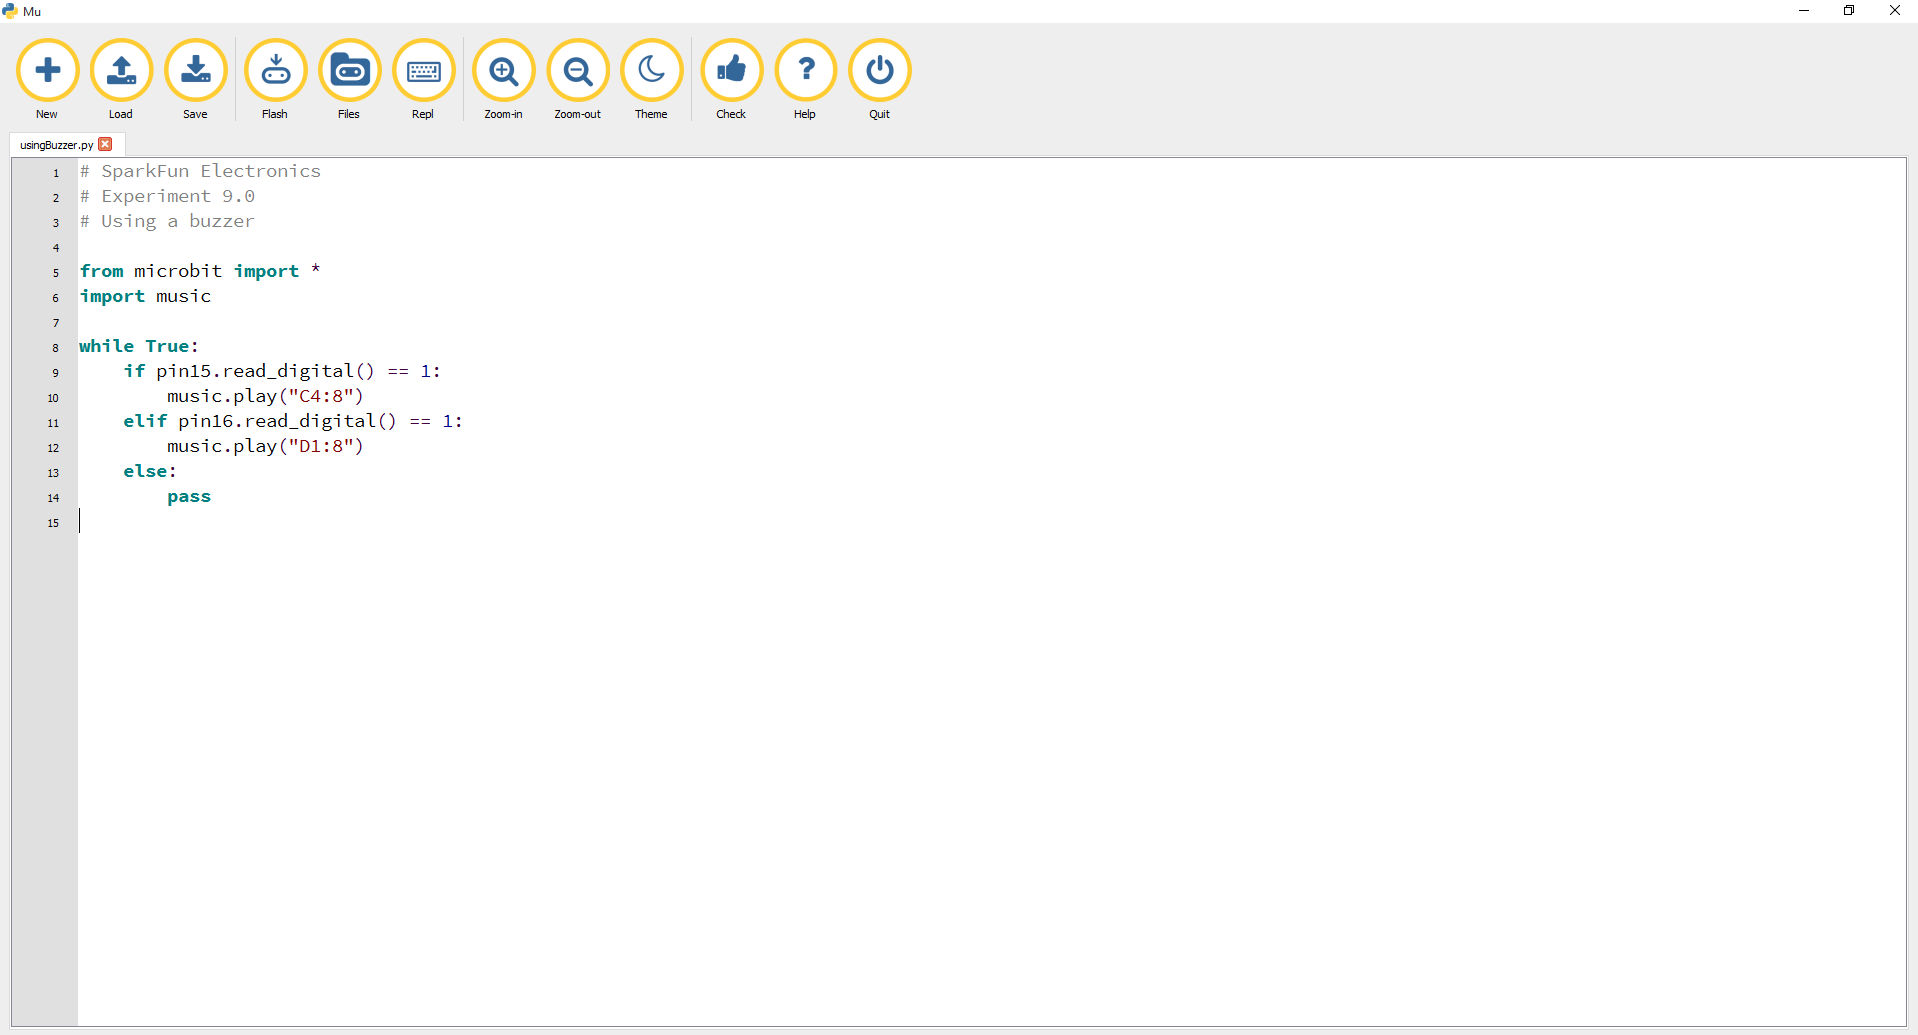
Let's drive a buzzer. Type (or copy) the program into your Mu editor, or download all the programs from this GitHub Repository and open the Ex9_usingBuzzer.py program. Save it, then click the Flash icon to program your micro:bit.
For users with micro:bit V1, simply comment the
speaker.off() by using a single line comment (i.e. #) before compiling and downloading the program in the editor. language:python
# SparkFun Electronics
# Experiment 9.0
# Using a buzzer
from microbit import *
import music
# disable built-in speaker on micro:bit v2 and output to external speaker from pin P0
speaker.off()
while True:
if pin15.read_digital() == 1:
music.play("C4:8")
elif pin16.read_digital() == 1:
music.play("D1:8")
else:
pass
Code to Note
speaker.off()
The `speaker.off() function disables the built-in speaker on the micro:bit v2 and outputs a signal to the external piezo buzzer from P0. For users that are using micro:bit v1 boards, simply comment out this function before compiling and downloading the program in the editor.
music
MicroPython has an awesome music and sound module. We spent hours generating tones and writing songs in the REPL. As you learn to compose your own music on the micro:bit we highly recommend using the REPL to become familiar with all the sounds --- plus the help() feature is nice when you want to see (hear) what you can do.
The music module has 21 melodies built in. To see a list, begin typing music.play(_... in the Mu editor, and the list should pop up.
To get an in-depth tutorial on the music module, click here.
music.play()
To play a tune you need to specify a note (A, C#, F), an octave (0--8) and a duration (how long the note will be played). For example, if the button on pin 15 is pressed, the note C in octave 4 will play for a duration of 8.
What You Should See
What you should see --- well, nothing! What you should hear --- each button has its own tune. Enjoy your sound machine and feel free to swap out the song and tunes of your choice. Add more buttons and play statements to make your custom piano!

Try wiring a potentiometer between the buzzer and pin 0. Adding a potentiometer will adjust the volume. Adjust the code where it says speaker.off() to speaker.on() will also output sound to the built-in speaker.
Try it again but with a real speaker. At the press of a button you could play the funeral march, Happy Birthday or the Nyan Cat theme with much better audio!
Troubleshooting
No Sound
Given the size and shape of the piezo buzzer, it is easy to miss the right holes on the breadboard. Try double checking its placement.
Also, double check to make sure the push button is wired correctly. If you miswired it, then the circuit will never be completed, whether you press the button or not.