Getting Started with MicroPython and the SparkFun Inventor's Kit for micro:bit
Experiment 0: Hello, micro:bit!
Parts Needed
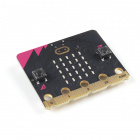
You will need the following parts:
- 1x micro:bit
- 1x micro-B USB Cable
Didn't Get the SIK for micro:bit?
If you are conducting this experiment and didn't get the Inventor's Kit, we suggest using these parts:
Hello World: A Programmer's First Program
A "Hello World" on the micro:bit is a little different. On most microcontrollers this program would be executed using a serial terminal. Instead of using a serial terminal, you can interact with your micro:bit using the built-in LED array. So, the "Hello World" for the micro:bit is to draw something using the LED array!
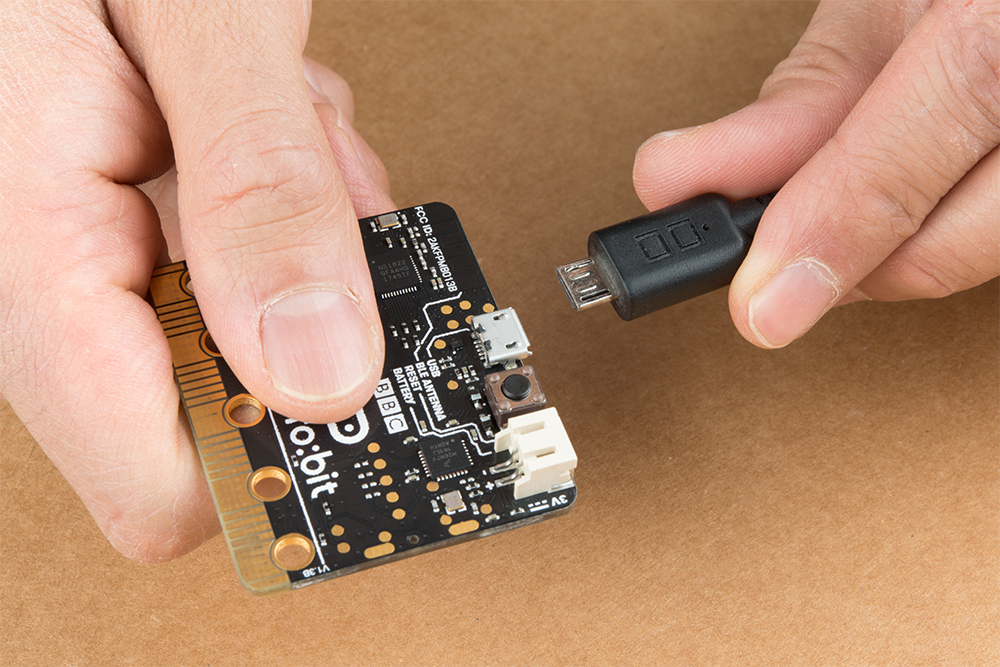
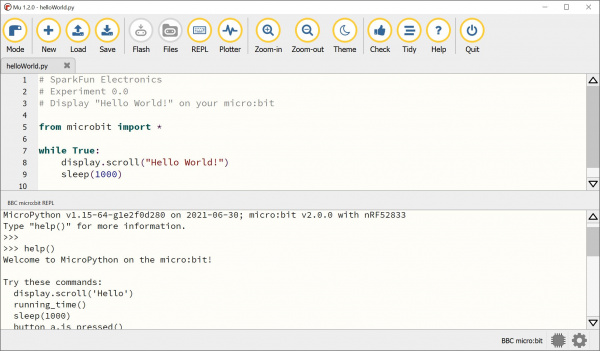
Let's first run the program from the REPL, and then we will build a .py script and upload it to the micro:bit. Open Mu, and make sure your micro:bit is connected to your computer with a USB cable.
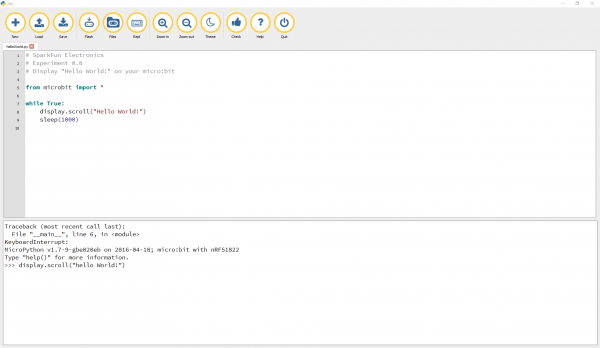
To open the REPL, click the icon, and you should see a second window appear at the bottom. Type help() and see what happens.
From the REPL, type display.scroll("Hello World") and watch your micro:bit's 5x5 LED array.
language:python
display.scroll("Hello World")
Now close the REPL by clicking the REPL icon!
Experiment 0: Hello World!
For the first MicroPython script, we are going to cover how to add comments, how to import a module, and how to create a loop that will run forever.
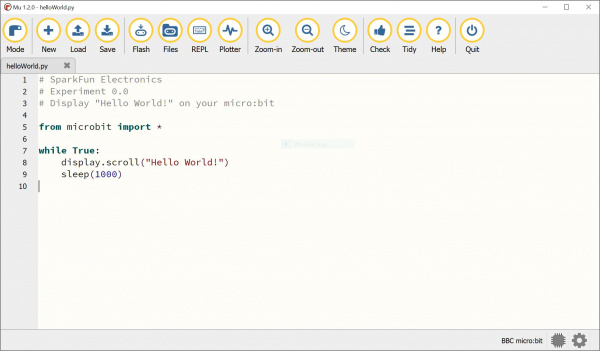
Type (or copy) the program into your Mu editor, or download all the programs from this GitHub Repository and open the Ex0_0_helloWorld.py program.
language:python
# SparkFun Electronics
# Experiment 0.0
# Display "Hello World!" on your micro:bit

from microbit import *

while True:
    display.scroll("Hello World!")
    sleep(1000)
At the top of the program (above), you'll see three lines of comments. Comments are created by using the # sign and one space. You can access modules by using from and import. These words tell the interpreter which classes to import from which modules. In this case, we are importing everything from micro:bit.
The line while True: creates a forever loop in Python so that the program can continue to run the example. The colon is how Python blocks code similar to the way Arduino (another type of text based coding language) uses a set of curly brackets. Everything indented under a colon will execute as a block of code. In this case, we display text and add a small one second delay. The delay is useful to add in programs to process data or initializing IC chips, or for users to reading or viewing data. Just make sure to not make the delay too big as this can make your program run slow from the long pauses.
Experiment 0.1: Displaying a Pre-Defined Image
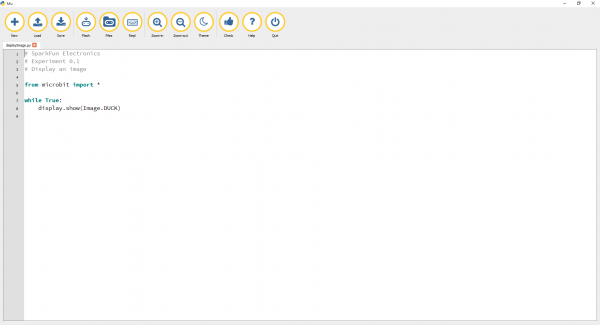
Let's display an image next instead of text. Type (or copy) the program into your Mu editor, or download all the programs from this GitHub Repository and open the Ex0_1_displayImage.py program. Save it, then click the Flash icon to program your micro:bit.
language:python
# SparkFun Electronics
# Experiment 0.1
# Display an image

from microbit import *
while True:
    display.show(Image.DUCK)
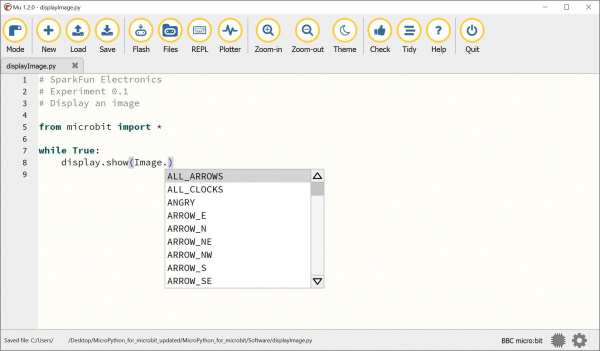
When typing display.show(Image.), let the helpful info box show you what images come built in.
Experiment 0.2: Manually Displaying an Image
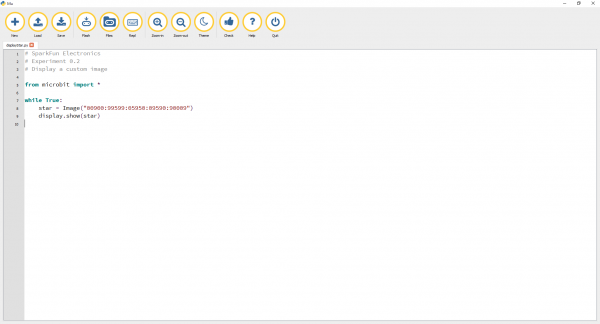
Try to code your own custom image! Below is an example of manually drawing a star. Note that you can control the brightness of an individual LED by adjusting the value between 0 to turn the LED OFF and 9to fully turn on the LED. Each row from the LED matrix is manually controlled inImage("").
language:python
# SparkFun Electronics
# Experiment 0.2
# Display a custom image

from microbit import *
while True:
    star = Image("00900:99599:05950:09590:90009")
    display.show(star)
