Getting Started with MicroPython and the SparkFun Inventor's Kit for micro:bit
Experiment 2: Reading a Potentiometer
Introduction
In this circuit you will work with a potentiometer. You will learn how to use a potentiometer to control the brightness of an LED by reading a sensor and storing its 0--1023 value as a variable, then using it as a brightness level for the LED.
Parts Needed
You will need the following parts:
- 1x Breadboard
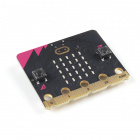
- 1x micro:bit
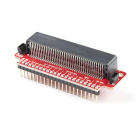
- 1x micro:bit Breakout with Headers
- 1x micro-b USB Cable
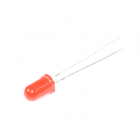
- 1x LED
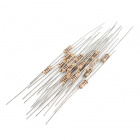
- 1x 100Ω Resistor
- 7x Jumper Wires
- 1x 10kΩ Potentiometer
Didn't Get the SIK for micro:bit?
If you are conducting this experiment and didn't get the Inventor's Kit, we suggest using these parts:
Suggested Reading
Before continuing with this experiment, we recommend you be familiar with the concepts in the following tutorial:
Analog to Digital Conversion
Introducing the Potentiometer
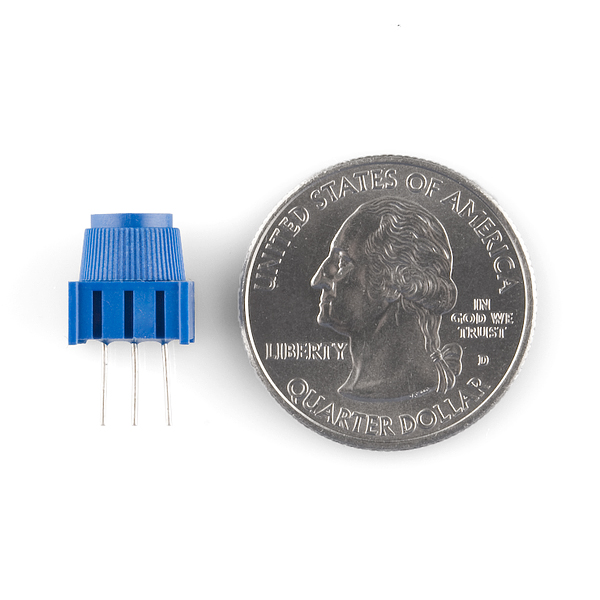
A potentiometer is a resistance-based analog sensor that changes its internal resistance based on the rotation of its knob. The potentiometer has an internal voltage divider enabling you to read the change in voltage on the center pin with a microcontroller (the micro:bit). To hook up the potentiometer, attach the two outside pins to a supply voltage (5V in this circuit) and ground. It doesn’t matter which is connected where, as long as one is connected to power, and the other to ground. The center pin is then connected to an analog input pin so the micro:bit can measure the change in voltage. When you twist the knob, the sensor reading will change!
Hardware Hookup
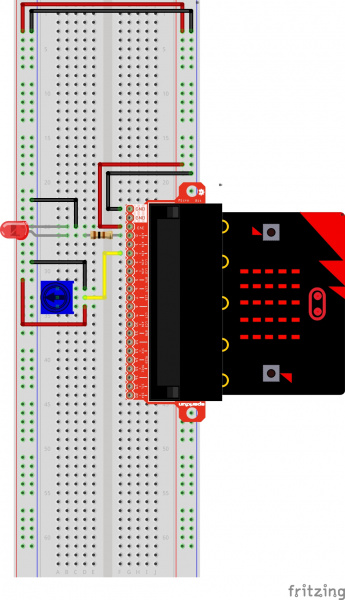
Ready to start hooking everything up? Check out the wiring diagram and hookup table below to see how everything is connected.
| Polarized Components | Pay special attention to the component’s markings indicating how to place it on the breadboard. Polarized components can only be connected to a circuit in one direction. |
Wiring Diagram for the Experiment
Running Your Script
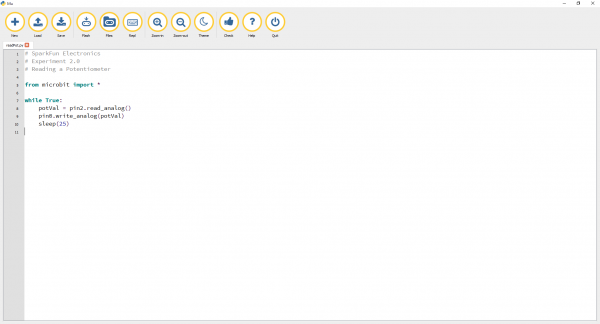
Let's read a potentiometer and control the brightness of an LED. Type (or copy) the program into your Mu editor, or download all the programs from this GitHub Repository and open the Ex2_readPot.py program. Save it, then click the Flash icon to program your micro:bit.
language:python
# SparkFun Electronics
# Experiment 2.0
# Reading a Potentiometer

from microbit import *

while True:
    potVal = pin2.read_analog()
    pin0.write_analog(potVal)
    sleep(25)
Code to Note
pin2.read_analog()
In this program you are reading the voltage from the potentiometer, which is 0 to 3.3 volts on pin 2. The micro:bit reads that value as a 10-bit number, which is a value range from 0 to 1023 using the call pin2.read_analog(). We are saving that number to a variable called potVal.
pin0.write_analog()
As with the analog read, the analog write deals with a range of values, but instead of reading a pin as an input, the line pin0.write_analog() outputs an analog value to a pin. We see this as a brightness range with this LED, but it could be a tone from a buzzer, a motor speed, etc. We set our analog output to the variable we stored the potentiometer value in.
A “variable” is a placeholder for values that may change in your code. You can create a variable by simply typing a name and setting it equal to what you want. Python is a dynamically typed language. This means the type of variable is determined at runtime. So you do not need to worry about declaring your variable type.
What You Should See
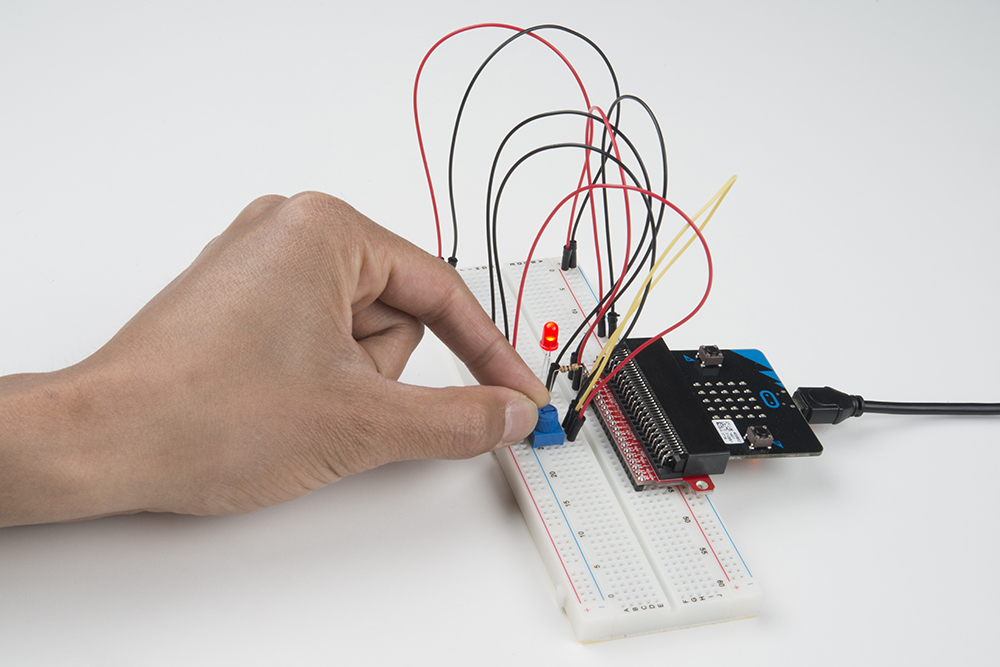
You should twist the potentiometer. You will notice that the LED will get brighter or dimmer based on the position of the potentiometer. If you turn the potentiometer all the way one direction, it will be fully on, and the other end will be fully off.
Troubleshooting
Sporadically Working
This is most likely due to a slightly dodgy connection with the potentiometer's pins. This can usually be conquered by holding the potentiometer down or moving the potentiometer circuit somewhere else on your breadboard.
Not Working
Make sure you haven’t accidentally connected the wiper (center pin), the resistive element in the potentiometer, to a wrong pin!
LED Not Lighting Up
LEDs will only work in one direction. Double check your connections.

