Getting Started with MicroPython and the SparkFun Inventor's Kit for micro:bit
Experiment 6: Reading a Button Press
Introduction
Up until now, we’ve focused mostly on outputs. Now we’re going to go to the other end of the spectrum and play around with inputs. In Experiment 2, we used an analog input to read the potentiometer. In this experiment, we’ll be reading one of the most common and simple inputs --- a push button --- by using a digital input. We will use it to cycle through different colors on the RGB.
Parts Needed
You will need the following parts:
- 1x Breadboard
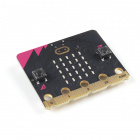
- 1x micro:bit
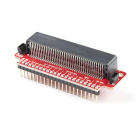
- 1x micro:bit Breakout with Headers
- 1x Common Cathode RGB LED
- 3x 100Ω Resistors
- 8x Jumper Wires
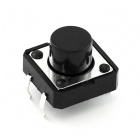
- 1x Push Button
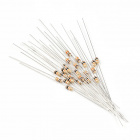
- 1x 10kΩ Resistor
Didn't Get the SIK for micro:bit?
If you are conducting this experiment and didn't get the Inventor's Kit, we suggest using these parts:
Suggested Reading
Before continuing with this experiment, we recommend you be somewhat familiar with the concepts in these tutorials:
Button and Switch Basics
Analog vs. Digital
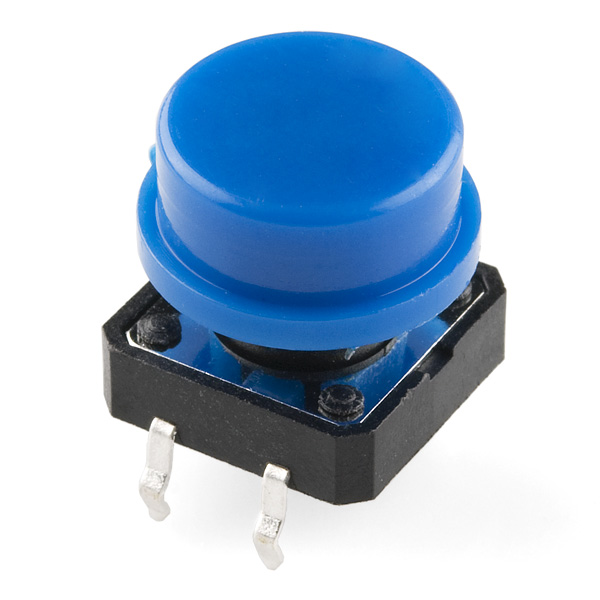
Introducing the Push Button
A momentary push button closes or completes the circuit only while it is being pressed. The button has four pins, which are broken out into two sets of two pins. When you press down on the button and get a nice "click," the button bridges the two sets of pins and allows current to flow through the circuit.
How do you know which pins are paired up? The buttons included in this kit will only fit across the breadboard ditch in one direction. Once you get the button pressed firmly into the breadboard (across the ditch), the pins are horizontally paired. The pins toward the top of the breadboard are connected, and the pins toward the button of the breadboard are connected.
Hardware Hookup
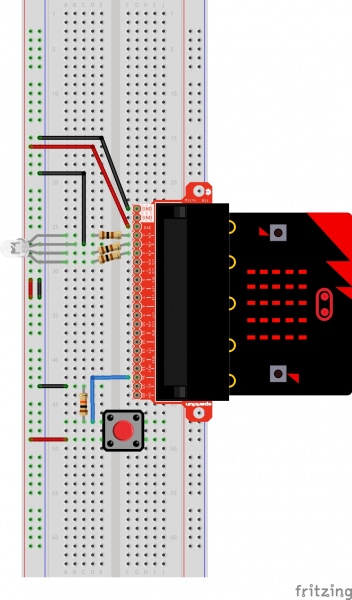
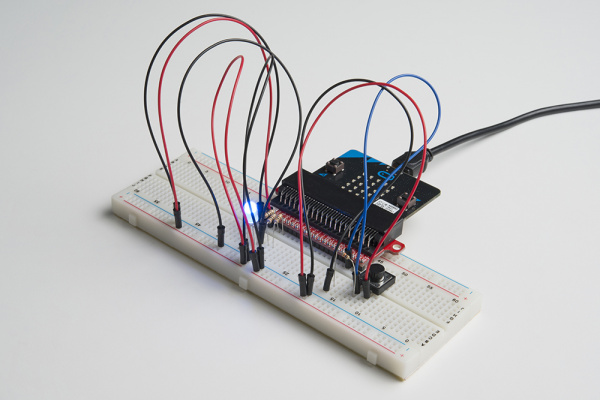
Ready to start hooking everything up? Check out the wiring diagram and hookup table below to see how everything is connected.
| Polarized Components | Pay special attention to the component’s markings indicating how to place it on the breadboard. Polarized components can only be connected to a circuit in one direction. |
Wiring Diagram for the Experiment
Run Your Script
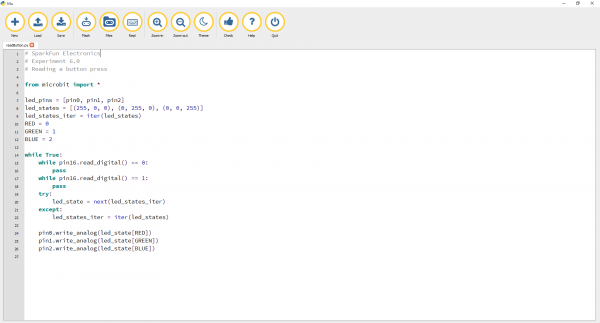
Let's read a button press and control an RGB LED. Type (or copy) the program into your Mu editor, or download all the programs from this GitHub Repository and open the Ex6_readButton.py program. Save it, then click the Flash icon to program your micro:bit.
language:python
# SparkFun Electronics
# Experiment 6.0
# Reading a button press

from microbit import *

led_pins = [pin0, pin1, pin2]
led_states = [(255, 0, 0), (0, 255, 0), (0, 0, 255)]
led_states_iter = iter(led_states)
RED = 0
GREEN = 1
BLUE = 2

while True:
    while pin16.read_digital() == 0:
        pass
    while pin16.read_digital() == 1:
        pass
    try:
        led_state = next(led_states_iter)
    except:
        led_states_iter = iter(led_states)

    pin0.write_analog(led_state[RED])
    pin1.write_analog(led_state[GREEN])
    pin2.write_analog(led_state[BLUE])
Code to Note
Pins on the micro:bit are active-low, which means external buttons should be connected to the pin and to ground to trigger an event with a button. This cannot be changed in MicroPython the way it can be changed in MakeCode. We have also found that MicroPython has a very hard time with interrupts and can't seem to run more than one thread at a time. With MakeCode, it is possible to run multiple threads.
pass
Since interrupts are very difficult in MicroPython, we decided to use pass. pass is a way to handle external triggers from a while loop without impacting the while loop. In this case, the external trigger is whether or not the button has been pressed. It is a kind of cheat to using interrupts. We can continuously poll pin 16 on the micro:bit to see if the button has been pressed or not.
iter
The iter()_method creates an object that can be iterated or incremented one element at a time until a specified end. At the end of the iteration, an exception is raised: "StopIteration."
try and except
try and except allows a program to catch an unexpected (or expected in this case) error and handle the error however the programmer wants to. The error in this case would be how the iter function lets the program know it is past the last iterable value. The exception that is thrown by the iter method is "StopIteration." We are "trying" next iter until the exception is thrown. Once the exception is thrown, we exit from try and move onto except, which will start the iterator over again.
What You Should See
When you press the button, the RGB will turn on to a color. When you press it again, the color will change, and another press will change the color once again. Press it one more time, and it will turn off. Every time you press the button, it increments a variable, and then we check against it to set the color. If the variable goes over the value of 2, we reset it to 0, which is off.
Troubleshooting
Light Not Turning On
The push button is square, and because of this it is easy to put it in the wrong way. Give it a 90-degree twist and see if it starts working.
Underwhelmed
No worries; these circuits are all super stripped-down to make playing with the components easy, but once you throw them together, the sky is the limit. Remember, though, that these are building blocks to the Iron Man suit.
