ESP32 Thing Plus Hookup Guide
Assembly Tips
Headers
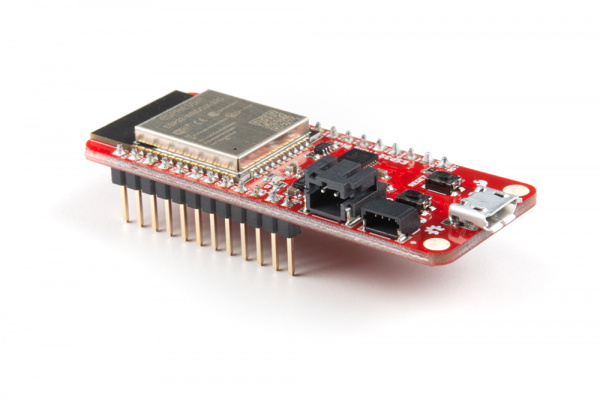
The ESP32 Thing Plus ships without anything soldered into the header pins -- ensuring that you can mold the board to best fit your project. To use the chip's pins you'll need to solder something to the I/O and power rail vias broken out to either side of the board.
What you solder to the ESP32 Thing Plus's I/O pins is completely up to you. The header rows are breadboard-compatible, so you may want to solder male headers in.
Then plug it into the breadboard, hanging the USB and LiPo connectors off the end, and start wiring!
Alternatively, female headers (you may need two separate strips to solder all the pins), right-angle headers, or stranded wire are all good options, depending on your project's needs.
Connecting an Antenna
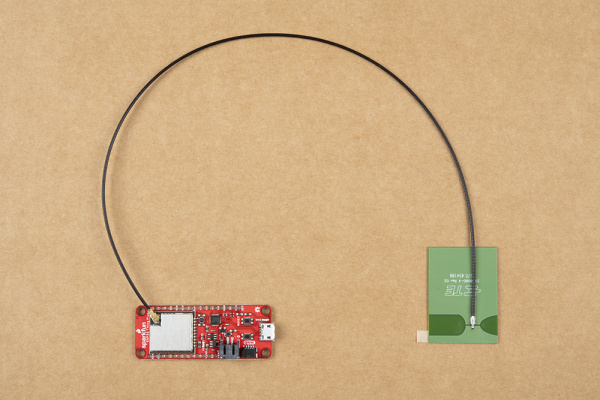
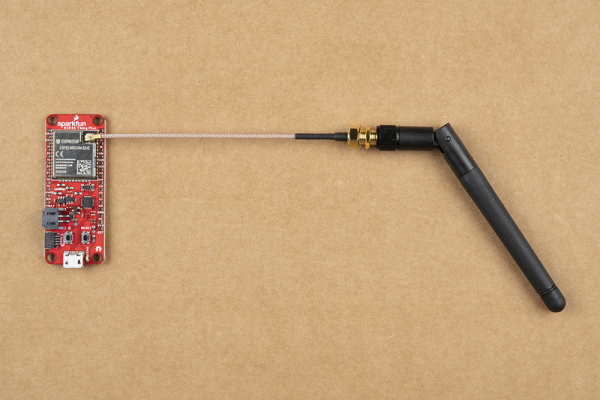
U.FL connectors are very good but they are a designed to be implemented inside a small embedded application like a laptop. Exposing a U.FL connector to the wild risks it getting damaged.
Be Careful! U.FL connectors are easily damaged. Make sure the connectors are aligned, flush face to face (not at an angle), then press down using a rigid blunt edge such as the edge of a PCB or point of a small flat head screwdriver. For more information, check out our tips and tricks on using a u.FL connector.


