Working with Wire
Wire Management
Twisting Wires into a Braid
It is a good idea to braid long wires that are used in a project. There are a few benefits of twisting the wires together:
- keeps the project organized
- prevents wires from being pulled from moving parts
- strengthens the connection
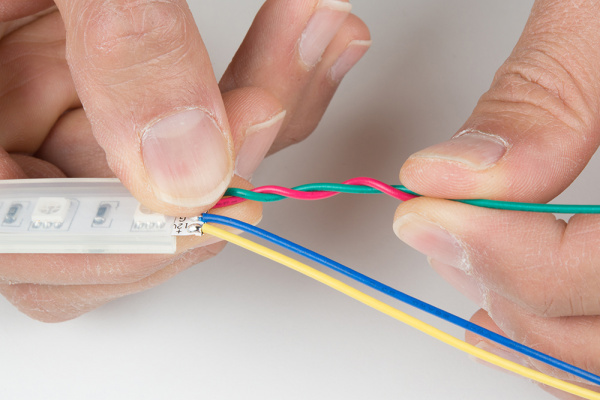
Below is an example of braiding four hook-up wires together for a non-addressable LED. To braid your wires, twist a pair of wires in a counterclockwise pattern between your index finger and thumb using both hands. In this case, the green and red wires were twisted first.
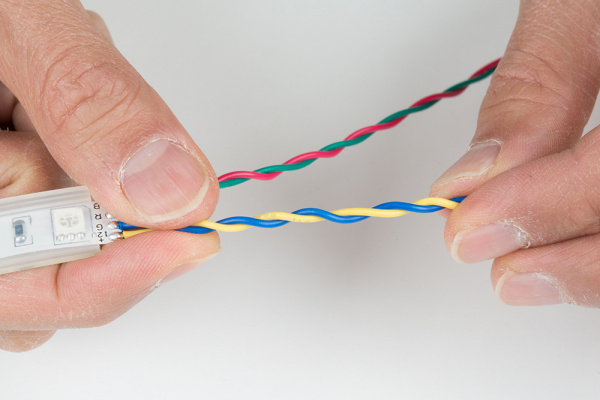
Twist the other pair of wires in a counterclockwise pattern.
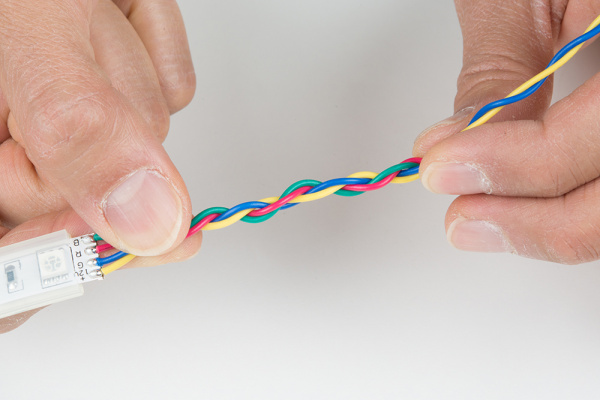
Twist the pairs of wires in a clockwise pattern.
Once finished, the wires in your project will be manageable and easier to handle. Below are a few examples with braided wires used in projects.
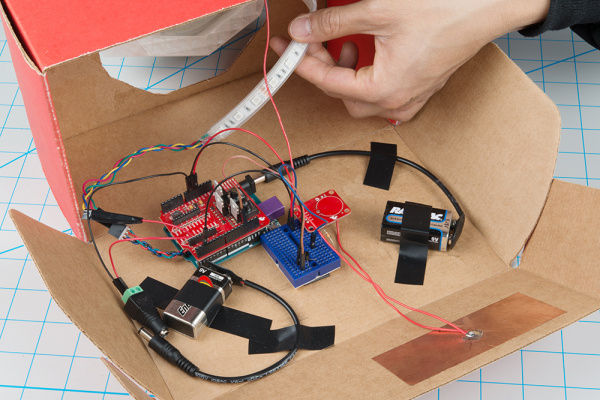 |
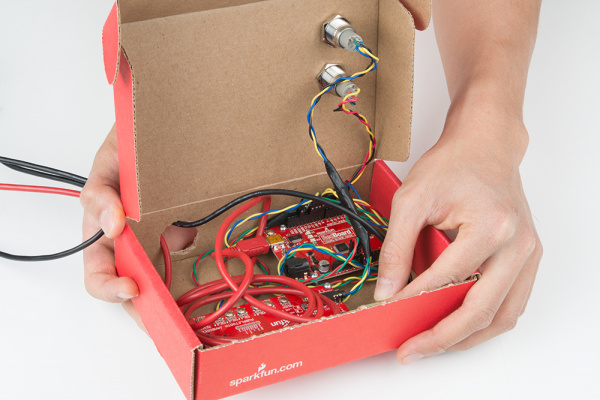 |
| Some Twisted Wires Used in the Interactive 3D Printed LED Diamond Prop Tutorial | Twisted Wires Used in the Wireless Audio Bluetooth Adapter w/ BC127 Tutorial |
Sleeves and Cable Carriers
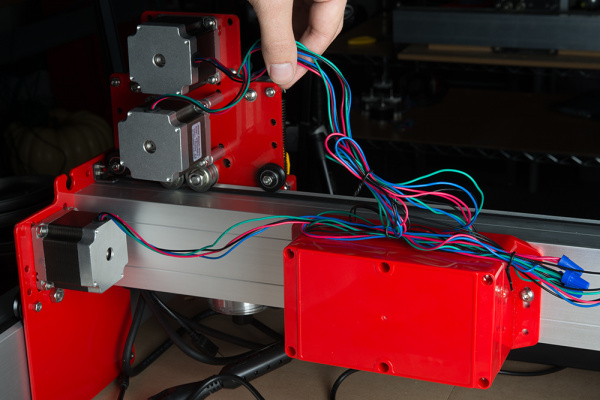
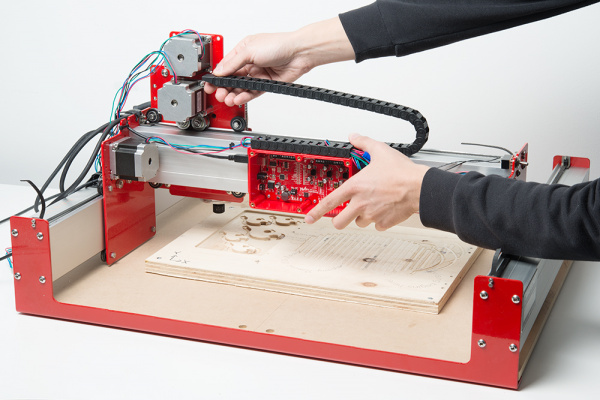
Sleeves and cable carriers are also useful in further protecting the connection from moveable parts. The image below shows loose wires on the Shapeoko.
Below are images of wires within a sleeve and cable carrier for protection.
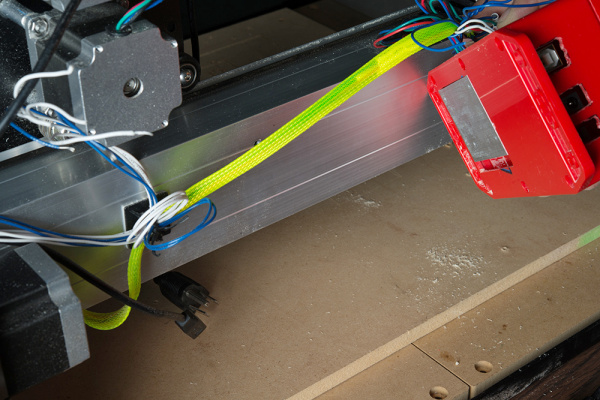 |
 |
Labeling Complex Wiring
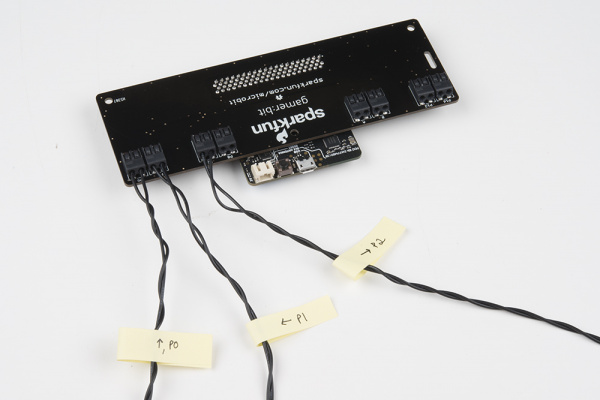
Sometimes it is useful to label wires using sticky notes, tape, or markers to help keep track of connections using the same color of wire, complex wiring, and to troubleshoot projects.
- Printable Shrink Tube - Try using printable heat shrink to label wires.
- Markers - Another option is labeling wire ends with a marker.
