Working with Wire
 Paul Smith,
  bboyho
How to Use a Wire Wrap Tool
Strip the 30 AWG wire by inserting it between the wire wrap tool's blades. Pull the wire to remove the insulation.
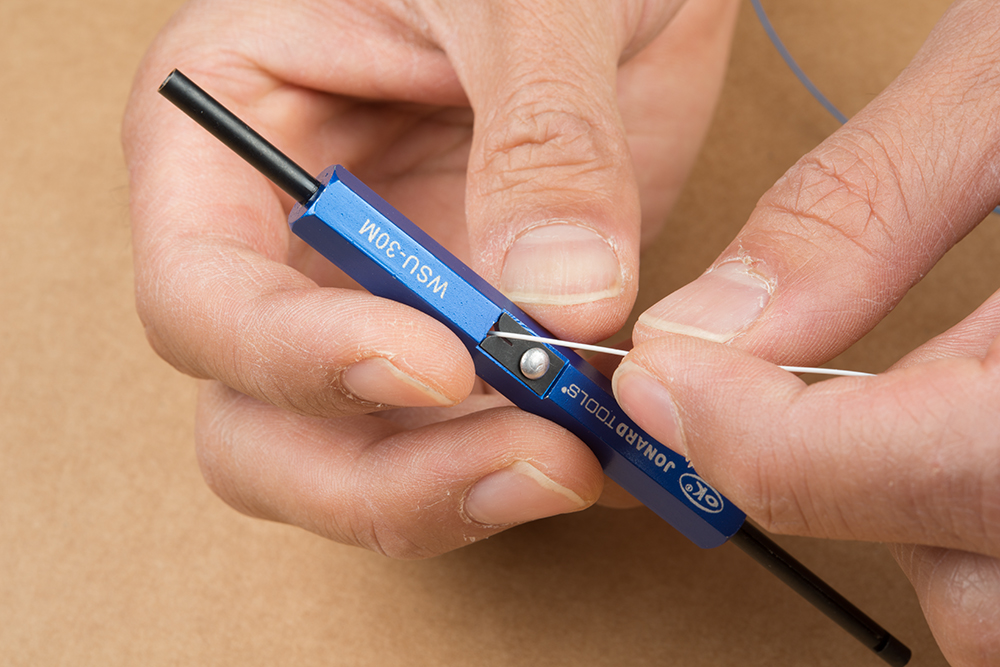
Make sure to strip away enough wire to wrap around a terminal for a sufficient connection. About a 1" should be enough.

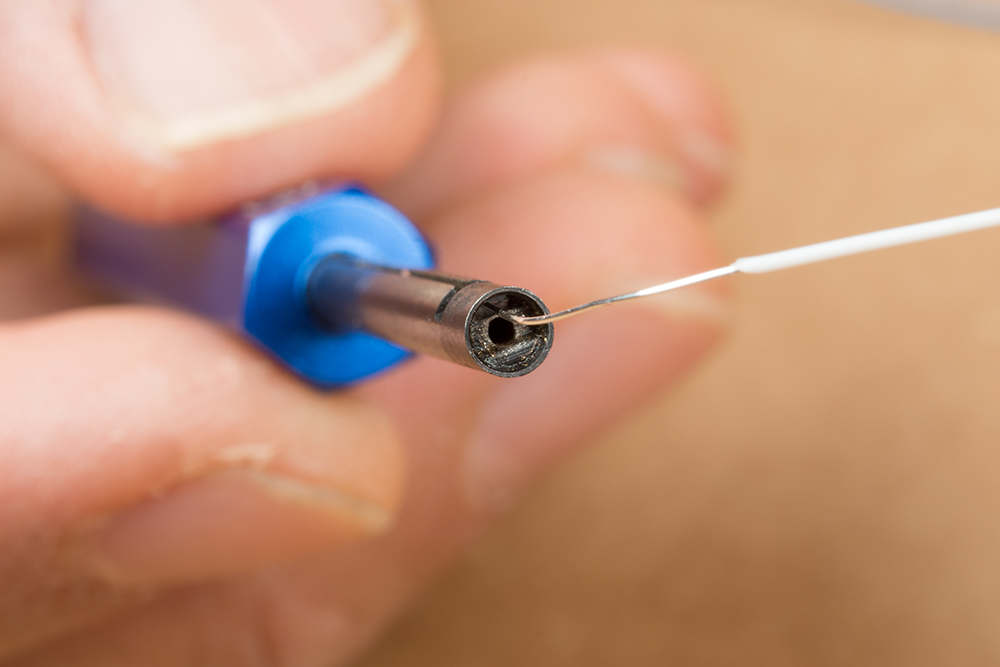
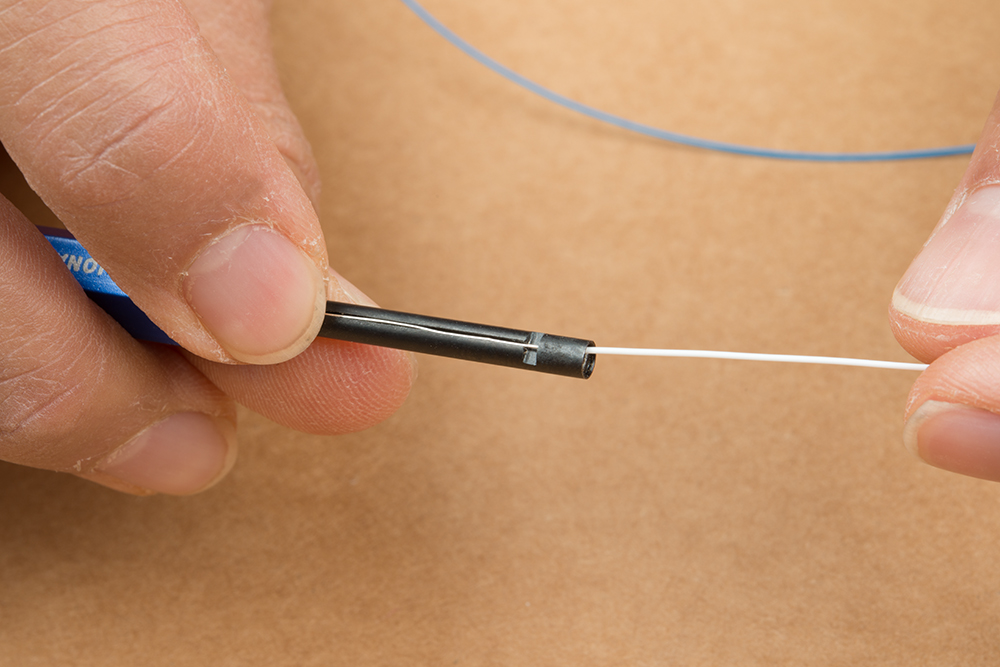
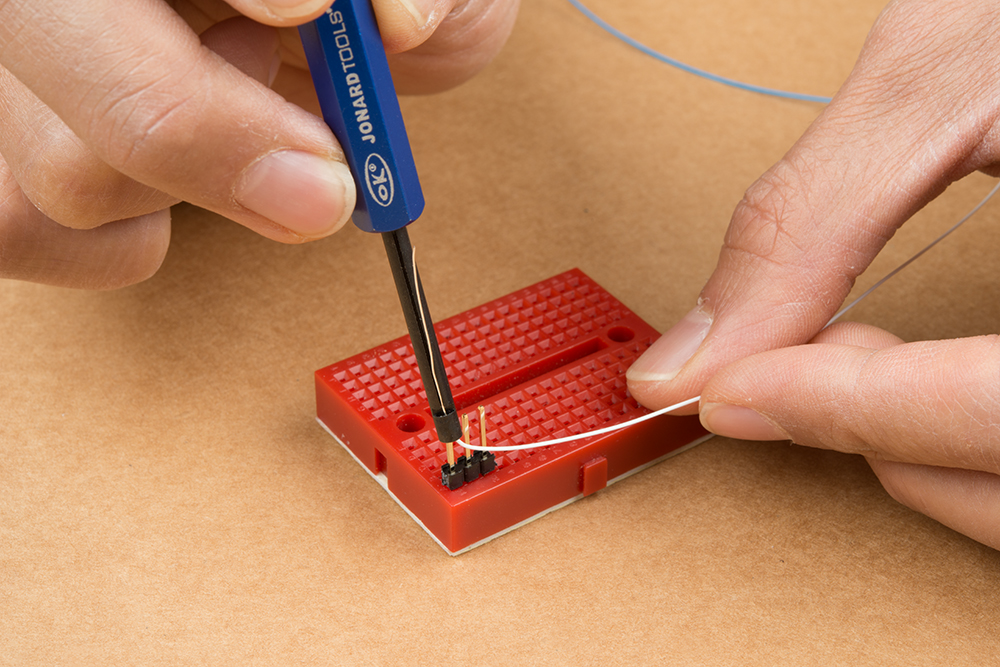
Insert the exposed wire into the hole along the side. Make sure to insert the wire on the side with the notch and place the wire in the cut along the side of the cylinder.
 |
 |
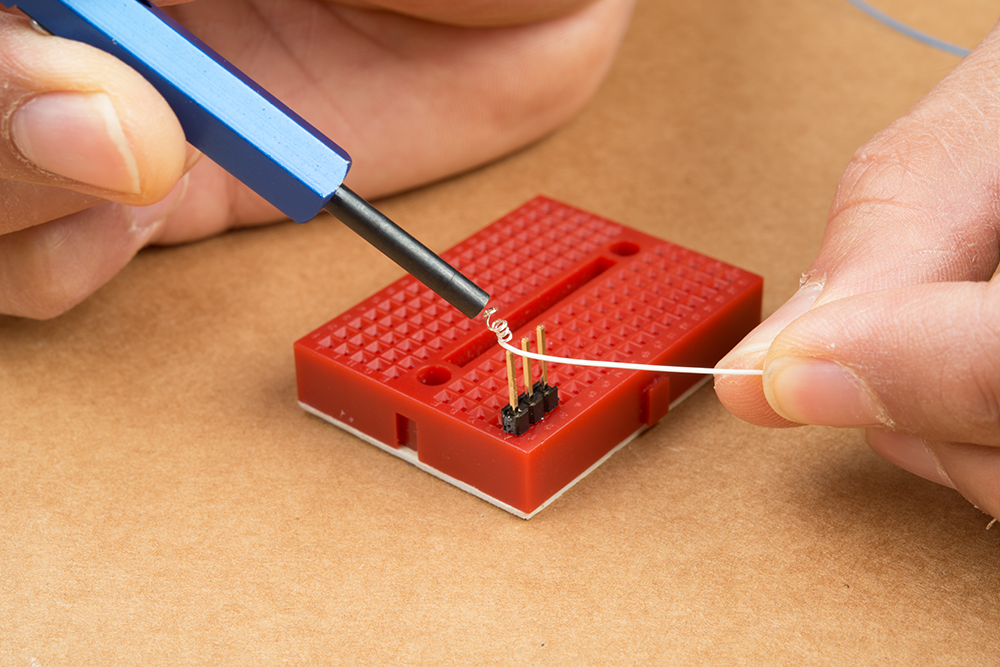
Insert the wire into header pin (a.k.a. post). In this case, male header pins were used on a mini-breadboard.
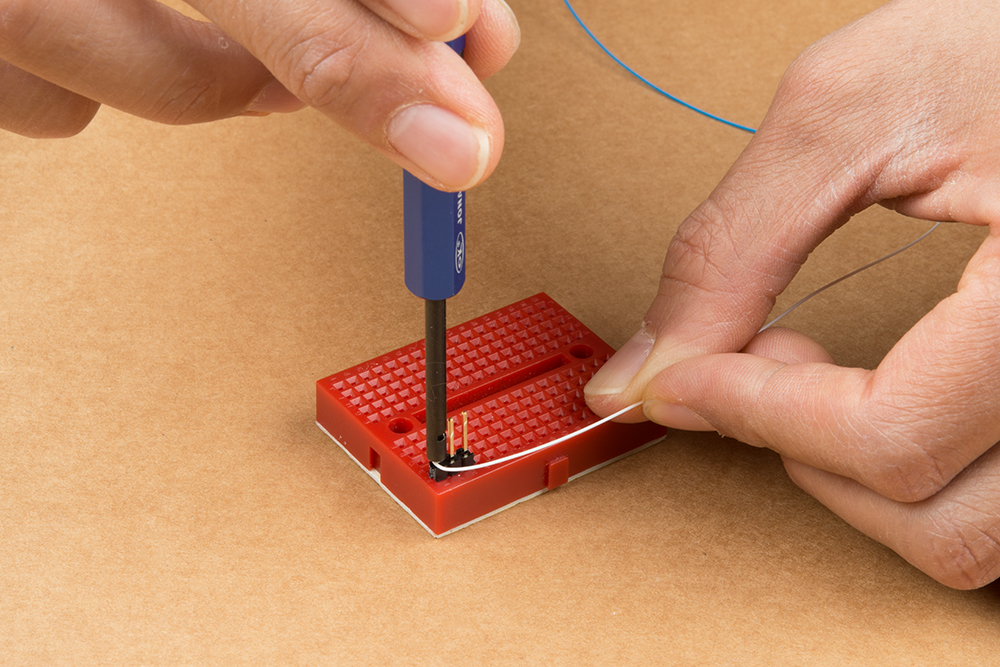
Rotate the tool clockwise to begin wrapping the wire around the square header pin. Hold the wire and header pins down with your other hand. Continue rotating the tool so that all of the stripped wire wraps around the pin.
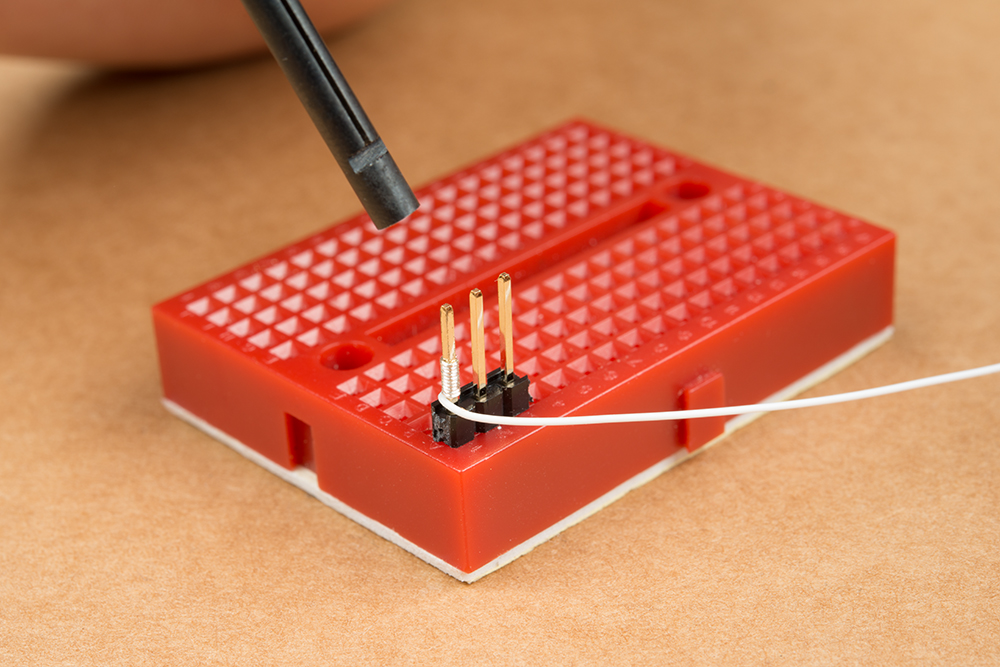
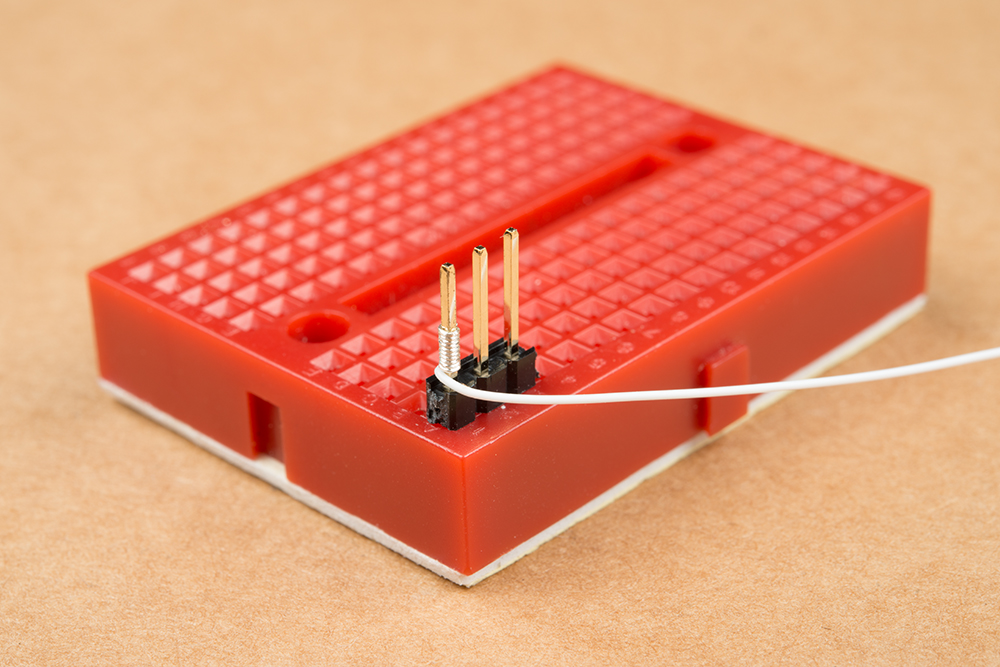
Remove the tool from the pin. When completed, the wire's insulation should start at the bottom of the pin. For a more permanent and secure connection, add some solder between the wire and pin.
 |
 |
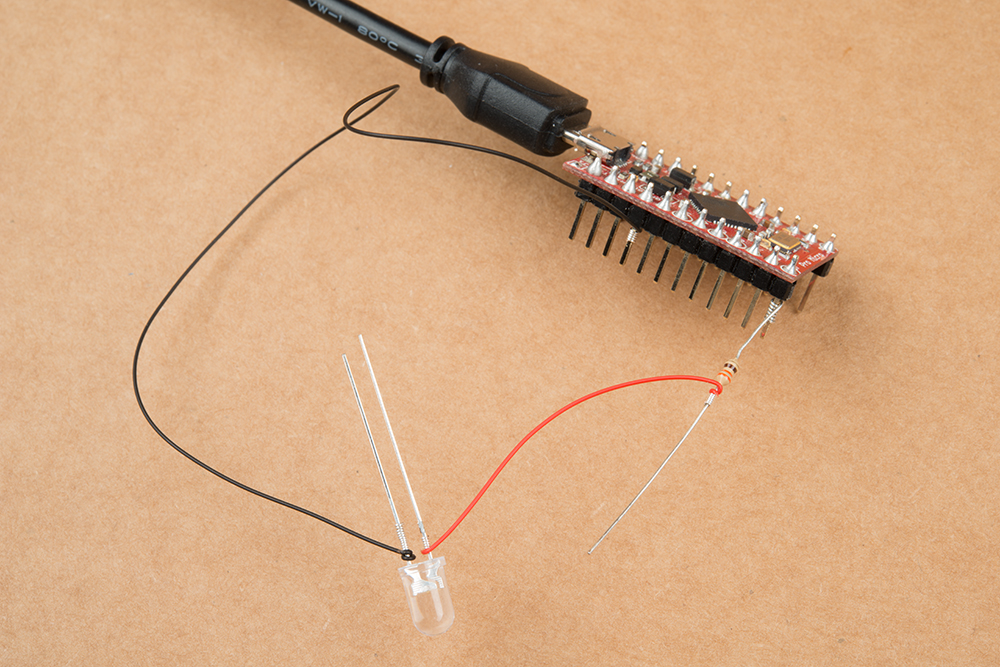
If you require more connections on the same pin, wrap more wires around the top of the first connection and repeat the steps outlined above. The amount you can stack depends on the length of the header pin. Try using the wire wrap tool to wrap wires around headers on a microcontroller, LED, or resistor for prototyping.
 |
 |
Removing Wrapped Wires
If you need to disconnect the wire from the pin, simply use the other end of the tool and rotate it in a counterclockwise direction.
 |
 |
Once the wire wrap is loosened, pull the wire away from the pin.