SAMD51 Thing Plus Hookup Guide
 Englandsaurus
 Introduction
SparkFun is proud to welcome the SAMD51 Thing Plus to our microcontroller lineup! With a 32-bit ARM Cortex-M4F MCU, it is one of our most powerful microcontroller boards yet.
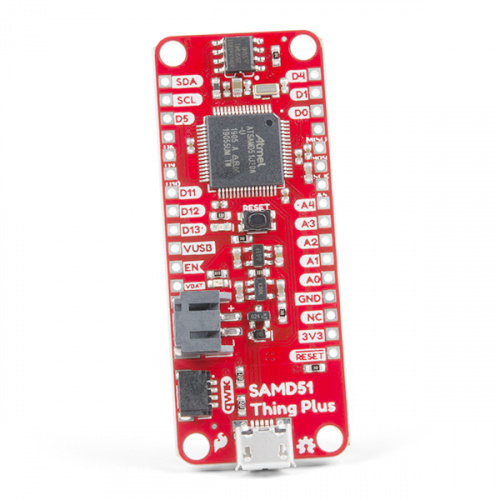
The ATSAMD51J20 microcontroller boasts a maximum CPU speed of 120MHz, 1MB of flash memory, 256KB of SRAM, up to 6 SERCOM interfaces, amongst other features (see datasheet). The SAMD51 Thing Plus provides a USB interface for programming and power, a Qwiic connector, 600mA 3.3V regulator, and LiPo charger all in a feather pin layout. For a full list of details, check out the Hardware Overview section below. In addition, this board comes flashed with the same convenient, UF2 bootloader as the RedBoard Turbo.
This tutorial aims to familiarize you with the new SAMD51 Thing Plus and help you get started using it. If you are new to the world of Arduino or microcontrollers, please check out our RedBoard Qwiic and RedBoard Qwiic Hookup Guide.
Required Materials
To get started, all you need is a few things:
- SAMD51 Thing Plus - You'll definitely need this; otherwise, you are probably on the wrong tutorial page (wink).
- USB micro-B Cable - 6 Foot - The USB interface serves two purposes: it powers the board and allows you to upload programs to it. (You might even have a few of these in you drawer!)
- Computer with the Arduino IDE installed on it - That is how we will program the board and interface with it.
That is ALL... pretty simple right? Now you won't be able to do much since there are no additional sensors to interact with the physical world. However, you can at least blink an LED and do some math calculations.
Jumper Modification Headers & Accessories ARM Programmers
wish to perform. Feel free to modify the items in your cart to fit your needs.
Jumper Modification
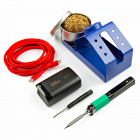
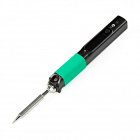
If you would like to modify the 3.3V/5V I/O jumper or A4/A5 Qwiic connector jumpers, you will need soldering equipment and/or a knife.


Qwiic Example
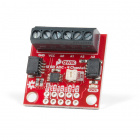
If you would like to follow along with the examples below to interact with the physical world, you will also need the following items:

Headers & Accessories
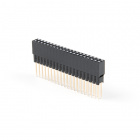
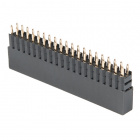
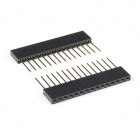
If you would like to add headers to your board, check out some of the following items:

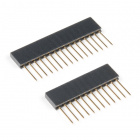

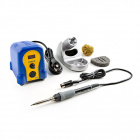
Below is a sample selection of our other headers and soldering tools in our catalog. For a full selection of our available Headers or Soldering Tools, click on the associated link.
ARM Programmers
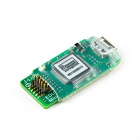
If you would like to debug or flash your ARM processor on your own, here are some of our ARM Programmers:
Suggested Reading
Before continuing on with this tutorial, you may want to familiarize yourself with some of these topics if they’re unfamiliar to you:
Installing an Arduino Library
What is an Arduino?
Installing Arduino IDE
Adding More SERCOM Ports for SAMD Boards
How to Solder: Through-Hole Soldering
One of the new, advanced features of the board is that it takes advantage of the Qwiic connect system. We recommend familiarizing yourself with the Logic Levels and I2C tutorials (above) before using it, as all Qwiic sensors utilize an I2C communication protocol. Click on the banner above to learn more about Qwiic products.