SAMD51 Thing Plus Hookup Guide
 Englandsaurus
UF2 Bootloader & Drivers
The SAMD51 Thing Plus is now easier than ever to program, thanks the UF2 bootloader. With the UF2 bootloader, the SAMD51 Thing Plus shows up on your computer as a USB storage device without having to install drivers for Windows 10, Mac, and Linux!
From the Arduino IDE, you'll still need to select the correct port on your machine, but you can just as easily use another programming language such as CircuitPython or MakeCode, which will be available in the near future.
Windows 7
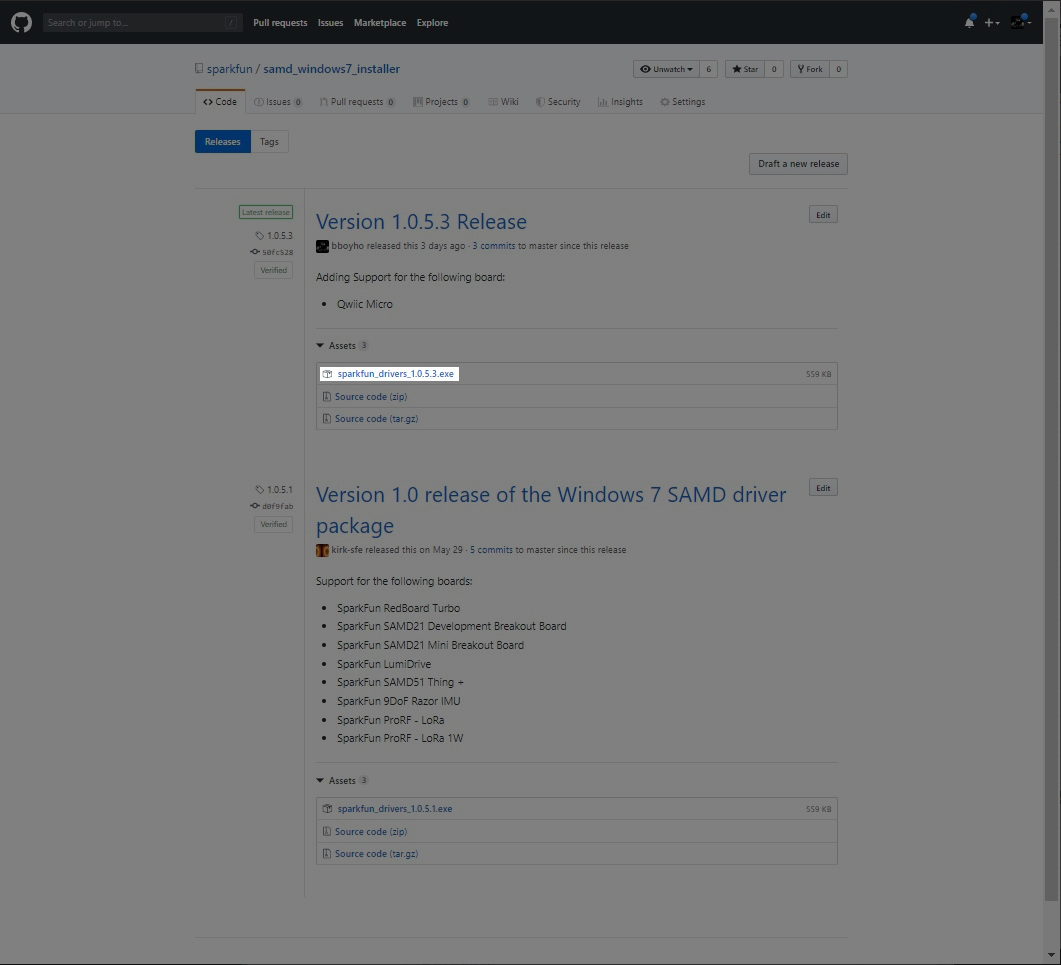
If you are using a Windows 7 OS, you will need to install the SAMD drivers using the SAMD Windows 7 Installer. Head over to the GitHub repo to install the executable.
Scroll down the page to the assets in the Latest release and click on the '.exe to download. The version number may be different depending on the release. The image below shows sparkfun_drivers_1.0.5.3.exe .
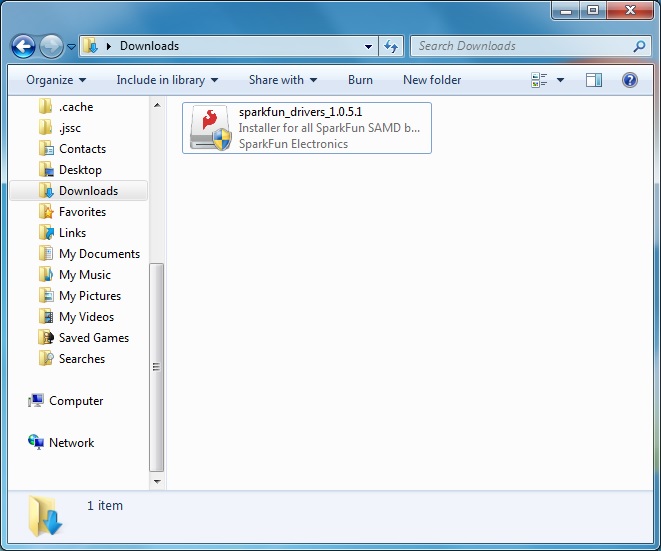
After downloading, click on the executable and follow the prompts to install. The steps to install are the same even though the following images show drivers for v1.0.5.1.
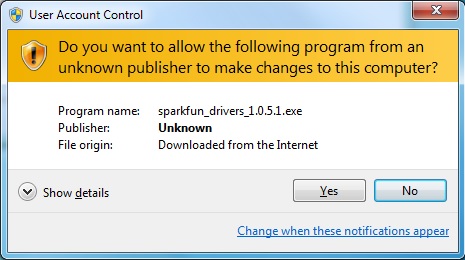
You will receive a warning from Windows. Click yes to continue.
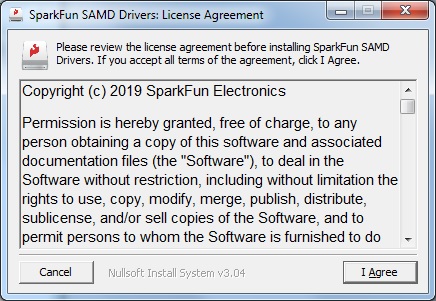
Another window will pop up. Read through the license and click "I Agree".
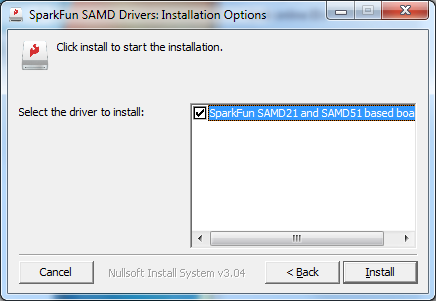
When ready, hit the Install button.
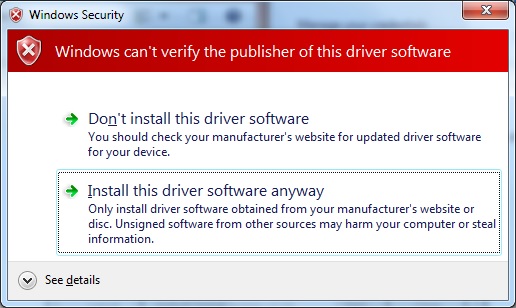
Another window will pop up. Click on "Install this driver software anyway" to continue.
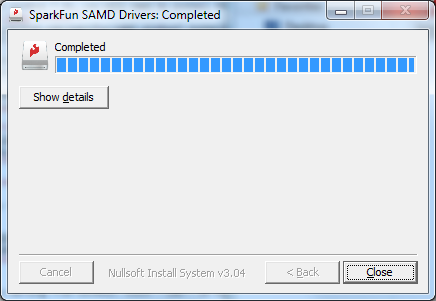
Your Windows 7 will begin installing the driver. This should take a few seconds. When the drivers have installed, hit the "Close" button to exit out of the installer.
What is UF2?
UF2 stands for USB Flashing Format, which was developed by Microsoft for PXT (now known as MakeCode) for flashing microcontrollers over the Mass Storage Class (MSC), just like a removable flash drive. The file format is unique, so unfortunately, you cannot simply drag and drop a compiled binary or hex file onto the SAMD51 Thing Plus. Instead, the format of the file has extra information to tell the processor where the data goes, in addition to the data itself.
For Arduino users, the UF2 bootloader is BOSSA compatible, which the Arduino IDE expects on ATSAMD boards. For more information about UF2, you can read more from the MakeCode blog, as well as the UF2 file format specifiation.
Double-Tap to Launch the Bootloader
The bootloader is what allows us to load code over a simple USB interface. To upload code, you will need to manually enter bootloader mode by rapidly double-tapping the reset button (after hitting the reset button once, you have about half a second to hit it again). The board will remain in bootloader mode until power cycles (happens automatically after uploading code) or the reset button is hit again (once).
On the SAMD51 Thing Plus, the there are a clues to if it is in bootloader mode:
- The D13 LED indicator will be a solid blue (may appear to be slowly fading or blinking).
- Board will show up under a different COM port.
- The board will appear as a USB mass storage device under the name 51THINGBOOT.
Driver Verification
To verify that your driver is working, you should see the difference in the following pictures after plugging in your SparkFun SAMD51 Thing Plus. Alternatively, once you have the Arduino IDE installed, you should also see a change in the number of available Serial/COM Ports (you may need to restart the Arduino IDE for the board to populate).
Windows
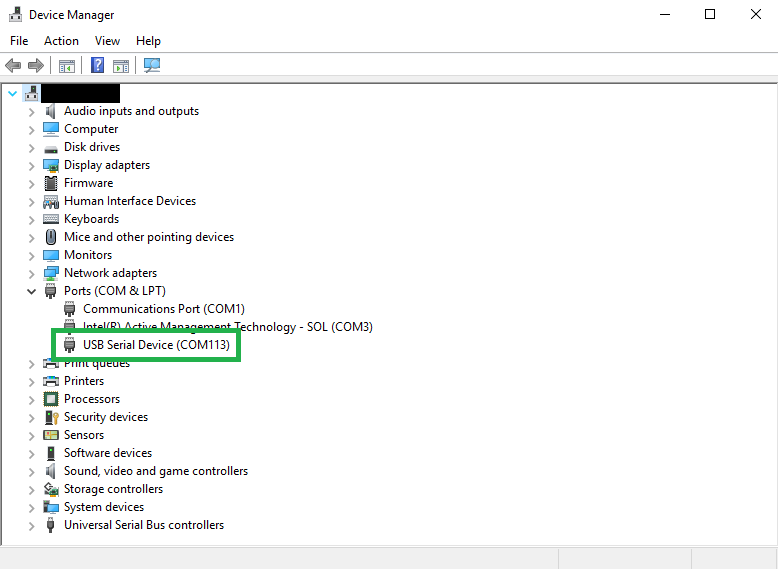
Check that the board shows up in your device manager. You can click the Start or ⊞ (Windows) button and type "device" to quickly search for the application. (*On Windows 10, the quick search function is picky on the spelling of the application you are searching for. For example, you may get results using "devi" and none for "device".)
Mac OSX
Open the Terminal and run the following command ls /dev/cu.* in the Terminal and check for the following changes (your board may show up under a different device name). To open the Terminal, open your Applications folder, Utilities folder, then double-click on Terminal. Otherwise, press ⌘ (Command) + space bar (Space Bar) to launch Spotlight and type "Terminal," then double-click the search result.
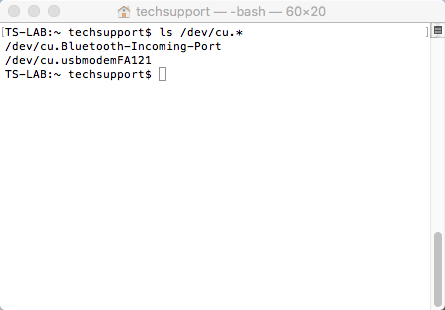
ls /dev/cu.*
Raspbian
Run the following command ls /dev/ttyACM* in the CLI/Terminal and check for the following changes (your board may show up under a different device name).
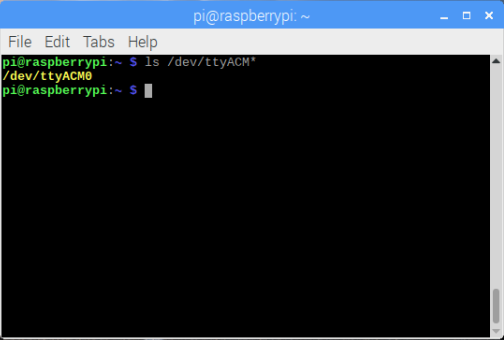
ls /dev/ttyACM*