Qwiic ToF Imager - VL53L5CX Hookup Guide
Contributors:
 Nate, Ell C
Nate, Ell C 
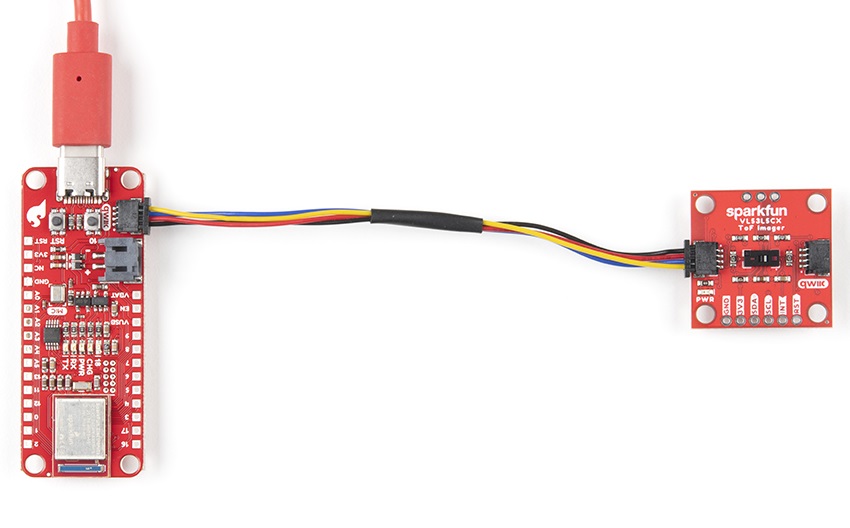
Hardware Hookup
A note on choosing a board: The VL53L5CX is unique in that it requires its firmware to be loaded at power-on over the I2C bus. Because this firmware is ~90k bytes, we recommend a microcontroller with enough flash to store VL53L5CX's firmware as well as your program code. Sorry, Uno's are out. But didn't you want an excuse to try out something new? We recommend choosing either an Artemis Thing Plus or an ESP32 Thing Plus board as your development board.
Using the Qwiic system, assembling the hardware is simple. All you need to do is connect your VL53L5CX Imager Breakout to your chosen development board with a Qwiic cable or adapter cable. If Qwiic is not your thing, or if your dev board doesn't have one built in you can always solder directly to the I2C pins. If you are not using a Qwiic-enabled board, make sure your input voltage and logic are either running at 3.3V or you are shifting the logic level from whatever logic your controller runs at to 3.3V.
Qwiic ToF Imager - VL53L5CX
Click the image for a closer view
Qwiic Mini ToF Imager - VL53L5CX

Click the image for a closer view
Before Use: Make sure to remove the vacuum tape from the VL53L5CX sensor before first use!