Qwiic Distance Sensor (VL53L1X, VL53L4CD) Hookup Guide
 bboyho,
  Elias The Sparkiest,
  Englandsaurus
Hardware Assembly
Arduino Examples
If you ordered a Qwiic Shield, you will need to assemble your Qwiic Shield. Head over to the tutorial to solder the headers to the board. Depending on the microcontroller and shield you've chosen, your assembly may be different, but here's a handy link to the Qwiic Shield for Arduino and Photon Hookup Guide to get you started!
Qwiic Shield for Arduino & Photon Hookup Guide
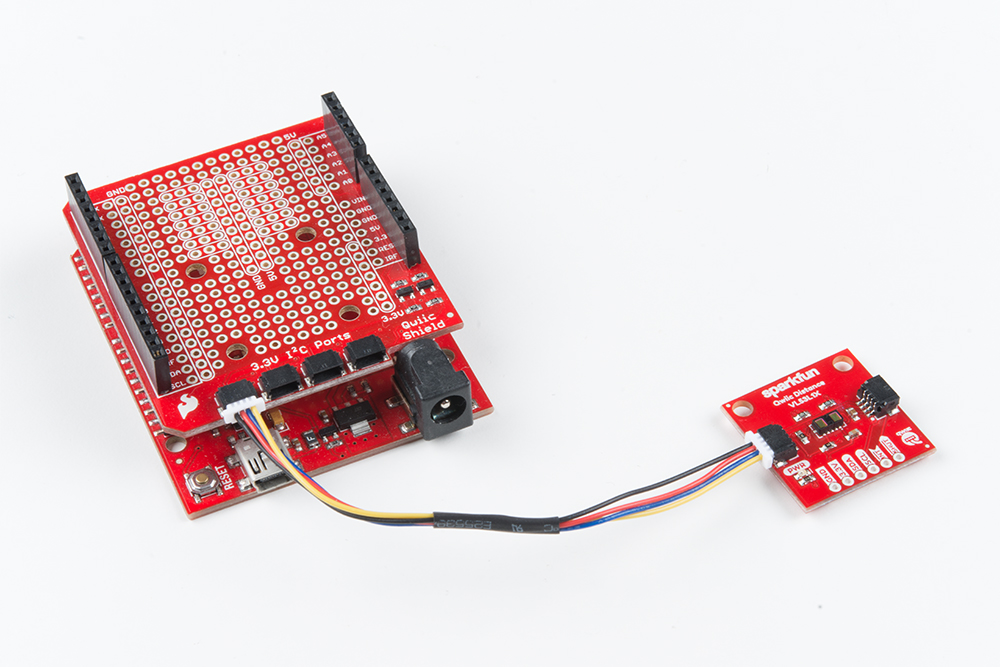
With the shield assembled, SparkFun's Qwiic environment means that connecting the sensor could not be easier. Just plug one end of the Qwiic cable into either the VL53L1X or VL53L4CD breakout, and the other end into the Qwiic Shield and you'll be ready to upload a sketch and figure out how far away you are from that thing over there. It seems like it's too easy too use, but that's why we made it that way!
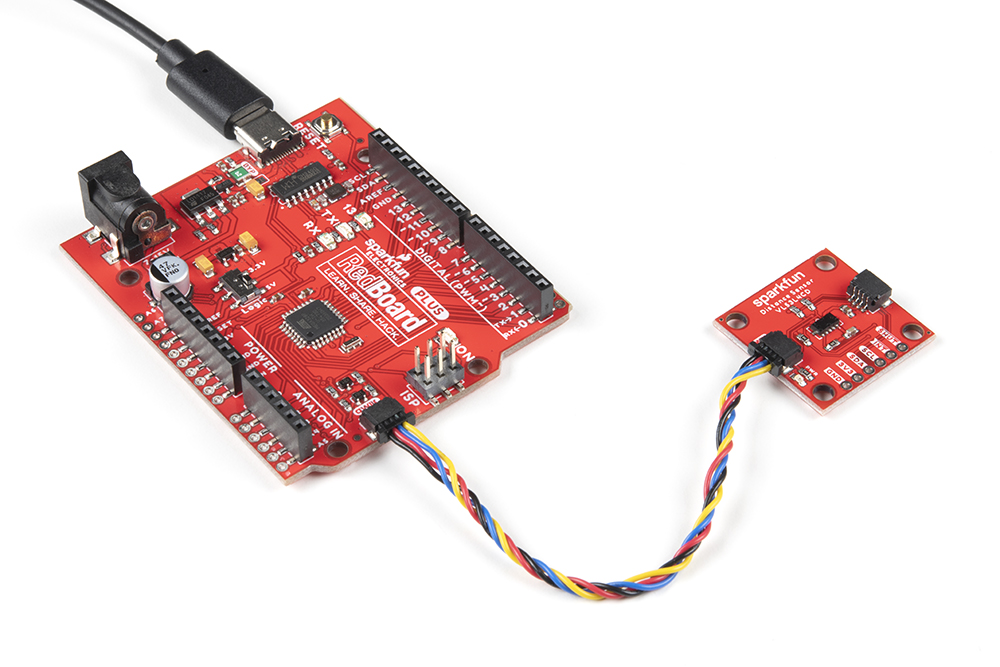
Of course, you can avoid soldering header pins to a board if you ordered a RedBoard with a built-in Qwiic connector like the RedBoard Plus. Below is an image of the VL53L4CD connected through the board's Qwiic connector. While we set LOGIC switch to 5V side on the RedBoard Plus, all logic is translated to 3.3V between the ATmega328P and the Qwiic connector.
Raspberry Pi Examples
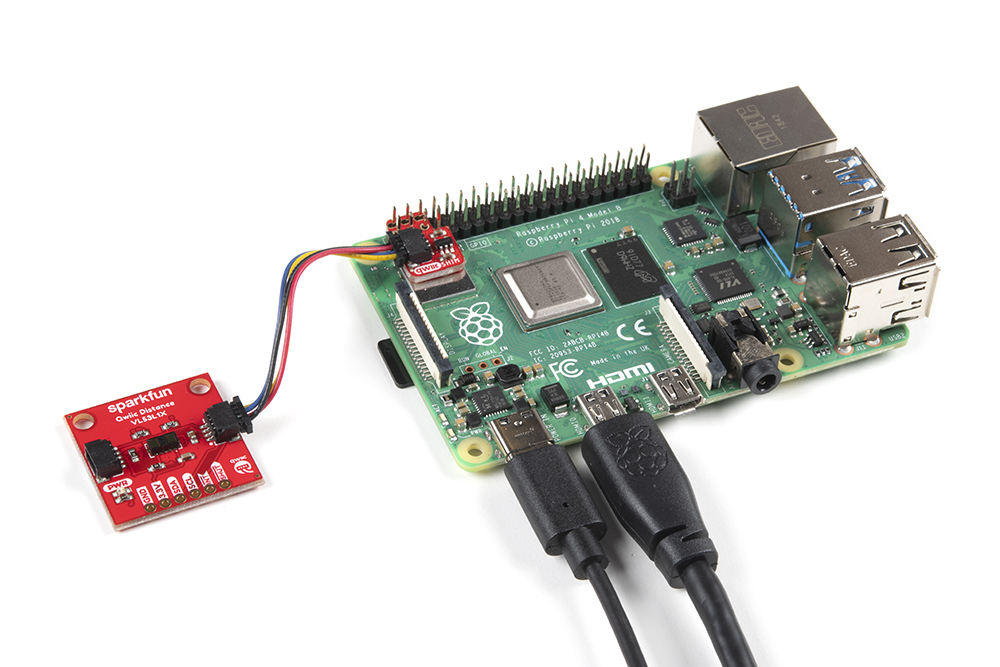
We'll assume that you have a Raspberry Pi flashed with an image and set up for I2C at this point. To connect the sensor, all you will need to is slide in the Qwiic SHIM for the Raspberry Pi's GPIO header and insert a Qwiic cable between the two boards.
Qwiic SHIM for Raspberry Pi Hookup Guide
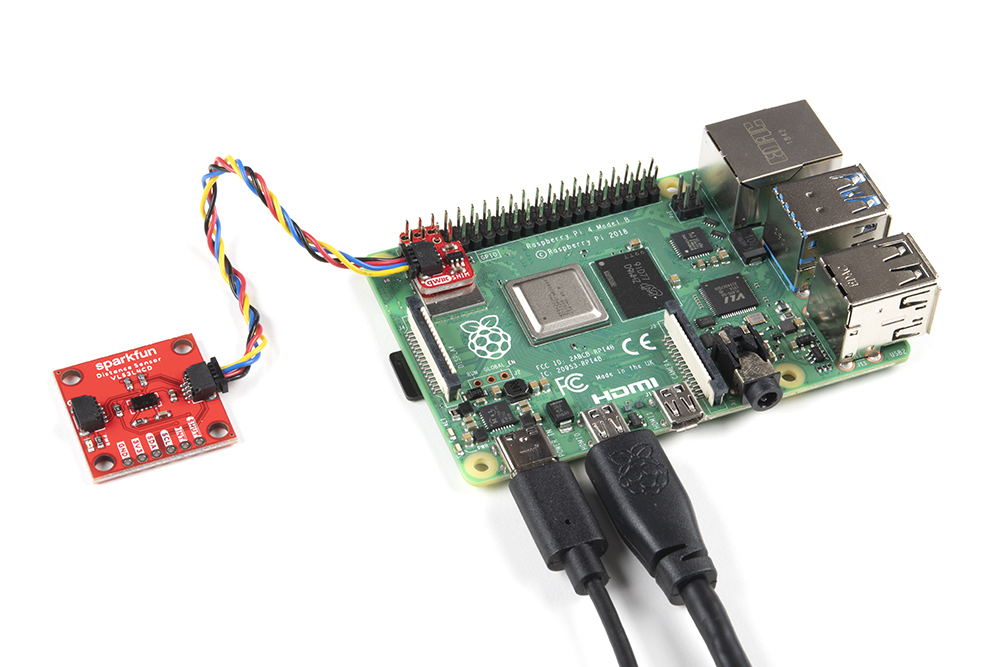
Once connected, your setup should look similar to the images below at a minimum. You may need to connect/disconnect peripherals (i.e. mouse, keyboard, monitor) to the Raspberry Pi depending on your project's needs.
 |
 |
| VL53L1X connected to a Raspberry Pi using a Qwiic SHIM |
VL53L4CD connected to a Raspberry Pi using a Qwiic SHIM |