Qwiic Distance Sensor (VL53L1X, VL53L4CD) Hookup Guide
Arduino Example Code
Now that we have our library installed and we understand the basic functions, let's run some examples for our distance sensor to see how it behaves.
Example 1 - Read Distance
To get started with the first example, open up File > Examples > SparkFun VL53L1x 4M Laser Distance Sensor > Example1_ReadDistance. In this example, we begin by creating a SFEVL53L1X object called distanceSensor with our wire port, Wire, and then our shutdown and interrupt pins. Then we initialize our sensor object in the setup() loop. The code to do this is shown below and is repeated in some form in all of the examples.
language:c
#include <Wire.h>
#include "SparkFun_VL53L1X.h"

//Optional interrupt and shutdown pins.
#define SHUTDOWN_PIN 2
#define INTERRUPT_PIN 3

SFEVL53L1X distanceSensor(Wire, SHUTDOWN_PIN, INTERRUPT_PIN);

void setup(void)
{
  Wire.begin();

  Serial.begin(9600);
  Serial.println("VL53L1X Qwiic Test");

  if (distanceSensor.init() == false)
    Serial.println("Sensor online!");

}
Once we've initialized our sensor, we can start grabbing measurements from it. To do this, we send some configuration bytes to our sensor using distanceSensor.startRanging() to initiate the measurement. We then wait for data to become available and when it does, we read it in, convert it from millimeters to feet, and print it out over serial. The void loop() function that does this is shown below.
language:c
void loop(void)
{
  distanceSensor.startRanging(); //Write configuration bytes to initiate measurement
  int distance = distanceSensor.getDistance(); //Get the result of the measurement from the sensor
  distanceSensor.stopRanging();

  Serial.print("Distance(mm): ");
  Serial.print(distance);

  float distanceInches = distance * 0.0393701;
  float distanceFeet = distanceInches / 12.0;

  Serial.print("\tDistance(ft): ");
  Serial.print(distanceFeet, 2);

  Serial.println();
}
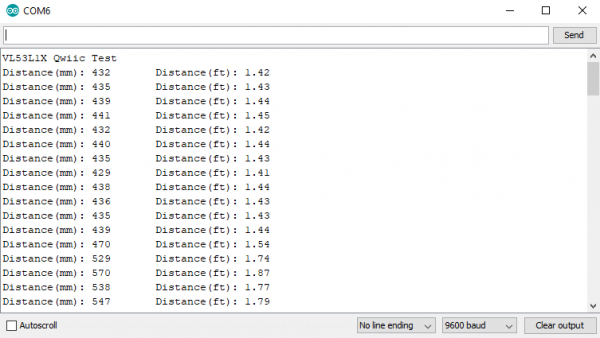
Opening your serial monitor to a baud rate of 9600 should show the distance between the sensor and the object it's pointed at in both millimeters and feet. The output should look something like the below image.
Example 2 - Set Distance Mode
In this example, we'll change the distance mode of the VL53L1X. The default long range mode is the most robust as far as sample rate and range are concerned, but for a slightly higher sample rate, you can bring the range down to short (~1.3M). To get started with the second example, open up File > Examples > SparkFun VL53L1x 4M Laser Distance Sensor > Example2_SetDistanceMode. The main difference between this example and the previous example is that we call distanceSensor.setDistanceModeShort to change the range of our sensor to short range. Although this feature is available, we'd recommend sticking with long range as it is the most robust.
Example 3 - Status and Rate
In the third example, we'll read and average our distance as well as read the sample rate and status of each measurement. To get started with the third example, open up File > Examples > SparkFun VL53L1x 4M Laser Distance Sensor > ExampleStatusandRate. The status of a measurement can be any of 8 values. Our void loop() interprets the value returned by distanceSensor.getRangeStatus() and prints that value over serial. The below table shows the possible values of rangeStatus and their corresponding errors.
| Range Status | Error |
|---|---|
| 0 | Valid measurement |
| 1 | Raised if sigma estimator (uncertainty in measurement) check is above the internal defined threshold |
| 2 | Raised if signal value is below the internal defined threshold |
| 4 | Raised when phase is out of bounds |
| 5 | Raised in case of HW or VCSEL failure |
| 7 | Wrapped target, not matching phases |
| 8 | Internal algorithm underflow or overflow |
| 14 | The reported range is invalid |
In the example code, notice how the sketch stores our previous values in the array history so that the average distance can also be calculated. Uploading this sketch to your microcontroller and opening the serial monitor to a baud rate of 9600 should give you an output similar to the image shown below.
Example 4 - Set Intermeasurement Period
The fourth example allows you to change the time alotted for a measurement. The VL53L1X will send out a laser pulse and then listen for the alotted time. We'd recommend 20, 33, and 100 ms for short, medium and long distance modes respectively. To open up the example, head to File > Examples > SparkFun VL53L1x 4M Laser Distance Sensor > Example4_SetIntermeasurementPeriod. There's not much that needs to be done to change the intermeasurement period other than a call to distanceSensor.setIntermeasurementPeriod(33) to change the time alotted time for a measurement to 33 ms. This will give us a data rate of roughly 30 Hz, lengthening the intermeasurement period will give us a lower sample rate, but will yield higher accuracy at longer ranges. Opening the serial monitor should yield an output similar to example 1.
Example 5 - LCD Demo
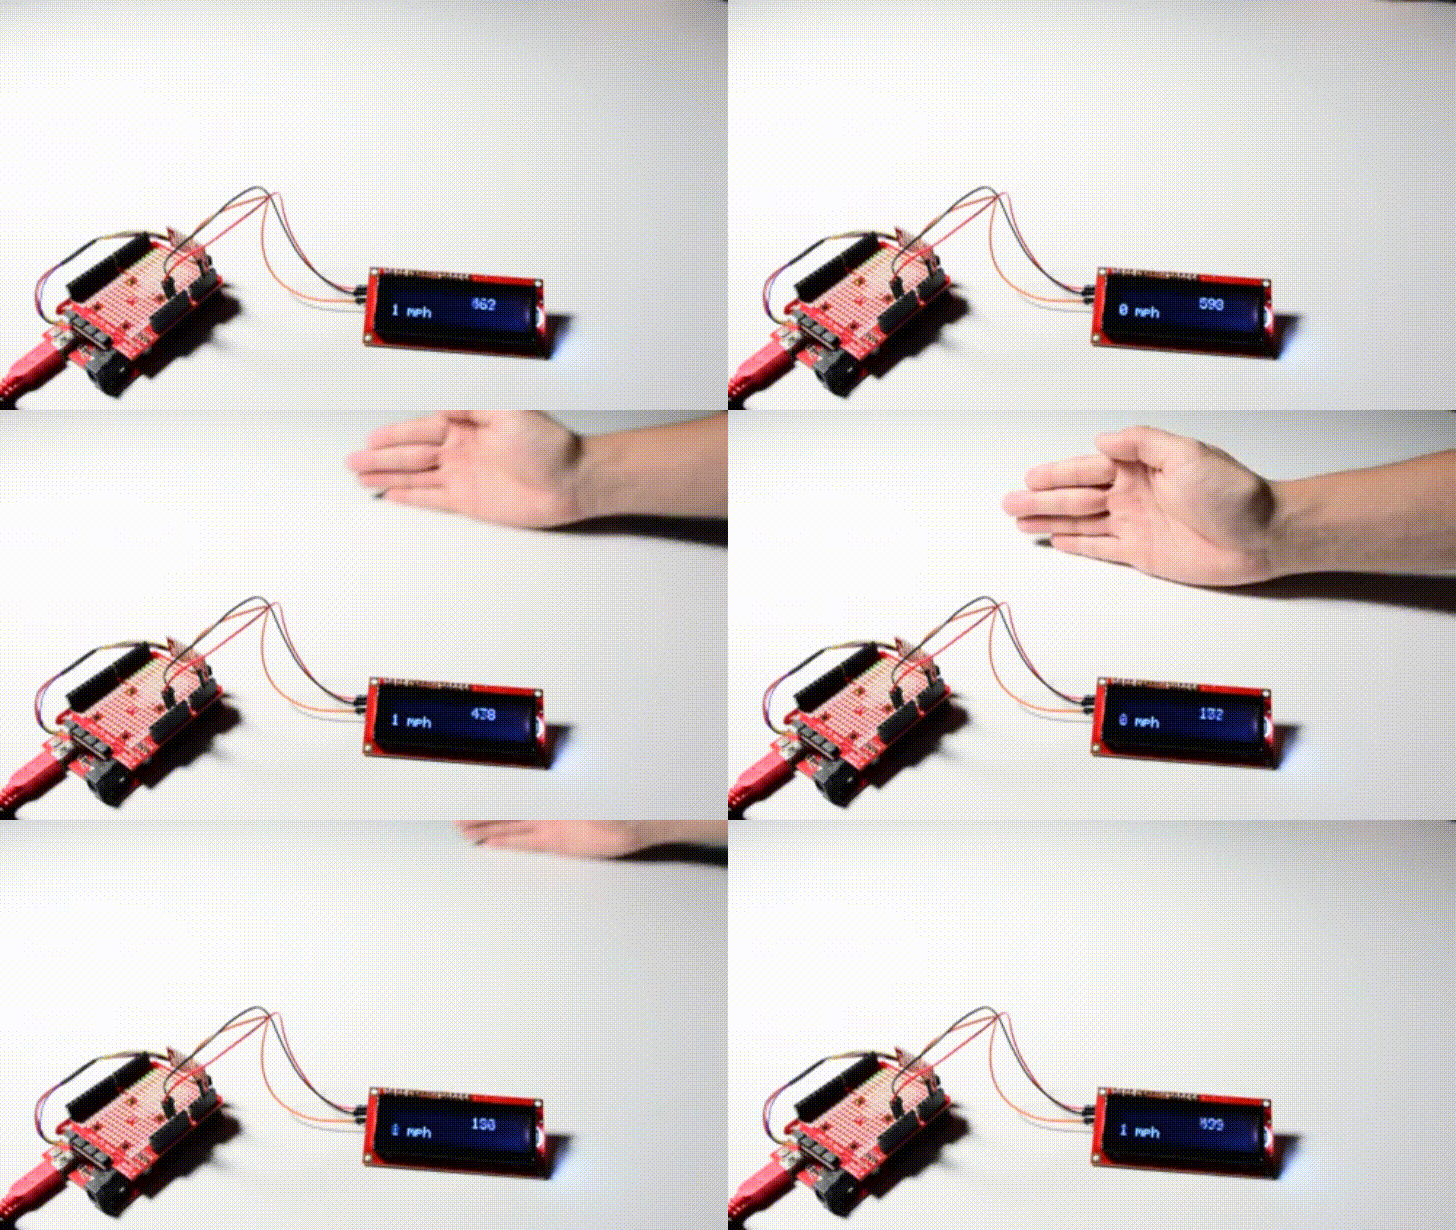
The fifth example requires a serial enabled LCD screen for us to write our distance values to. If you haven't played around with a Serial enabled LCD before, checkout our hookup guide on the matter. To get started with the fourth example, open up File > Examples > SparkFun VL53L1x 4M Laser Distance Sensor > Example5_LCDDemo. We'll first need to connect the RX pin of our Serial LCD to pin A3 on our Arduino. Connect 5V and ground on the LCD and the backlight should light up. Notice how we also include the SoftwareSerial library. Uploading the sketch to our Arduino then takes in our sample rate and distances. By using these values, it calculates a velocity. Like the sketch before, distances are stored in an array. The sketch uses these values in the array to calculate velocity and the velocity is then displayed along with the current distance on the LCD. The output on the LCD should look something like the below GIF.


