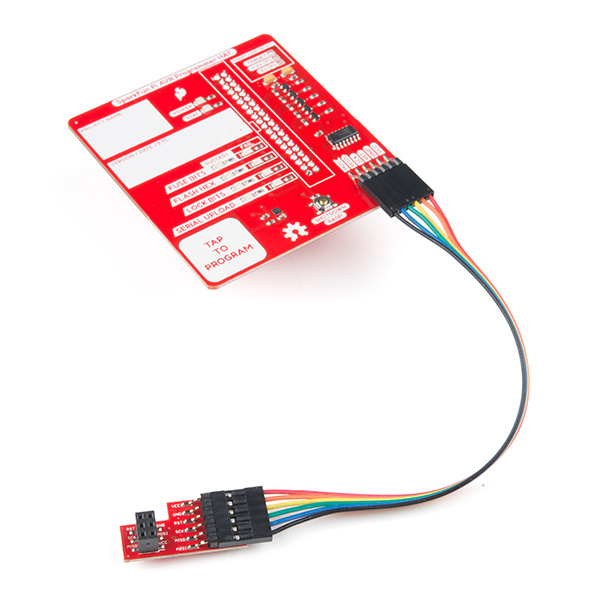
Pi AVR Programmer HAT Hookup Guide
Introduction
In this tutorial we will use a Pi AVR Programmer HAT and a Raspberry Pi 3B+ to program an ATMega328P target IC (RedBoard). We will program the Arduino bootloader over SPI using the capsense pad to engage, and then do some programming using avrdude in the command line. We will also cover how the Pi AVR Programmer HAT hardware works in conjunction with Python, avrdude, and shell command files.
SparkFun Pi AVR Programmer HAT
DEV-14747The Pi AVR Programmer HAT makes it easy to program AVRs directly from the SPI hardware pins on any Raspberry Pi. It was originally designed as an in-house solution for SparkFun production, but now is offered as a robust programming tool for anyone to purchase. It is by far one of the fastest, most reliable, and hack-able (fully open sourced) AVR programming solutions available. It can be used directly from the command line using avrdude commands, or with some simple setup steps, it can function as a stand-alone programmer with capsense-pad engage and status leds!
All of the design files, firmware, and example programming files can be found here:
There are many reasons for programming your AVR via an in-system programmer (ISP):
- If your AVR doesn't have a bootloader on it, it's probably the only way to load code.
- ISP provides a faster and more reliable code upload.
- If your project requires that your hardware UART pins (RX/TX) be connected to another device, this can conflict with serial uploading of code. ISP programming does not require using these pins. Instead, it uses MOSI/MISO/SCK/RESET -- Arduino pins D11/D12/D13/RESET. This means you can leave RX and TX connected during development and re-program your AVR with new code without un-plugging and re-plugging any of your programming lines.
- With ISP, you can overwrite the bootloader and squeeze out some extra flash space.
- ISP allows you to poke at the fuse bits to change many settings, including the brown-out voltage.
Covered In This Tutorial
In this tutorial we will introduce you to all of the important aspects of the Pi AVR Programmer HAT. It's split into a series of sections, which cover:
- Board Overview -- A look at the hardware components that make up the Pi AVR Programmer HAT.
- Raspberry Pi Setup -- To get up and programming, there is a little bit of setup work to do on your Raspberry Pi. Here, we will show what settings to change and what files need to be modified and/or copied.
- Closer Look at the Repository Files -- Here you'll find a more detailed description of each file necessary to setup your Pi.
- Hardware Hookup -- How to hookup the Pi AVR Programmer from your Raspi to the example Target AVR.
- ISP Programming: Stand-Alone -- How to use the HAT in stand-alone mode and program an arduino bootloader (or any hex file) via SPI onto an ATMega328p target IC (the Redboard).
- ISP Programming: Command Line -- A more advanced, command-line-based approach to using the Pi AVR Programmer HAT.
- ISP Programming: Within the Arduino IDE -- How to use the HAT from within the Arduino IDE. A nice one-click solution for programming your Arduino with the speed of ISP.
- Speed Test -- We take the HAT for a speed test and see just how fast it goes!
Required Materials
To complete this tutorial, you will need the following hardware. You may not need everything though depending on what you have. Add it to your cart, read through the guide, and adjust the cart as necessary.
Suggested Reading
To read even more about the history behind this project and design choices, check out the full tutorial/write up here:
Raspberry Pi Stand-Alone Programmer
Whether you're a beginner or experienced electronics enthusiast, the Pi AVR Programmer HAT should be easy to get up-and-running. If you've programmed an Arduino before, you'll be well-prepared for the next step. Here are some addtional tutorials we'd recommend reading before continuing on with this one.
