micro:bot Kit Experiment Guide
 D___Run___,
  TheDarkSaint,
  bboyho, Ell C
 Experiment 5: Controlling a Servo - Battle Bot
Introduction
Your robot should do something more than just drive around! Maybe control a small robotic arm, a gripper or even a weapon of some kind. In this experiment you will integrate servo motors with your robot to build a Battle Bot with Jousting Lances. This experiment combines all the elements you've learned so far in this tutorial.
Parts Needed
You will need the following parts:
- 1x micro:bit board (Not Included with Kit)
- 1x Micro-B USB Cable (Not Included with Kit)
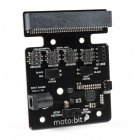
- 1x moto:bit Carrier Board
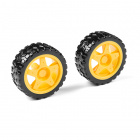
- 2x Wheels
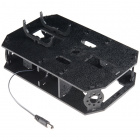
- 1x Assembled Shadow Chassis
- 2x Hobby Gear Motors
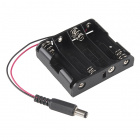
- 1x 4xAA Battery Holder
- 4x AA Batteries (Not Included with Kit)
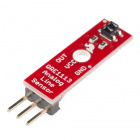
- 3x Analog Line Following Sensors
- 3x 3-Pin Jumper Wires
- 2x Hobby Servos
Didn't get the kit? Have no fear! Here are the parts you will need to complete this experiment...


micro:bit Board
DEV-14208You Will Also Need
To complete this experiment, we are going to also need a few more components.
- 2x Skewers (Not Included with Kit)
- 2x Ping Pong Balls (Optional, Not Included with Kit)
- Hot Glue or Tape (Not Included with Kit)
- Note: 3M Command Walls Strips and Servo Tape can also be used as well (Not Included with Kit)
Suggested Reading
Hobby Servo Tutorial
Getting Started with the micro:bit
Introduction to the Servo Motor
Unlike the action of most motors that continuously rotate, a servo motor can rotate to and hold a specific angle until it is told to rotate to a different angle. You can control the angle of the servo by sending it a Pulse Width Modulation (PWM) pulse train (turning a pin on and off really fast at different intervals); the PWM signal is mapped to a specific angle from 0 to 180 degrees in the servo block with MakeCode.

Inside of the servo there is a gearbox connected to a motor that drives the shaft. There is also a potentiometer that gives feedback on the rotational position of the servo, which is then compared to the incoming PWM signal. The servo adjusts accordingly to match the two signals.
Hardware Hookup
In this experiment, you will actually be using two different servo motors to create a Battle Bot! One will be used as a "left" jousting lance and the other as the "right". If you look at the servos, you will notice that they have three wires have different colors; red, black and white. Red is the supply voltage, black is ground and white is the signal. Hook the two servos up to the moto:bit at the two labeled servo ports. Make sure you line up ground to ground.
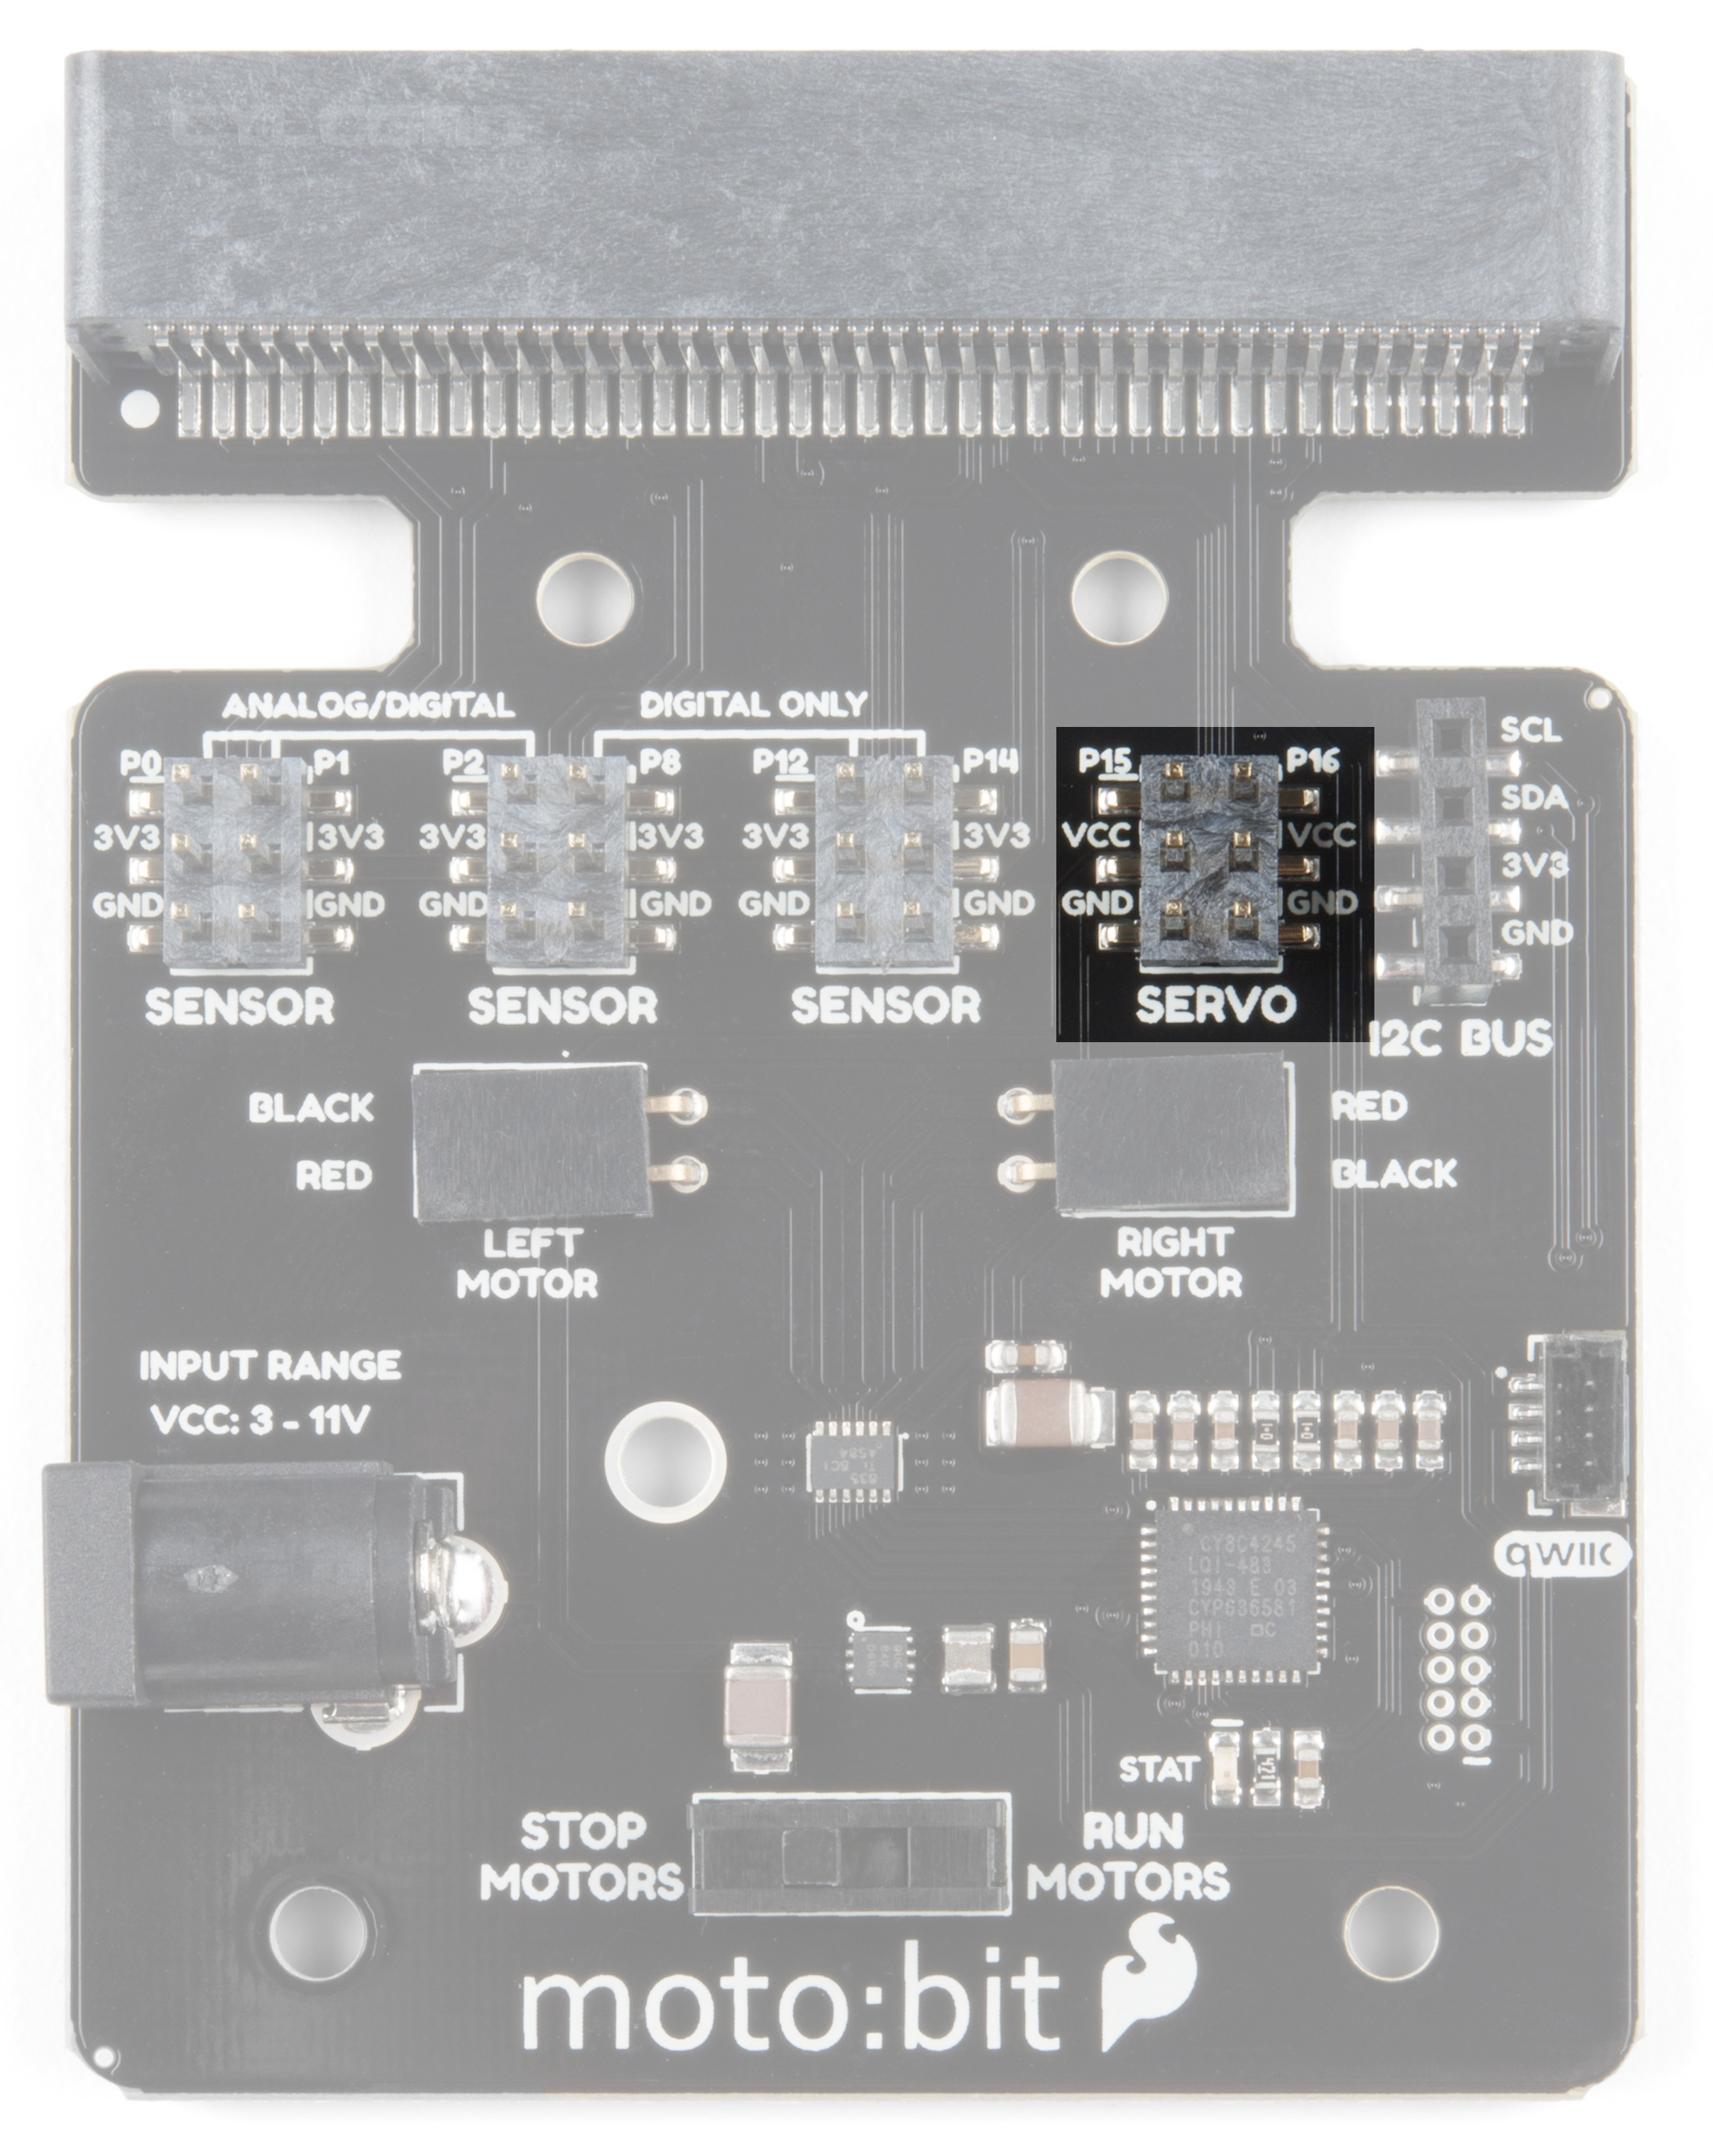
The "left" is connected to pin P15 while the "right" servo is connected to pin P16. Using a bit of hot glue or tape, you can attach the servos to each side of the robot chassis.
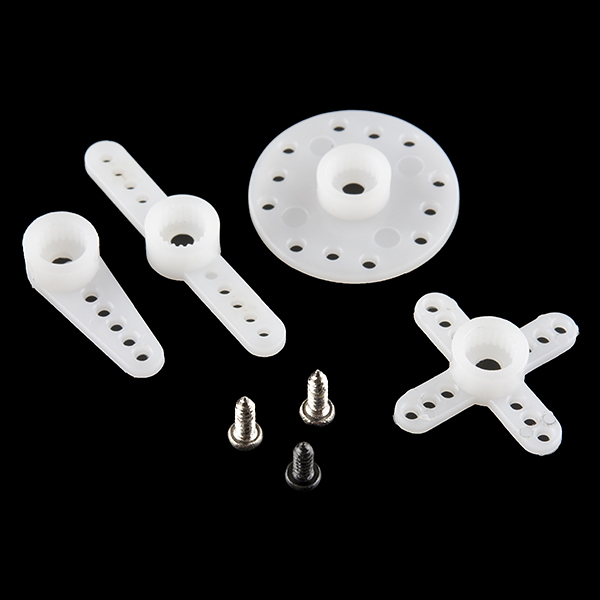
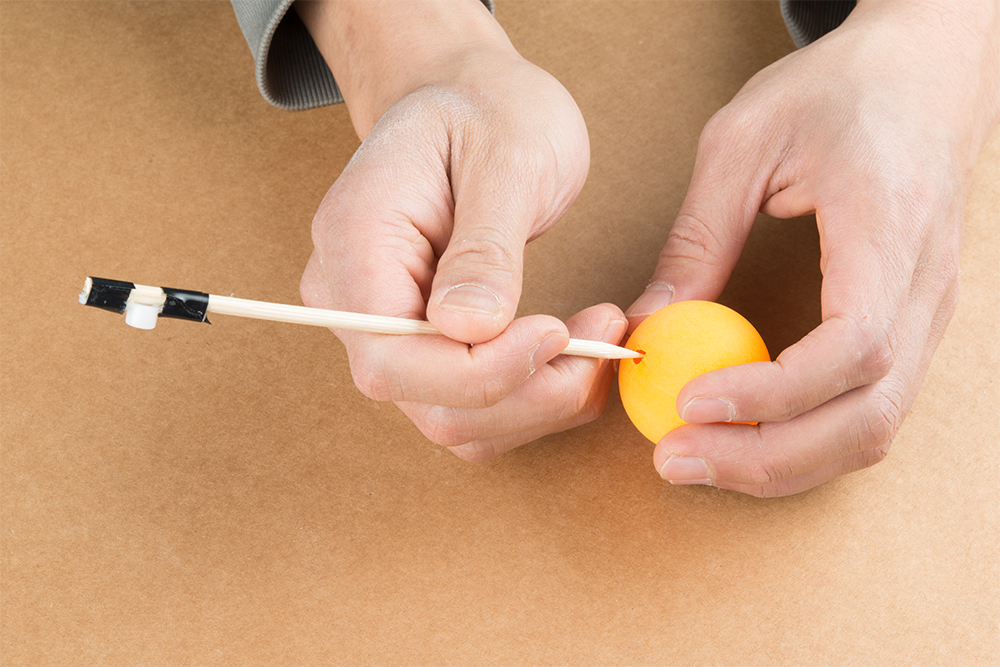
Next, you can build the jousting lances by utilizing some grilling skewers! You will only need two that can be cut down to the needed size. You can either glue or tape each skewer to the servo to the supplied attachments. Each servo set comes with a small bag of attachments as seen below. In this experiment, we utilized the double arm micro horn, but any of them will work.
Don't have any skewers laying around? Be creative here!
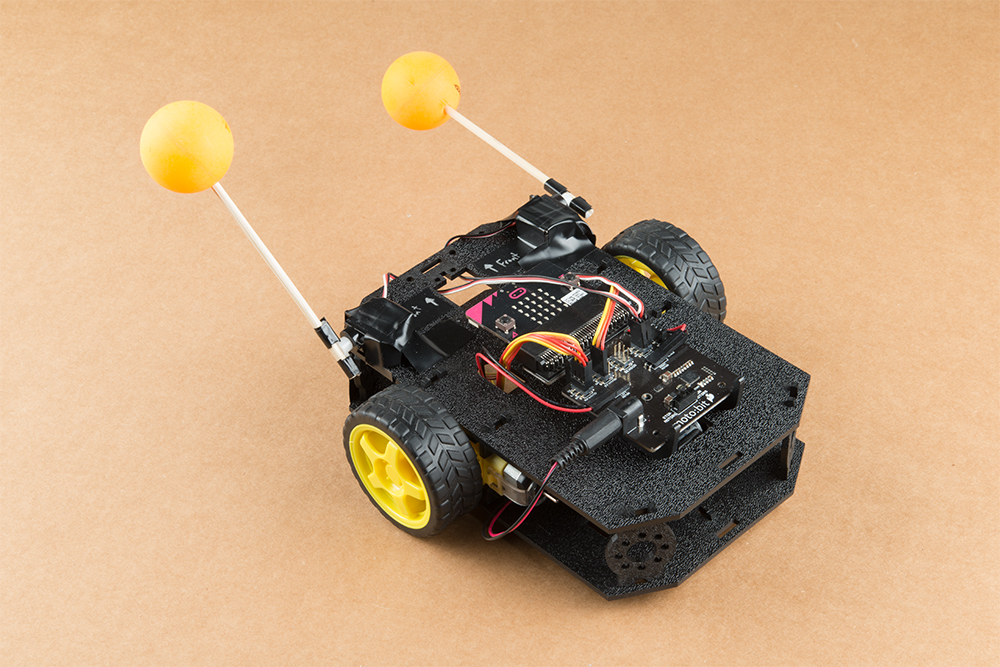
Bot Assembled with Servos
This Battle Bot utilized electrical tape to mount the jousting lances to the servo motors, and it ended up looking something like this...
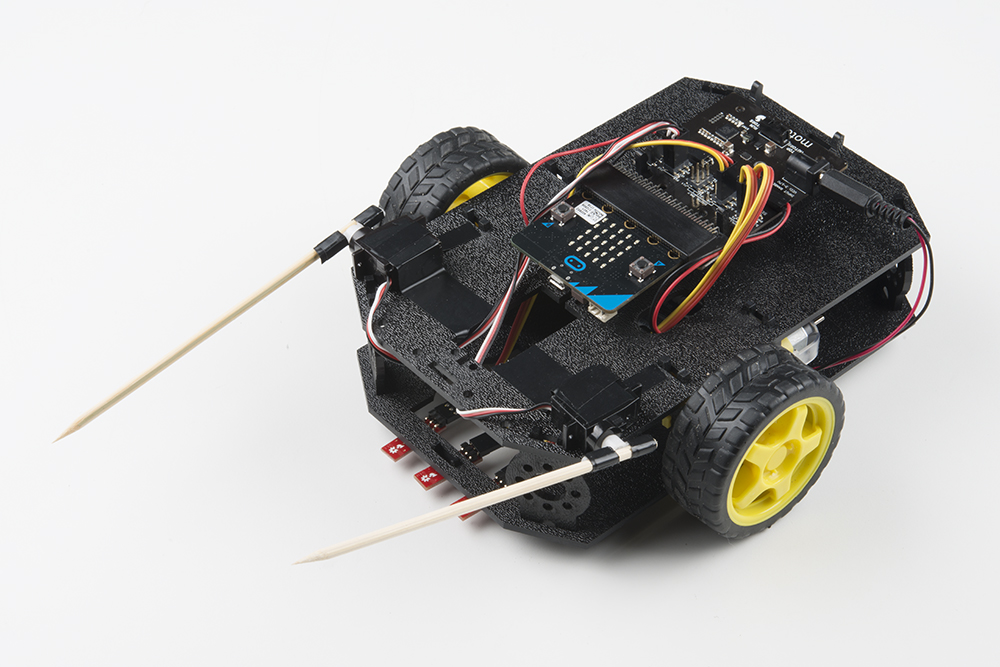
Now, set your contraption aside until you have uploaded your code.
Not as terrifying but safe.
Running Your Script
Be sure to add the moto:bit package as instructed in the Installing the moto:bit Package in MakeCode section of this tutorial.
Now, you can either download the following example script below and drag and drop it onto your micro:bit, or use it as an example and build it from scratch in MakeCode.
Code to Note
Don't be overwhelmed by everything this code has to offer! I know it looks rather menacing, but the truth is that you've already done all of this code in previous experiments.

Servo Write Pin to
The Servo Write Pin to block is found under the Pins drawer and it accepts a pin number that you have a servos signal wire attached to as well as an angle that you want it to rotate to. That's the basics for controlling a servo motor with Microsoft MakeCode!
On Button A, On Button B and On Button A+B
In this example we use the On Button event blocks a lot. They allow us to break out different functions we want without messy if statements.
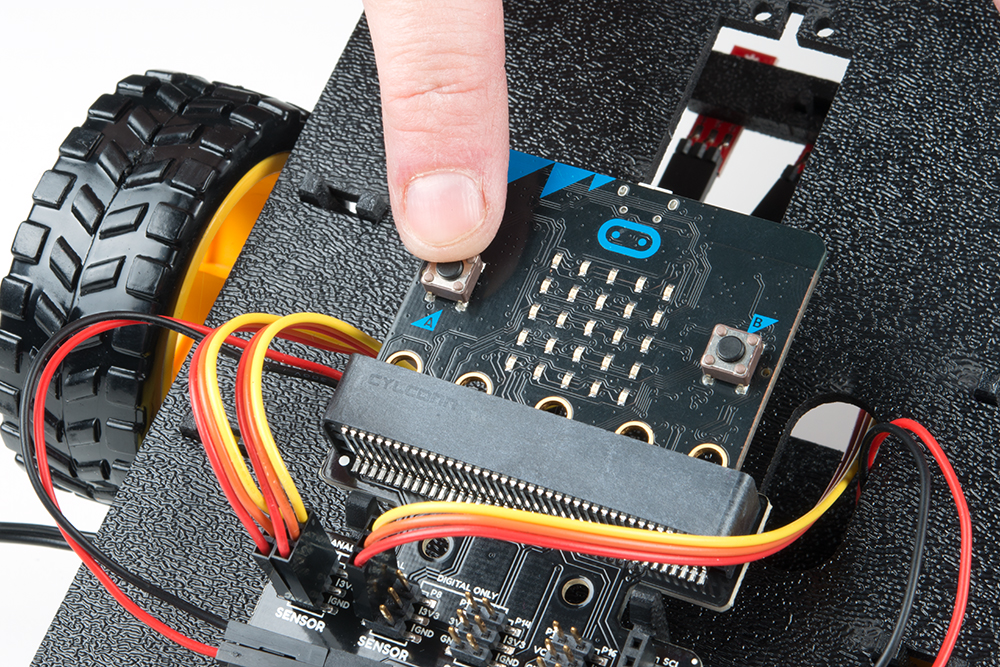
In this program the On Button A event block resets the calibration value for the table surface for the robot to use as a comparison value and also sets the servo positions to 90 degrees.
The On Button B block is used to set servo position to 45 degrees.
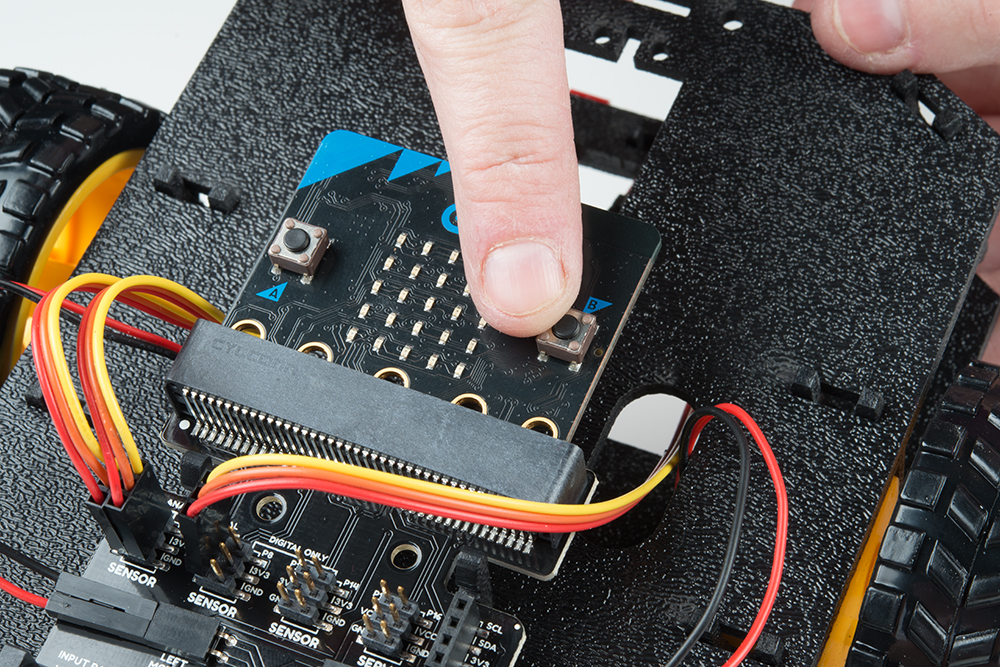
Finally the On Button A+B event block is used to run the program.
If / Then Statements
You may notice that there is a few if / then blocks inside of the if statement in the forever block. This will aid your Battle Bot in making decisions and knowing what it has to do next.
What You Should See
Before running the program, make a thick line (about 12" wide x 6" long) using black electrical tape. This is where your robot will meet with an opposing robot.
When the code initializes, the servo "arms" will move into a starting position and take initial readings for your line sensors to establish a comparison point to the ground environment. Make sure to calibrate it with a black line before starting. Then place each robot at an equal distance away from the line.
Initially, the Battle Bot will not move. Press on buttons A and B at the same time to run the program. The robot will move forward if none of the line sensors detect the black line. If the center line sensor detects a black line, the Battle Bot will immediately start both servos and move backwards. If the left or right line sensors detect a dark surface, the side that detected it will have the corresponding jousting lance start to move while turning away from it. So your Battle Bot is prepared to defend itself from any oncoming situation!
Or figure out a creative way for it to know when to drop something at a specific location. Could you also program it to pick something up?
Troubleshooting
Robot Not Moving - Make sure your motors are hooked up correctly in the motor ports and your motor power switch is set to "RUN Motors", the battery pack is plugged in, and you have fresh batteries.
Moving in Reverse?! - There are two options if you notice the micro:bot moving in the wrong direction. As explained above, you can flip the wiring of your motors or use the
set ____ motor invert to ____block in youron startblock to change what is forward vs. reverse.Servo Moves in the Wrong Direction - Flip your servos, or change your code so that it rotates the correct direction.
Servo Doesn't Move at All! - Double check your connections of the servos to the moto:bit to make sure that they are hooked up correctly.