micro:bot Kit Experiment Guide
 D___Run___,
  TheDarkSaint,
  bboyho, Ell C
 Experiment 1: Driving and Turning
Introduction
The "Hello World" for the robotics world is getting your robot moving! Driving forwards, backwards, and steering is goal #1 when you are dealing with wheeled / moving robots. This experiment will cover just that: getting your robot moving using our moto:bit software package for Microsoft MakeCode. Once you get through this first experiment you will be golden!
Parts Needed
You will need the following parts:
- 1x micro:bit Board (Not Included with Kit)
- 1x Micro-b USB Cable (Not Included with Kit)
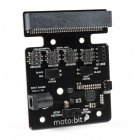
- 1x moto:bit Carrier Board
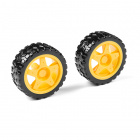
- 2x Wheels
- 1x Assembled Shadow Chassis
- 2x Hobby Gear Motors
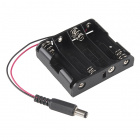
- 1x 4xAA Battery Holder
- 4x AA Batteries (Not Included with Kit)
Didn't get the kit? Have no fear! Here are the parts you will need to complete this experiment. You may not need everything though depending on what you have. Add it to your cart, read through the guide, and adjust the cart as necessary.


micro:bit Board
DEV-14208Suggested Reading
Before continuing on with this experiment, we recommend you be familiar with the concepts in the following tutorial:
Motors and Selecting the Right One
Getting Started with the micro:bit
Introduction to the Motors and Controlling Them
Motors take electrical energy and turn it into mechanical energy through putting a current through a coil of wire that creates a magnetic field. This then interacts with magnets in the motor, causing a push / pull effect. If you do that in a proper spacing and timing, then you can spin a shaft.

The hobby motors used with the micro:bot operate in a similar was as mentioned above, but they have a bit of help; a gear box. The ratio of the gearbox is 120:1, which means that for every 120 rotations of the motor shaft you get one rotation at the end of the gear box. This is a good thing because it gives our robot enough strength (torque) to turn wheels. In this case, our gearbox also changes the axis of the shaft so that we can easily use them to drive our robot.
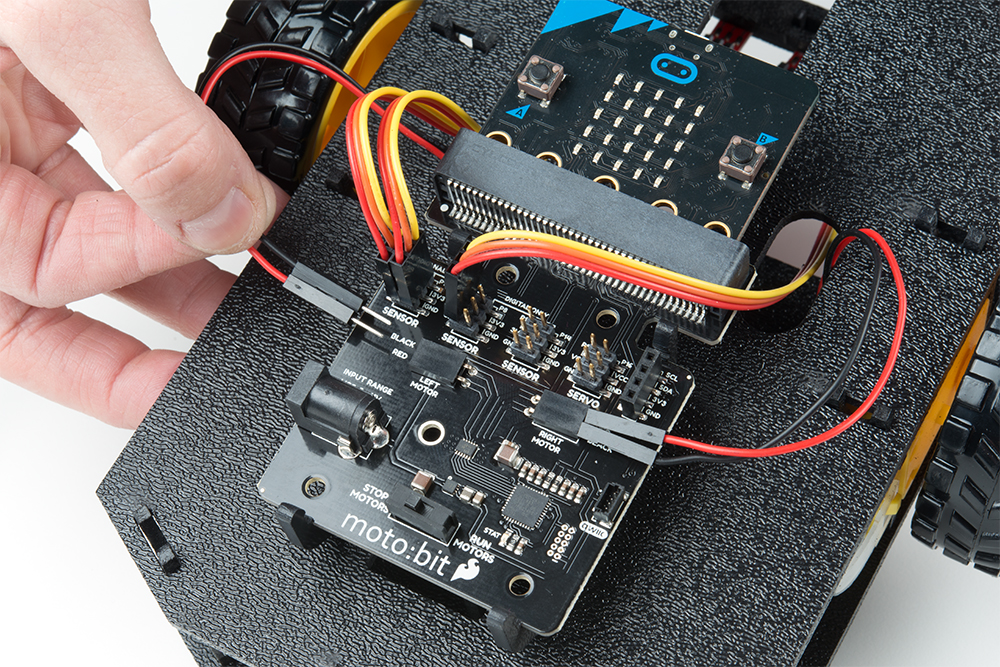
Hardware Hookup
You should have already hooked up the motors during the assembly process of putting the robot together. But, we have a couple of things that we would like you to double check!
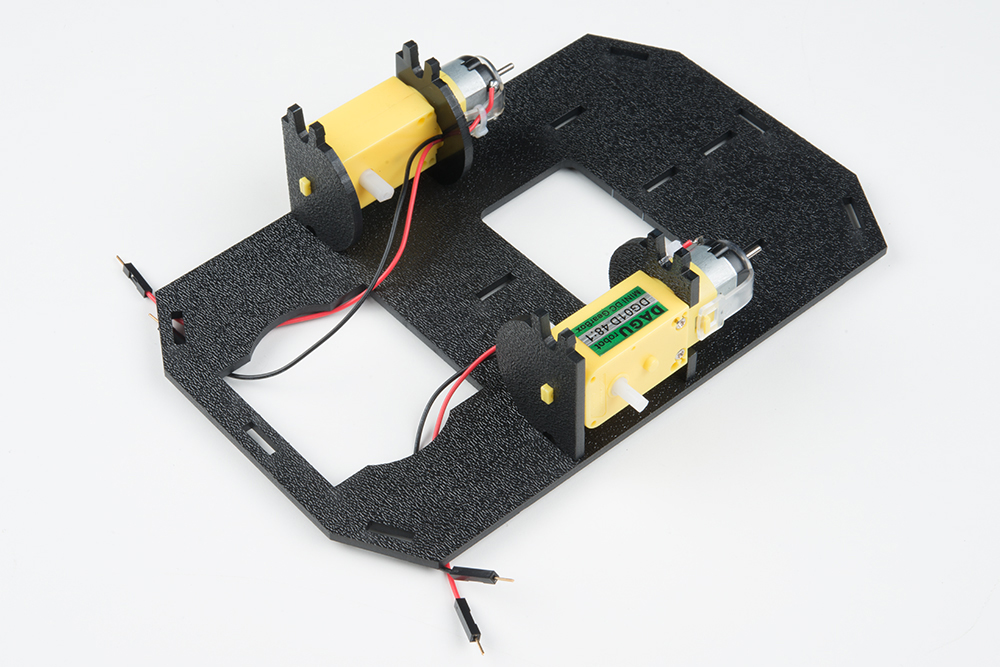
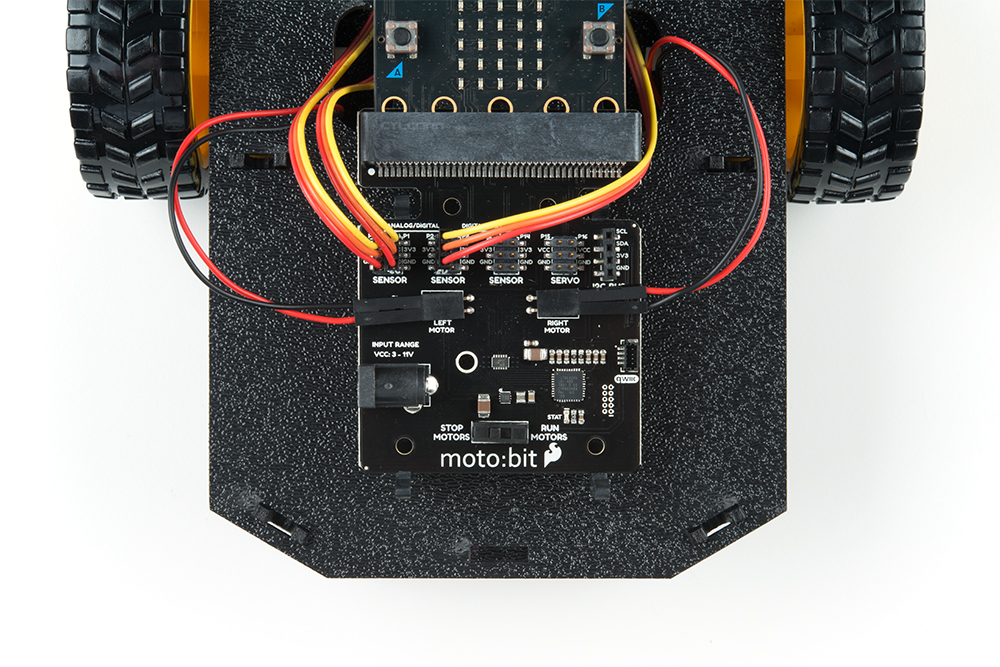
First of all, make sure that your red and black wires are plugged into your moto:bit and that they are in the correct ports. If you look closely the right and left ports are opposite from one another.
Why is that? Well, in robotics the right and left motors are mirrors of one another, which means they go in opposite directions from one another to go forward, hence the ports being backwards. If you plug them in as the same direction and tell both motors to spin in the sam direction, your robot would spin in a circle rather than drive forward! Weird, but true.
Running Your Script
We are going to use Microsoft MakeCode to program the micro:bit. Please open a browser window and navigate to makecode.microbit.org. This should open the MakeCode environment that you used to install the moto:bit package in.
Now, you can either download the following example script below and drag and drop it onto your micro:bit, or use it as an example and build it from scratch in MakeCode.
Code to Note
Let's take a look at the code and what to expect.
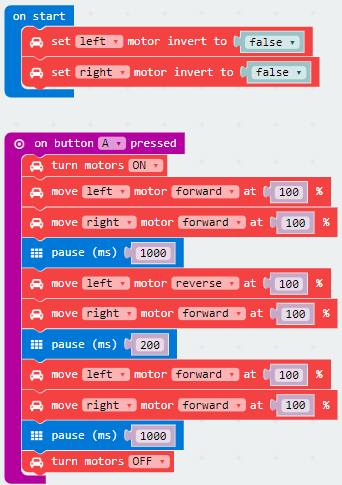
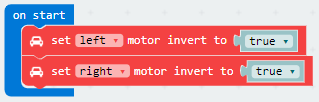
On Start
The code starts by setting each motor channel in the on start code block. Depending on how the motors are wired to the moto:bit, your micro:bot may drive in the opposite direction than what you would expect. The set ____ motor invert to ____ provides the option to switch the motor wires in code without physically rewiring the motors to the moto:bit. Set the left or right motor that you would like to invert. If you want the motor to drive in the opposite direction relative to your setup, select either true or false.
On Button Pressed
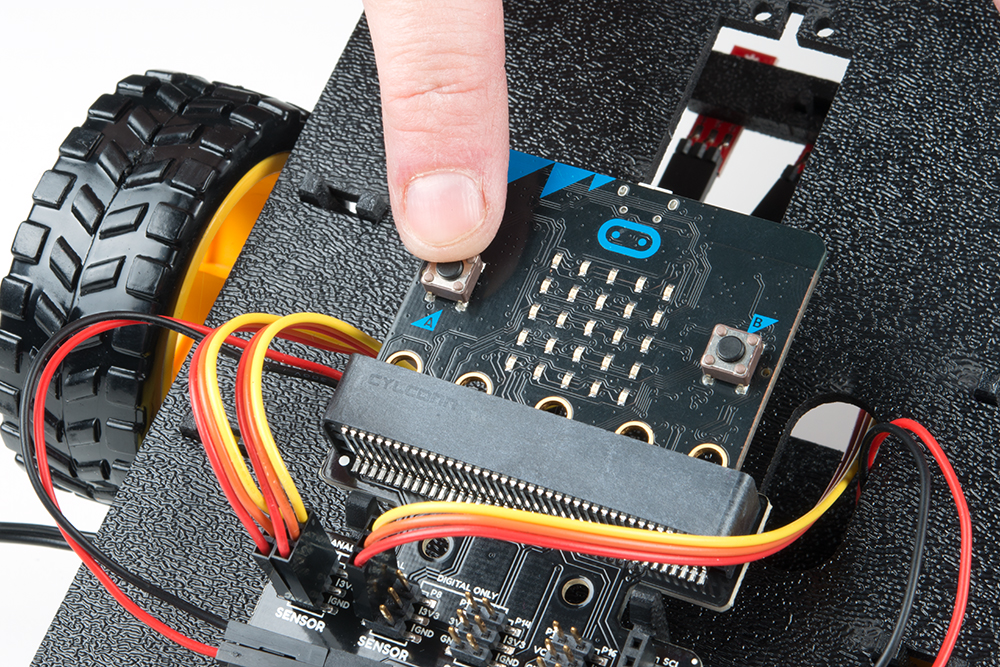
The on button __ pressed code block is an event function. Any code blocks that are placed inside of the block will only execute when that event happens. In this block, when the A button is pressed on your micro:bit your robot will start moving. When it gets to the end of the program it will stop again until you press the A button again.
Turn Motors
The turn motors __ block gives you the ability to turn the motors ON or OFF in software. They are naturally OFF, so anytime you want to drive motors, you need to set them to ON. A good practice is to turn them OFF when your robot completes its task or should not be moving for long periods of time, this saves batteries and wasted power consumption.
Move Motors At
The move ____ motor _______ at _ % block is the basis of the moto:bit software package. You use this block by selecting the values in the drop down menu:
- which motor you want to control (
RIGHTorLEFT) - its direction (
FORWARDorREVERSE) - the throttle / power percentage you would like the motor to spin at (
0-100%)
For your bot to move forward you need to have both motors drive in the same direction. To turn, or pivot, you set the motor directions in an opposite configuration.
Pause
The pause (ms) ____ block is like a code stop sign. It tells the micro:bit to wait for a given amount of time in milliseconds. While it is waiting, whatever you told before the pause will keep happening. So, if you want your robot to drive forward for 1 second, you set the robot's motors to drive forward and then pause for 1000 milliseconds and then have the motors do something else, like stop.
What You Should See
Once your script uploads to your micro:bit, make sure the motors switch is changed from "STOP MOTORS" to "RUN MOTORS." Press the A button on your micro:bit and your robot will drive forward for 1 second, pivot, and the drive forward for another second before stopping. Pressing the button again will have the robot repeat the sequence.
Here is a demo of the micro:bot driving.
But wait? The micro:bot appears to be driving in the reverse relative to the front of the robot even though we told the robot to move forward in the code?!? There are a few reasons why this may be happening. Depending on how the motors were manufactured, they wires may be switched. Or the wires were connected incorrectly.
One method is to use the set ____ motor invert to ____ block for each motor without rewiring the motors. Simply invert the motors setting each to true. The following experiments will invert the motor wire connection relative to how we assembled the robot earlier.
The other method is to physically rewire the motor wires. Simply flip the wire connections for each channel in order for the robot to move forward. Connect the "LEFT MOTOR" channel's red wire to the silkscreen labeled as "BLACK" and black wire wire to the silkscreen labeled as "RED". Then flip the wires for the "RIGHT MOTOR" channel with the right motor. The wiring may look similar to the image shown below on the right. If you flip the wires after this point, make sure to set left motor invert to ____ and set right motor invert to ____ back to false for future experiments.
 |
 |
| Before Flipping the Wires | After Flipping Wires |
Troubleshooting
moto:bit package is not showing up - Try installing it again from the add package option in MakeCode
Micro:Bit Not Showing Up On My Machine - Try unplugging the USB cable and plugging it back in. Also, be sure that you have the cable inserted all the way into your micro:bit
Robot Not Moving - Make sure your motors are hooked up correctly in the motor ports and your motor power switch is set to "RUN Motors", the battery pack is plugged in, and you have fresh batteries.
micro:Bot Not Driving in a Straight Line - Try adjusting left or right motor's % to calibrate.
Moving in Reverse?! - There are two options if you notice the micro:bot moving in the wrong direction. As explained above, you can flip the wiring of your motors or use the
set ____ motor invert to ____block in youron startblock to change what is forward vs. reverse.