micro:bot Kit Experiment Guide
 D___Run___,
  TheDarkSaint,
  bboyho, Ell C
 Experiment 4: Using the Accelerometer
Introduction
Now, what happens when something bumps into your robot? It just stays there and take it from this bully? No! It should move out of the way, or do something. In this experiment you will use the accelerometer on the micro:bit to trigger the robot to move out of the way. If you flip the robot on its back or stand it on end it will stop driving (play dead)!
Parts Needed
You will need the following parts:
- 1x micro:bit board (Not Included with Kit)
- 1x Micro-B USB Cable (Not Included with Kit)
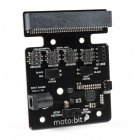
- 1x moto:bit carrier board
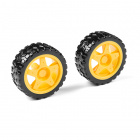
- 2x Wheels
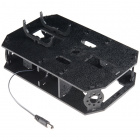
- 1x Assembled Shadow Chassis
- 2x Hobby Gear Motors
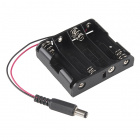
- 1x 4xAA Battery Holder
- 4x AA Batteries (Not Included with Kit)
Didn’t get the kit? Have no fear! Here are the parts you will need to complete this experiment. You may not need everything though depending on what you have. Add it to your cart, read through the guide, and adjust the cart as necessary.


micro:bit Board
DEV-14208Suggested Reading
What is Electricity?
Accelerometer Basics
Getting Started with the micro:bit
Introduction to the Accelerometer
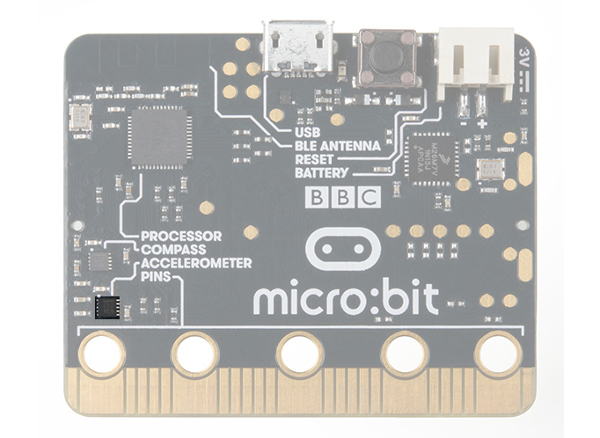
On the back of the micro:bit you can see a number of small chips. One of them is the accelerometer. The micro:bit has an onboard accelerometer that measures gravitational force. Depending on the version that you have, the accelerometer and compass can be on separate ICs or combined into a single IC.
 |
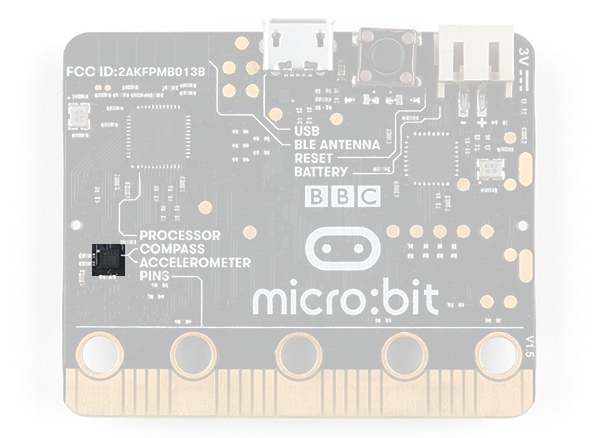 |
| v1.0 w/ Accelerometer on Separate IC | v1.5 w/ Combined Accelerometer and Magnetometer |
An accelerometer is a sensor that measures the gravitational forces pulling on it in all three dimensions of the chip's X, Y and Z axes.
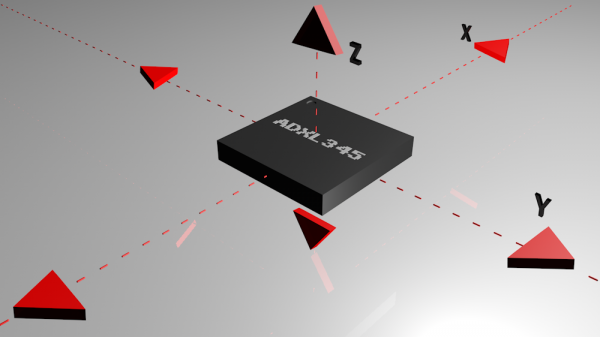
Accelerometers are devices that measure acceleration, which is the rate of change of the velocity of an object. They measure in meters per second squared (m/s2) or in G-forces (g). A single G-force for us here on planet Earth is equivalent to 9.8 m/s2, but this does vary slightly with elevation (and will be a different value on different planets due to variations in gravitational pull). Accelerometers are useful for sensing vibrations in systems or for orientation applications. Vibration is what we are looking for!
Hardware Hookup
You have had the hardware hooked up the whole time! It is on the micro:bit! Feel free to move on.
Running Your Script
Be sure to add the moto:bit package as instructed in the Installing the moto:bit Package in MakeCode section of this tutorial.
Now, you can either download the following example script below and drag and drop it onto your micro:bit, or use it as an example and build it from scratch in MakeCode.
Code to Note
Let’s take a look at the code and what to expect.

On [Accelerometer]
The micro:bit has a built in accelerometer that measures the gravitational forces that are acting upon it. With other microcontrollers this is sometimes hard to use and make sense of the data you receive from the sensor. But, MakeCode has simplified that for you in an event block under the Input drawer (you will see it as On Shake) that allows you to pick a number of different force levels, orientations and even patterns (like shaking it). We use this to detect a number of orientations that you can put your robot in. For example the motors will only be ON in the screen up orientation.
If you tap the robot hard enough it will run / drive away from you. If you flip it over the motors will turn off. Same thing holds true if you place it on its tail with the micro:bit pointing up.
Try playing around with the different events that you can trigger with the accelerometer. Can you get it to detect bumping into an object like the wall and have it respond???
What You Should See
Once your code is loaded to your micro:bit and your motor switch is set to "RUN MOTORS." Your robot should not do anything at first. Give it a good tap / smack on top of the micro:bit. If you apply enough force to it your robot should run away. To stop your robot either flip the robot over to its back the motors should stop, or pick it up and set the robot on end with it sitting on its tail with the micro:bit logo pointing up. To run the program again, return the robot to its wheels right side up and smack it again.
Troubleshooting
Robot Doesn't Move - Double check to make sure you have uploaded the new code to your board. Also, make sure your motor switch is set to the "RUN MOTORS" position.
Moving in Reverse?! - There are two options if you notice the micro:bot moving in the wrong direction. As explained above, you can flip the wiring of your motors or use the
set ____ motor invert to ____block in youron startblock to change what is forward vs. reverse.