LTE Cat M1/NB-IoT Shield Hookup Guide
 jimblom
 Introduction
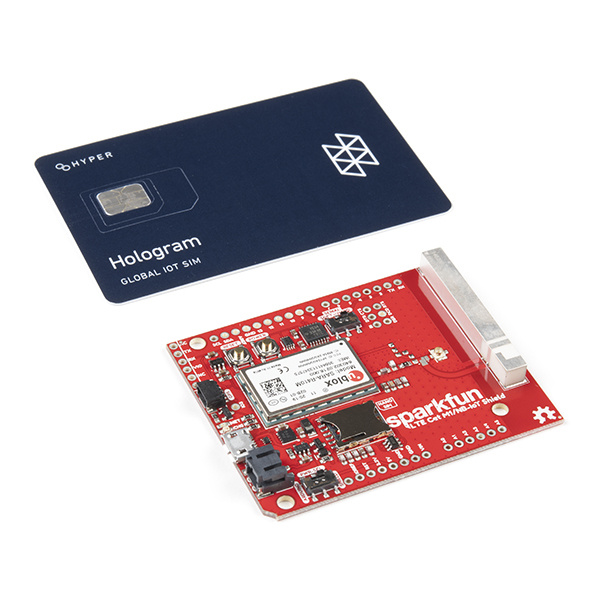
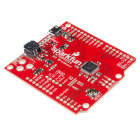
The SparkFun LTE Cat M1/NB-IoT Shield equips your Arduino or Arduino-compatible microcontroller with access to data networks across the globe. It adds wireless, high-bandwidth cellular functionality to your IoT project while maintaining low power consumption and a small footprint.

You can either purchase the SparkFun LTE Cat M1/NB-IoT Shield individually, as in the link above, or packaged with a Hologram SIM card. The Hologram SIM card provides global connectivity on an extremely reasonable pricing model. They also provide software tools like cloud data and SMS messaging and webhooks for routing data from your cell shield to popular web services.
Revision Update: In the latest revision of the SparkFun LTE Cat M1/NB-IoT Shield, we have fixed the AREF pin that was accidentally tied to ground. If users are unsure about which version they purchased, please refer to the pictures of the updated changes, shown below.
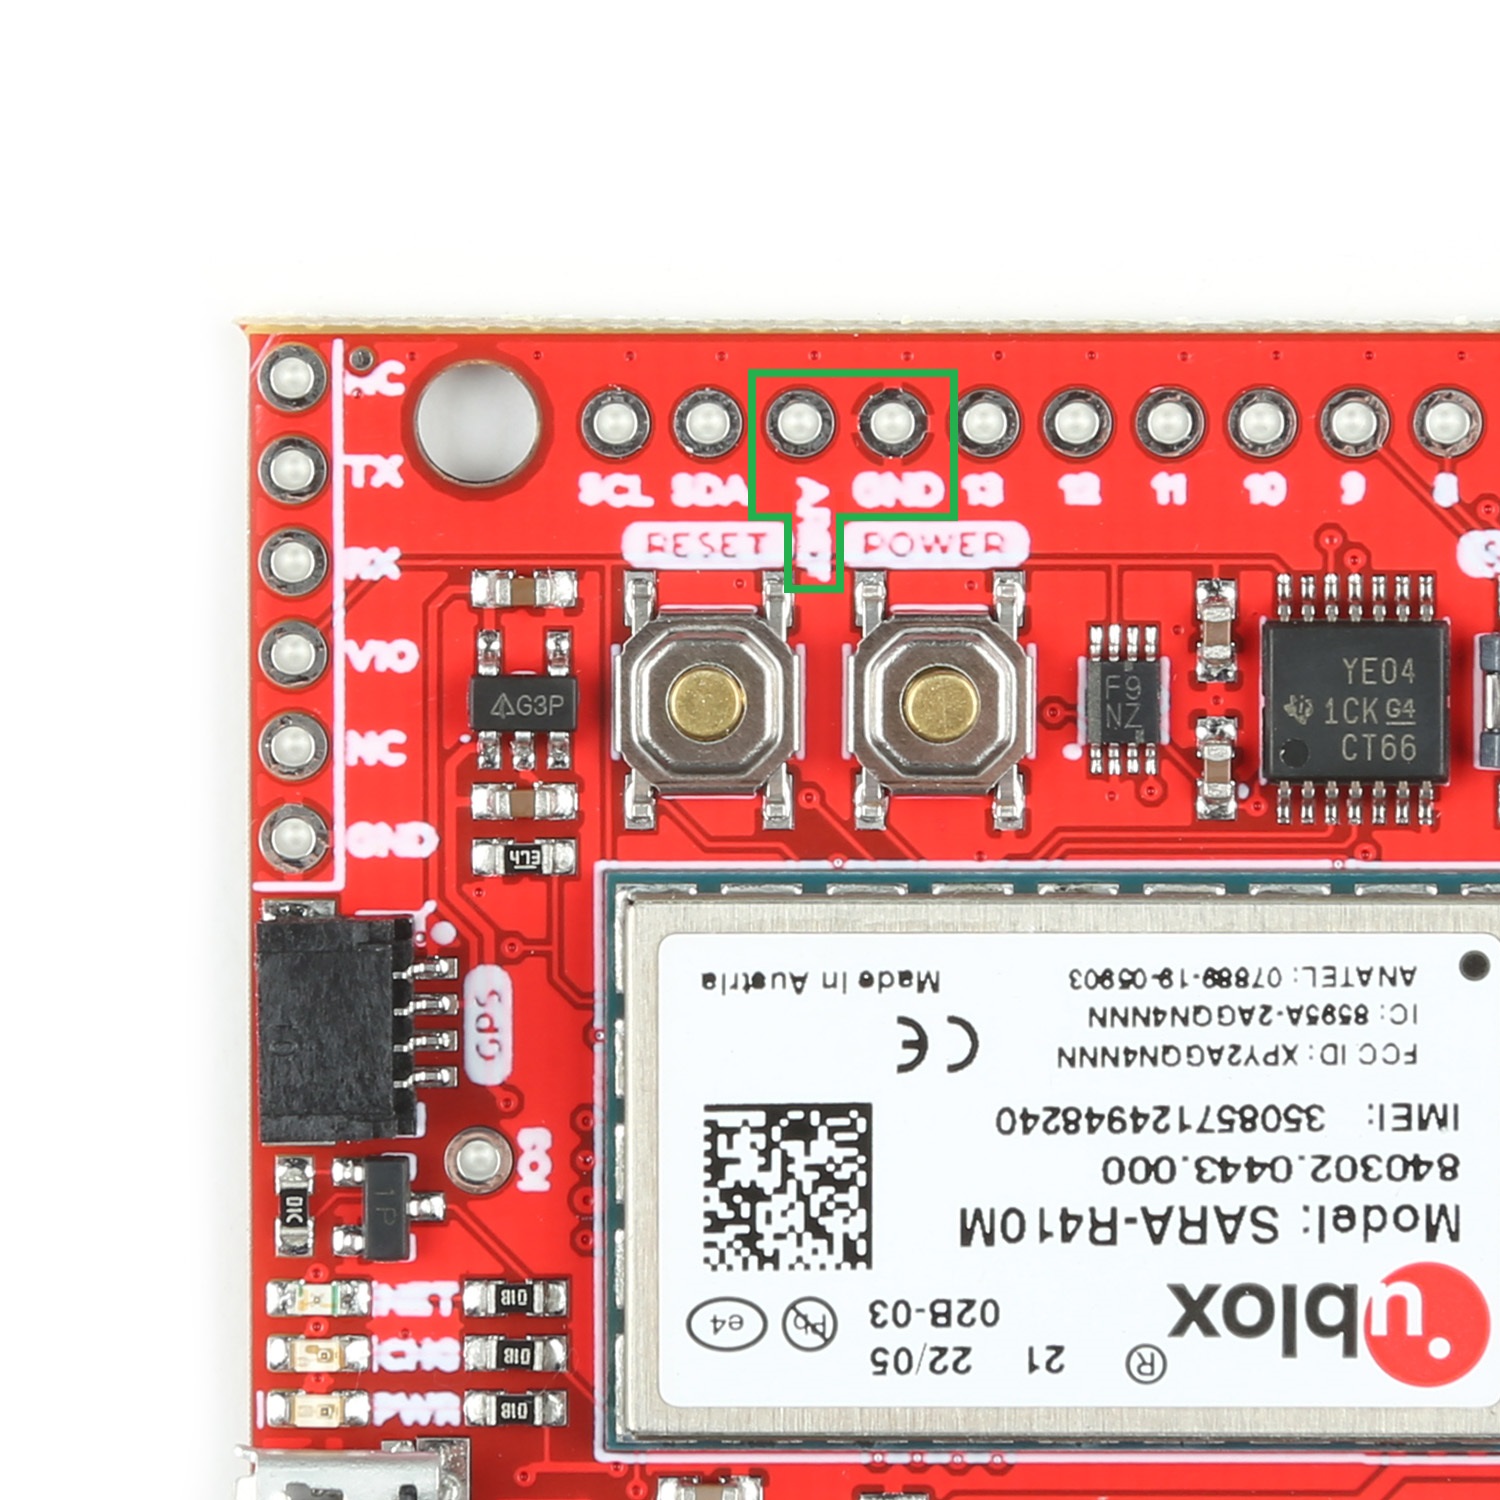
The
AREF pin is no longer connected to the ground plane with traces, unlike the GND pin next to it.
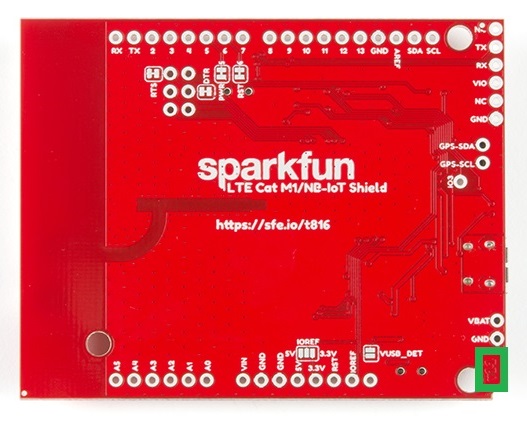
Version label on the bottom of the board (
v11).
At the heart of the LTE Cat M1/NB-IoT shield is a u-blox SARA-R410M-02B LTE Cat M1/NB-IoT modem. Cat M1 (Category M1) and NB-IoT (Narrowband IoT) are both Low Power Wide Area Network (LPWAN) technologies that are designed to provide cellular communication to small IoT devices. They operate on LTE network bands just like most smartphones, and should be supported by most cellular network carriers.
The u-blox module commmunicates over a UART via a simple AT command set. We've provided a library to help you get started with everything from sending SMS text messages to communicating with servers over a TCP/IP connection.
Both the module and library support an I2C GPS interface, so you can plug in a u-blox GPS module and start remotely tracking your project.
Required Materials
In addition to the shield itself, we recommend the following items to follow along with this tutorial. You may not need everything though depending on what you have. Add it to your cart, read through the guide, and adjust the cart as necessary.
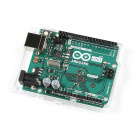
Arduino or Arduino-Compatible Development Board -- The LTE Cat M1/NB-IoT Shield is primarily designed to work as a...shield. It should be compatible with most Arduino-type development boards, including the Arduino Uno, SparkFun RedBoard, SparkFun BlackBoard, and SAMD21 Dev Breakout.

SparkFun SAMD21 Development Breakout
DEV-13672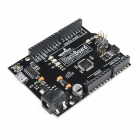
SparkFun BlackBoard
SPX-14669The shield can also be used as a breakout board for the u-blox SARA-R4 module, in which case nearly any microcontroller development board with a free UART should work. You can even use the shield's USB interface with a Raspberry Pi, Raspberry Pi Zero or, really, any Windows/Mac/Linux device with a free USB port.
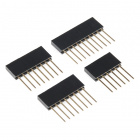
Headers -- To connect the shield to your Arduino you'll need to solder headers into it. We recommend the stackable R3 headers, but male headers can also do the trick.

Soldering Tools -- You'll also need soldering tools to connect the headers to your shield. A basic soldering iron and solder should be enough.


SIM card -- A nano SIM card will be required to provide connectivity for the LTE CAT-M1 Shield's u-blox module. If you've purchased the Hologram/SparkFun LTE Shield Combo, then you're all set. Otherwise, there are a variety of connectivity suppliers including AT&T, T-Mobile, and Verizon.
Optional Materials
In addition to those required items, these bits and pieces can help add functionality to your LTE Shield, so you can take it even further:
LiPo Battery -- The LTE Shield includes a LiPo battery charger. This LiPo can be used to power both your Arduino and the shield simultaneously. Any of the below batteries should work with the shield:


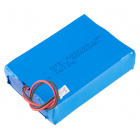

Lithium Ion Battery - 1Ah
PRT-13813Micro-B USB cable -- The shield's SARA-R4 module supports a USB interface, which can be used for both power and a communication interface. A micro-B USB cable isn't required, but may be helpful if you want to power your project via USB or give the SARA-R4 module's USB interface a spin.


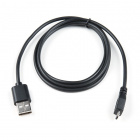
SparkFun Traveler microB Cable - 1m
CAB-14741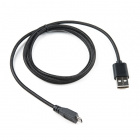
SparkFun Rugged microB Cable - 1m
CAB-14742Suggested Viewing
Suggested Reading
This tutorial builds on a variety of electronics, programming, and engineering concepts. If any of the subjects of these tutorials sound foreign to you, consider checking them out before continuing on:
Serial Communication
Installing an Arduino Library
Logic Levels
Three Quick Tips About Using U.FL
If you aren't familiar with the Qwiic system, we also recommend reading here for an overview.
| Qwiic Connect System |